- Secure order
- Easy return shipment
- Service-Hotline +31 20 809 5778
Instructions No. 3353
Difficulty: Beginner
Working time: 1 hour
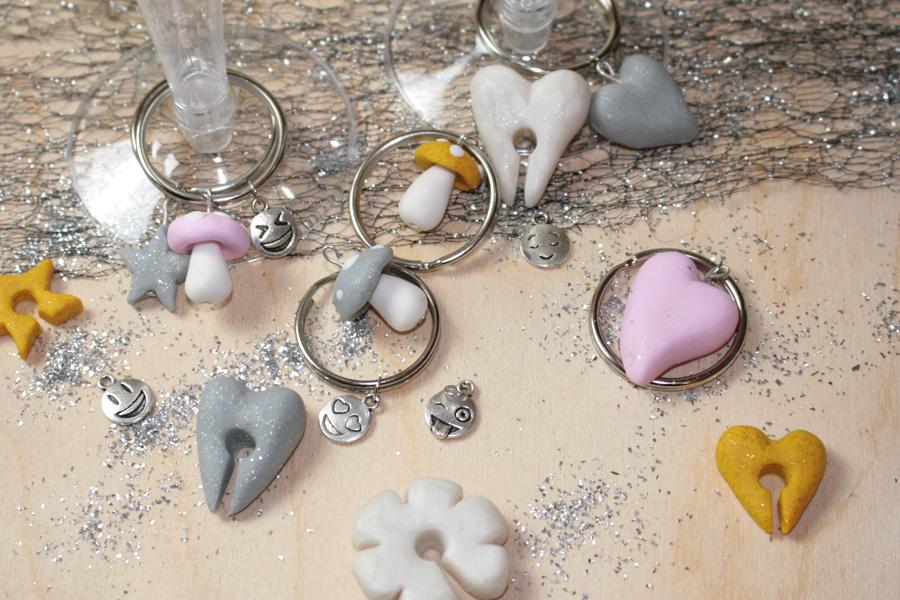
We've all been there: at parties without fixed seating arrangements, the question quickly arises as to which glass belongs to whom. But that's over now! With our creative glass markers, you can assign each guest their own personal glass. This will make your next party a complete success - without any annoying mix-ups. You can find everything you need for this in our online store for craft supplies.
Glass markers - step-by-step instructions
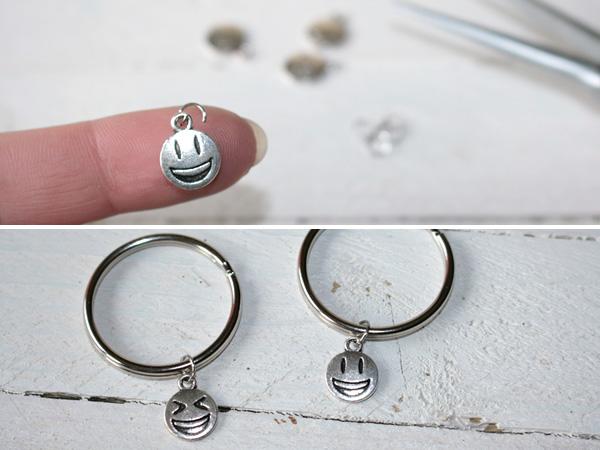
Variant 1: Charms glass markers
This version is probably the simplest: take the charm pendants and attach them to the key split rings using rings. You can choose different motifs and decorations as you wish.
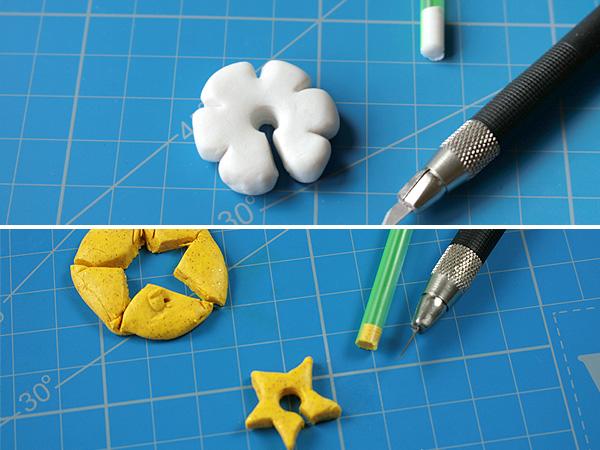
Variant 2: polymer clay glass markers
For this variant, you use polymer clay to create small motifs that can later be placed over the edge of the glass. Make a slit in the motif. It is a good idea to work directly with the glasses that will be used later. This way you know exactly how the slit in the figures should be shaped so that it fits properly.
Also make sure that the slit is not too small and that the glass marker is not too wobbly on the glass.
Poke a hole in the middle with a drinking straw to leave room for maneuver when attaching. Bake the polymer clay at 110°C top and bottom heat for about 20 minutes.
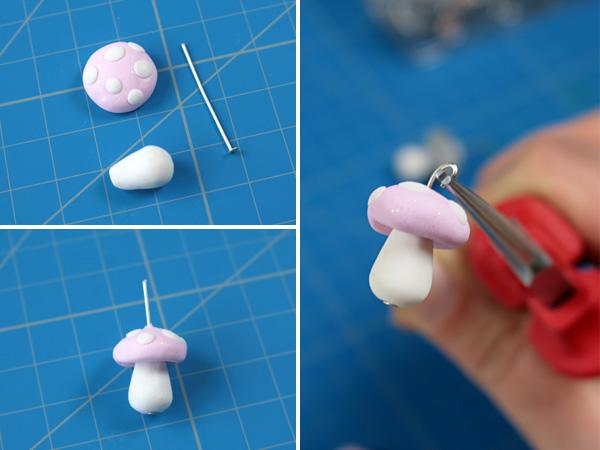
Variant 3: Combine charms with polymer clay
The last variation combines elements from the first two methods: first create the polymer clay pendant. Then push a prism pin through the pendant, bend the end piece into an eyelet and shorten the length as required.
These are also baked at 110°C for 20 minutes. After cooling, you can attach the pendants to a split ring with a ringlet.
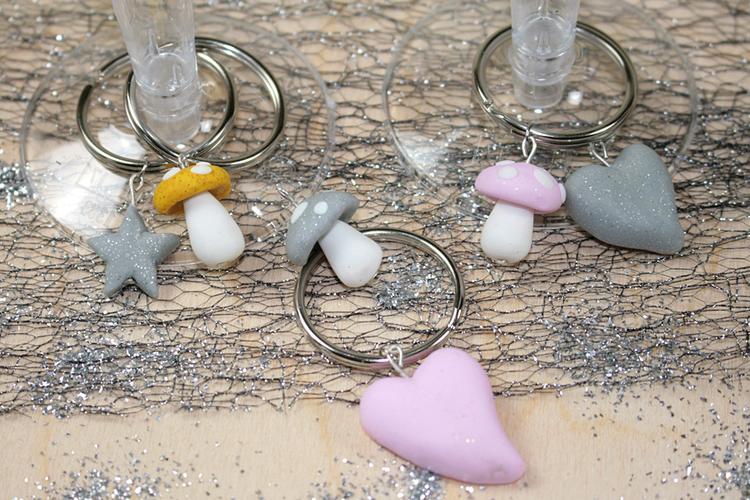
Prepare the glass markers
As soon as your glass markers are ready, you can decorate your glasses with them. Each guest chooses their favorite motifs and mixing up glasses is a thing of the past. Have fun crafting!

Your next steps
Ready to conjure up great glass markers in no time at all? Discover our large Selection range of polymer clay, charm pendants and craft accessories in our online store and get started right away!