Step 1: Mixing the casting compound
You will need the following quantities of casting compound to recreate our idea:
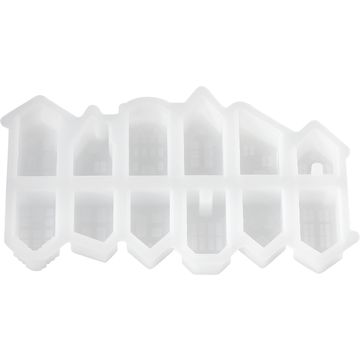
Silicone casting mold "Houses Promenade" = 6 tablespoons of Keraflot
Silicone casting mold "Mini light houses", City = 4 tablespoons of Keraflot
Silicone mold "Mini light houses", gabled houses = 4 tablespoons
Keraflot silicone mold "Christmas trees" = 10 tablespoons
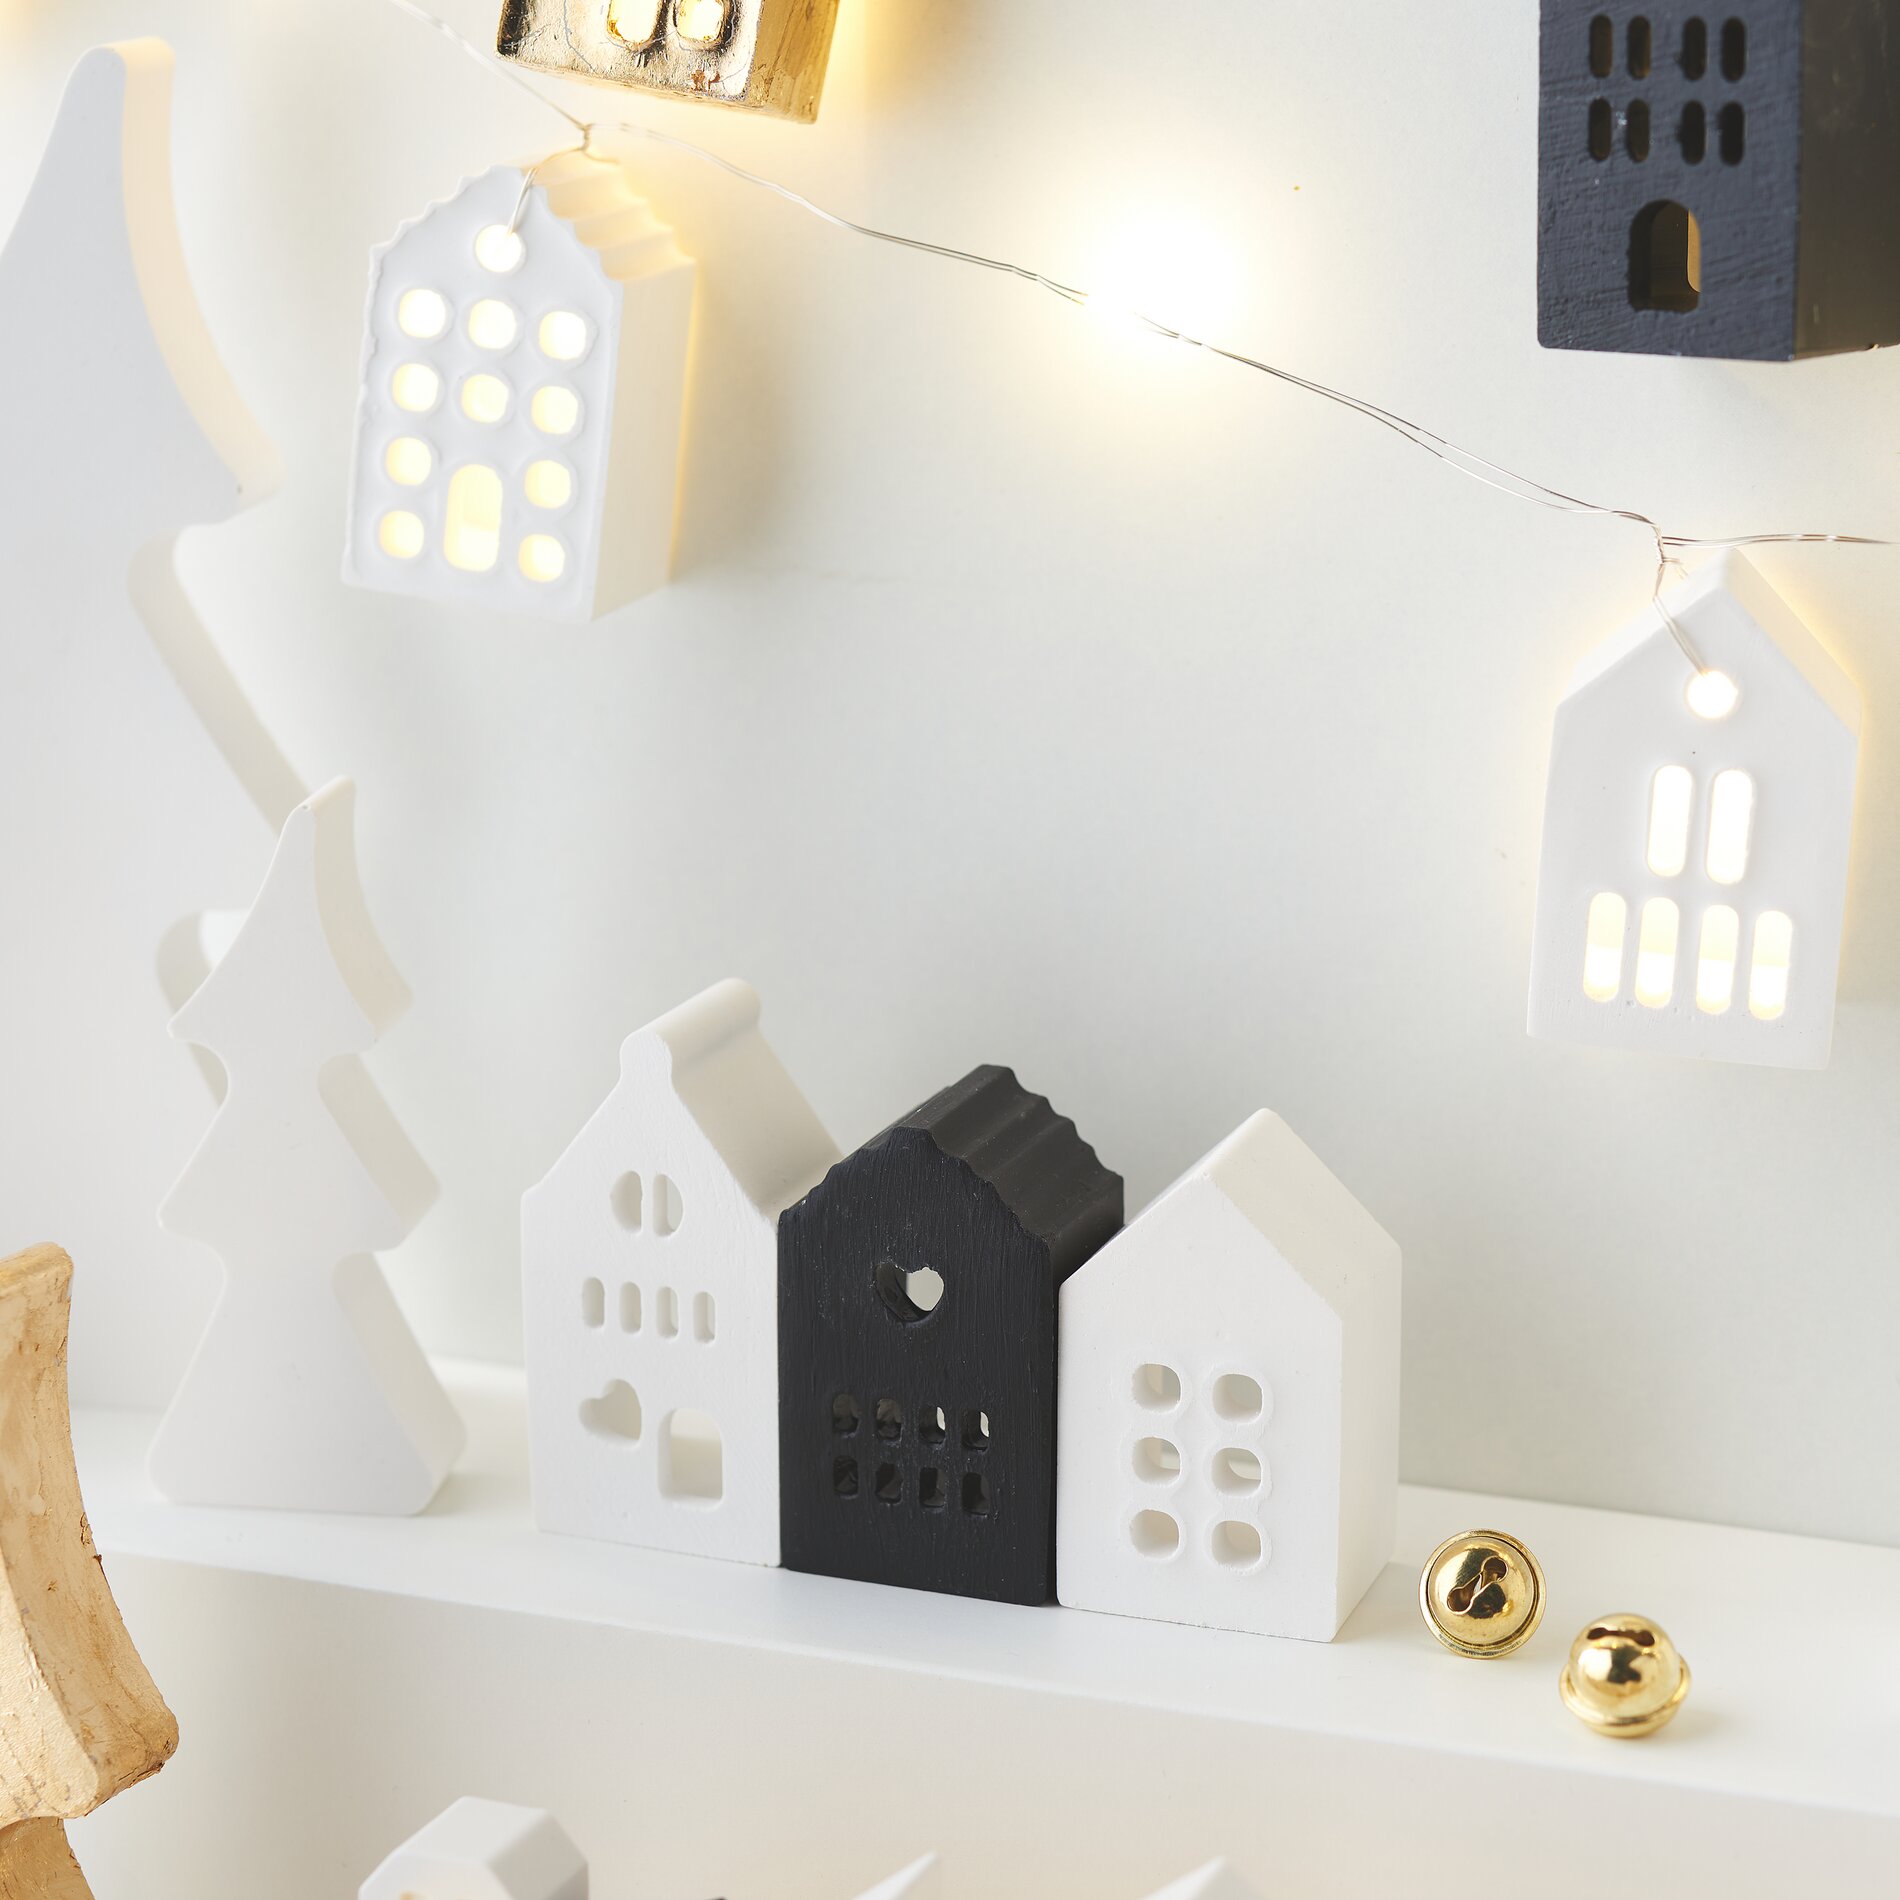
Mix the Keraflot powder with water until a creamy mixture is formed. It is important that no powder settles at the bottom of the bowl and that there are no lumps left. This consistency is crucial for an even casting surface. The white and black casting compound is mixed and processed in the same way. Tip: If you want to make black and white castings, start with the white Raysin so that the white casting does not contain any residue from the black casting powder. Always clean the casting molds well after demolding so that no residue remains and you can enjoy your casting mold for a long time to come.
Step 2: Pouring and achieving the desired result
Slowly pour the finished casting compound into the selected silicone molds. Gently tap or shake the molds on the table surface to distribute the mixture evenly and remove any air bubbles. After about one hour , the castings are ready to be carefully removed from the molds. Allow them to air dry completely to achieve maximum strength.
Step 3: Smooth and finish the surfaces
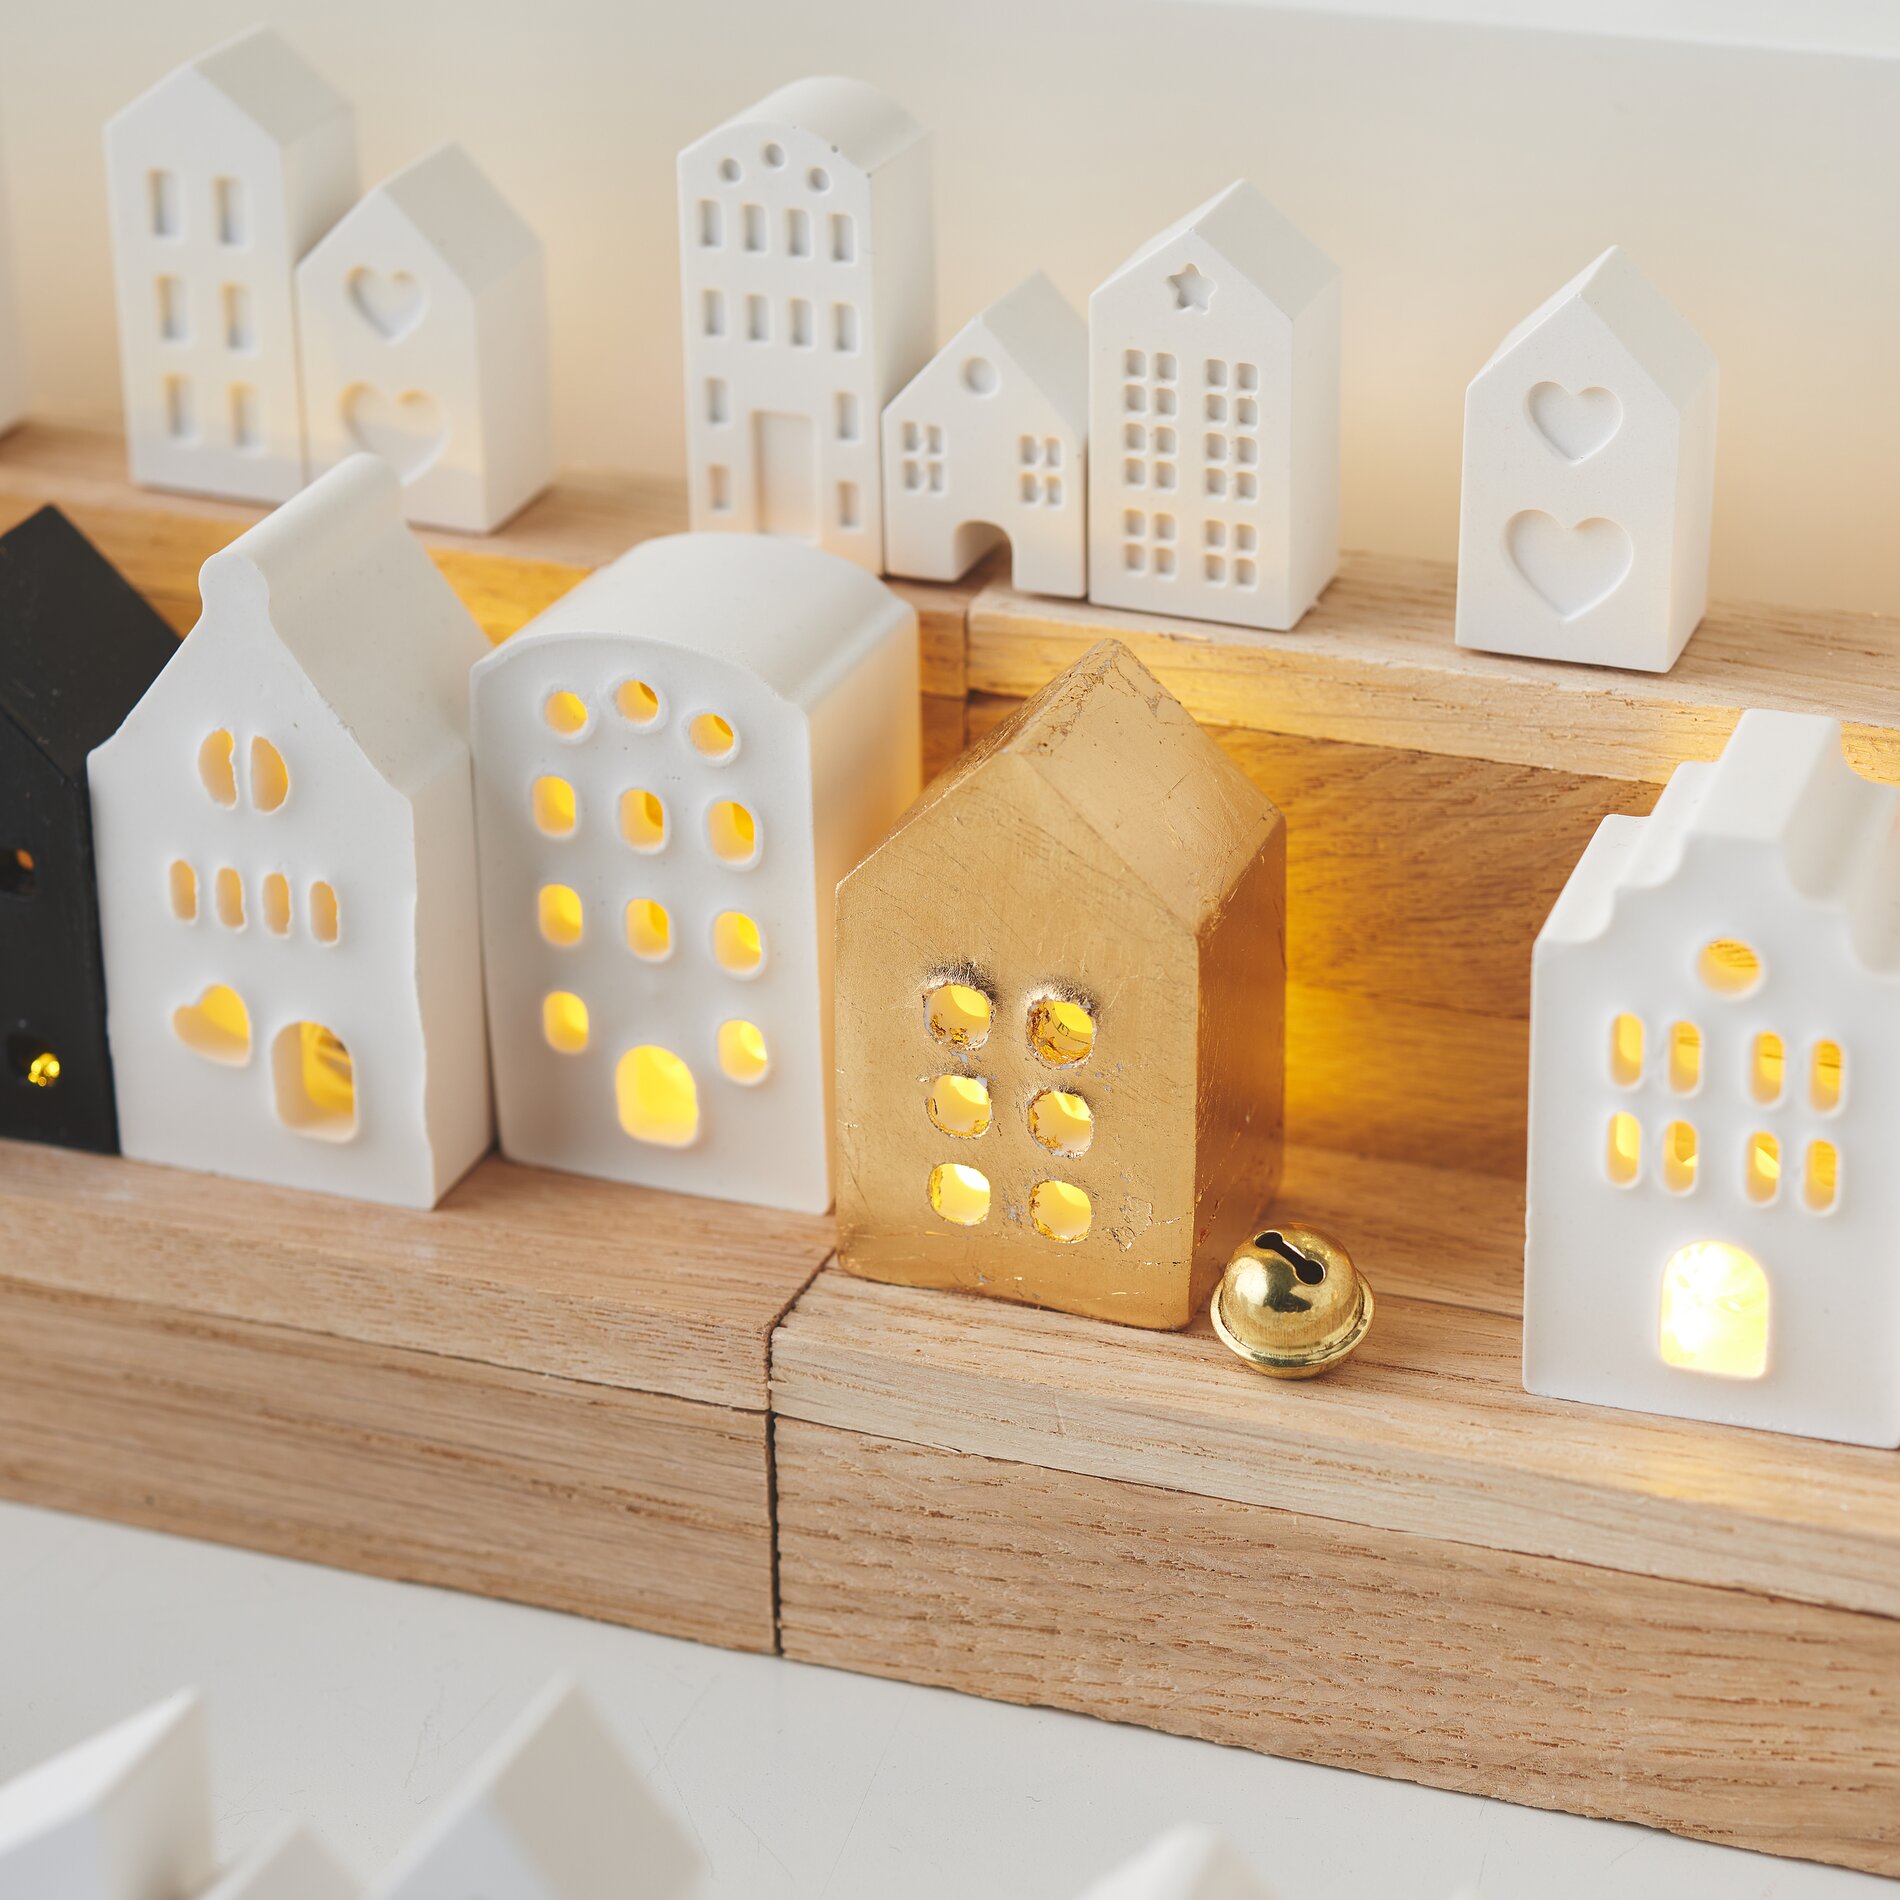
Any rough edges that may appear after demolding can be easily smoothed with sandpaper . After your castings have dried, you can coat your miniature houses and fir trees with gold leaf priming milk and cover them with leaf metal . Finally, apply a top coat for long-term sealing.
Step 4: Create a platform for the house presentation
Build a two-storey platform for the presentation of your houses by gluing wooden blocks together.
For the lower level, we built 1 block high and 2 blocks wide. The upper level is 3 blocks high and 1 block wide. For the "step", glue 1 block to the upright wooden block.
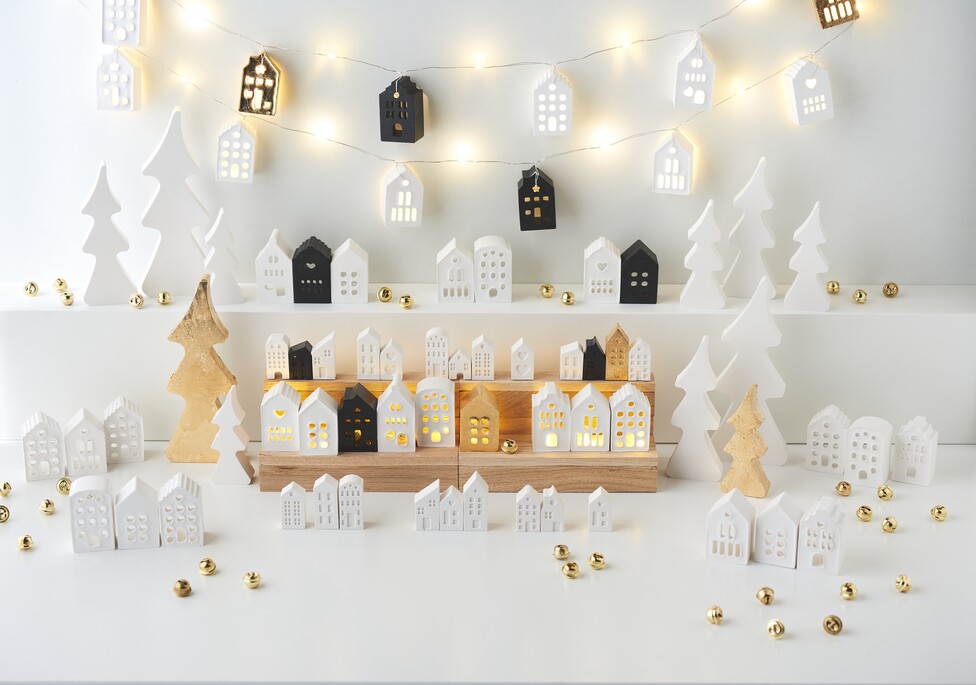
As soon as the glue has dried, you can attach a chain of light to the back of the platform with hot glue. Finally, place the houses on the pedestal as you wish, whereby you can illuminate larger houses with light balls from the inside.
Step 5: Making houses-chain of light
Create atmospheric highlights by adding a house-chain of light to your miniature landscape. Thread the chain of light through the top windows of a house and pull it through to the last light. Twist the end of the chain together to ensure a secure hold. Repeat this process for each house you want to light up in your ensemble.
Use these instructions to create an enchanting "promenade of houses" in miniature form. Conveniently order all the required Article right here online and enjoy crafting and decorating!