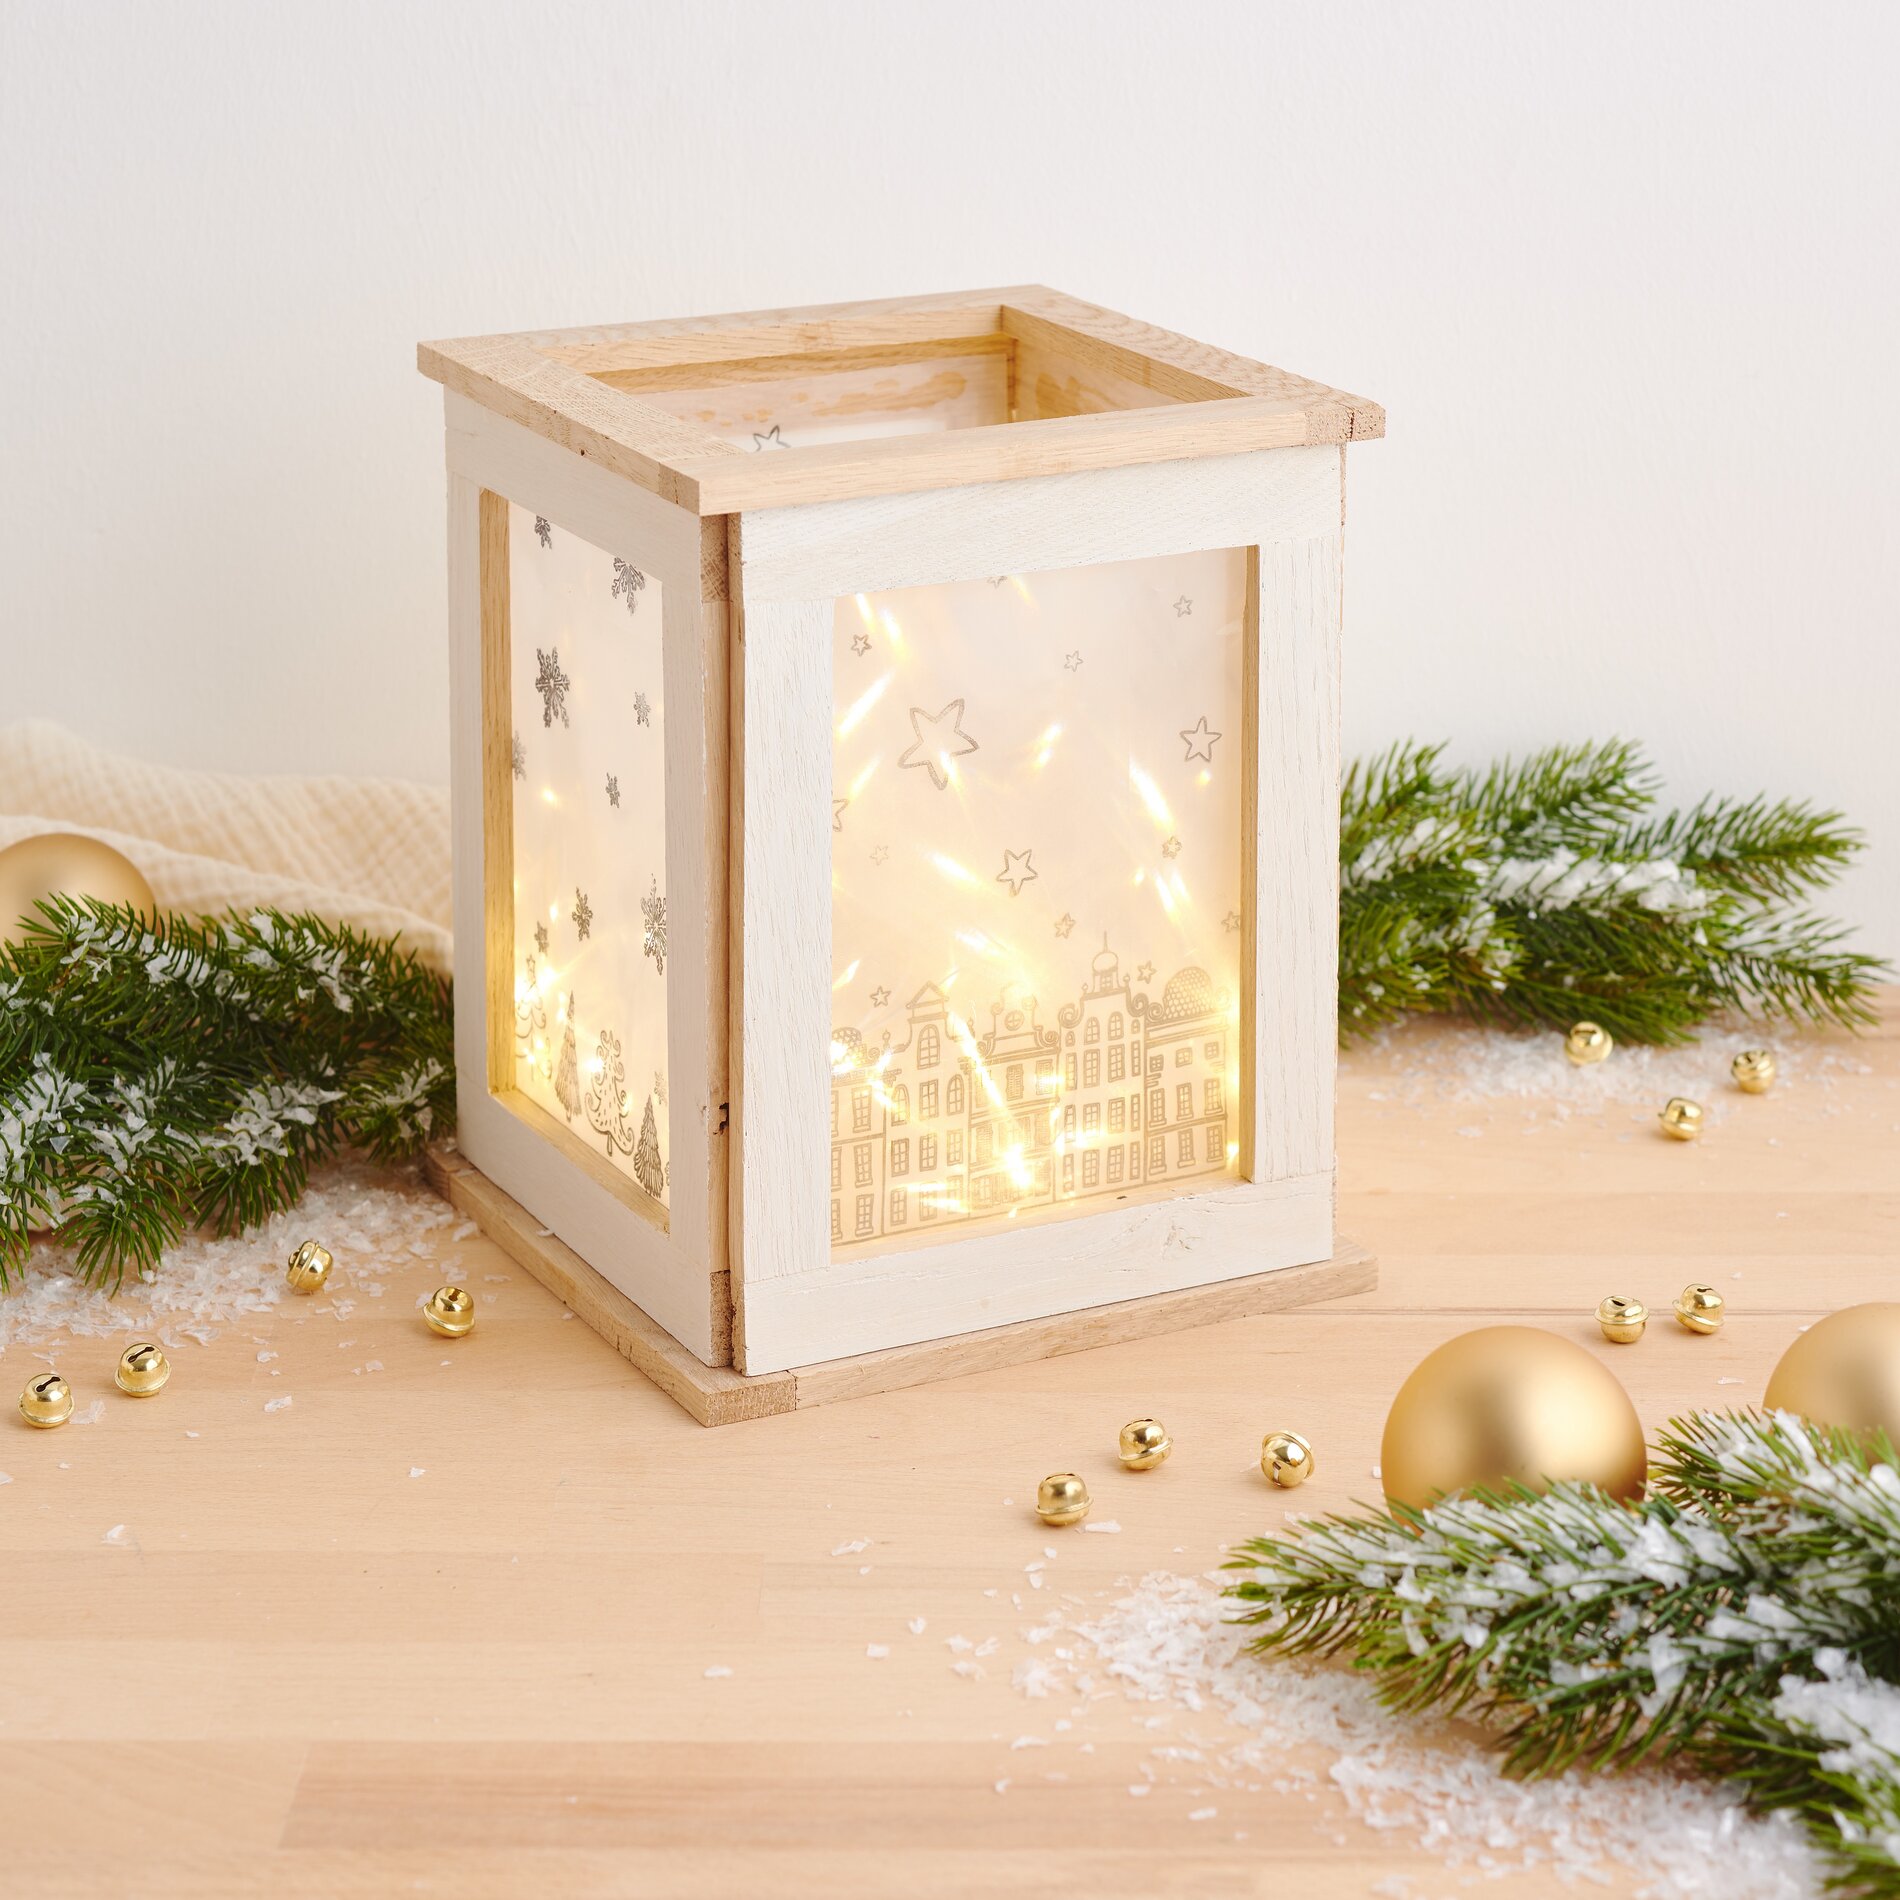
Beautiful DIY craft lantern: step-by-step instructions
Step 1: Preparing the craft blocks
Start by preparing 30 craft blocks from the wood of your choice. If you prefer a smoother surface, sand the blocks thoroughly before gluing them together. This makes it easier to work with later and ensures a professional finish.
Step 2: Glueing the base of the lanterns
For the base of your lantern, glue 6 craft blocks together on the long, narrow sides using VBS handicraft glue. Make sure that the blocks stick together well to create a stable base. Glue a block upright at each end of this base to reinforce the structure.
Step 3: Create the frame
Take 4 craft blocks and glue them together at the narrow edges to form a rectangular frame. Repeat this process a total of four times to create four frames. These frames will later form the side walls of your lanterns.
Step 4: Cut the star foil to size
Place one of the frames on the star foil and trace the contours. Repeat this process for all four frames so that you can cut out a total of four rectangles from the star foil. Use sharp scissors for clean cuts.
Step 5: Stamp the star foil
Now choose a silicone stamp and place it on the clear stamp holder. Dab the ink pads onto the stamp several times and press the stamp firmly onto the star foil. Repeat this process until you like all four rectangles of the star foil. Then clean the stamp with stamp cleaner to keep it ready for future projects.
Step 6: Glue the foil into the frames
Now stick the stamped star foil into each frame using VBS handicraft glue. Allow the glue to dry well before continuing with the next step so that everything is firmly in place.
Step 7: Connect the frame to the base
Once the film has dried, glue the frames to the base of the lanterns. Make sure that the frames are evenly aligned.
Step 8: Add square frames
Glue two square frames together from the remaining 8 craft blocks. These square frames are glued to the top and bottom of the lanterns to stabilise and round off the structure.
Step 9: Insert the chain of lights
Unfold the wire of the chain of lights and insert it into the lanterns. The chain of lights can be switched on and off permanently or operated with the timer function, which allows it to be lit for 6 hours and switched off automatically for 18 hours.
Extra tip: loop the lanterns
If you want to loop your lanterns, screw two small screw eyelets into the top frame. Pull a decorative cord through them and tie the ends together. This will give you a hanging lantern that you can position as you wish.


