- Secure order
- Easy return shipment
- Service-Hotline +31 20 809 5778
Instructions No. 3449
Difficulty: Beginner
Working time: 1 hour

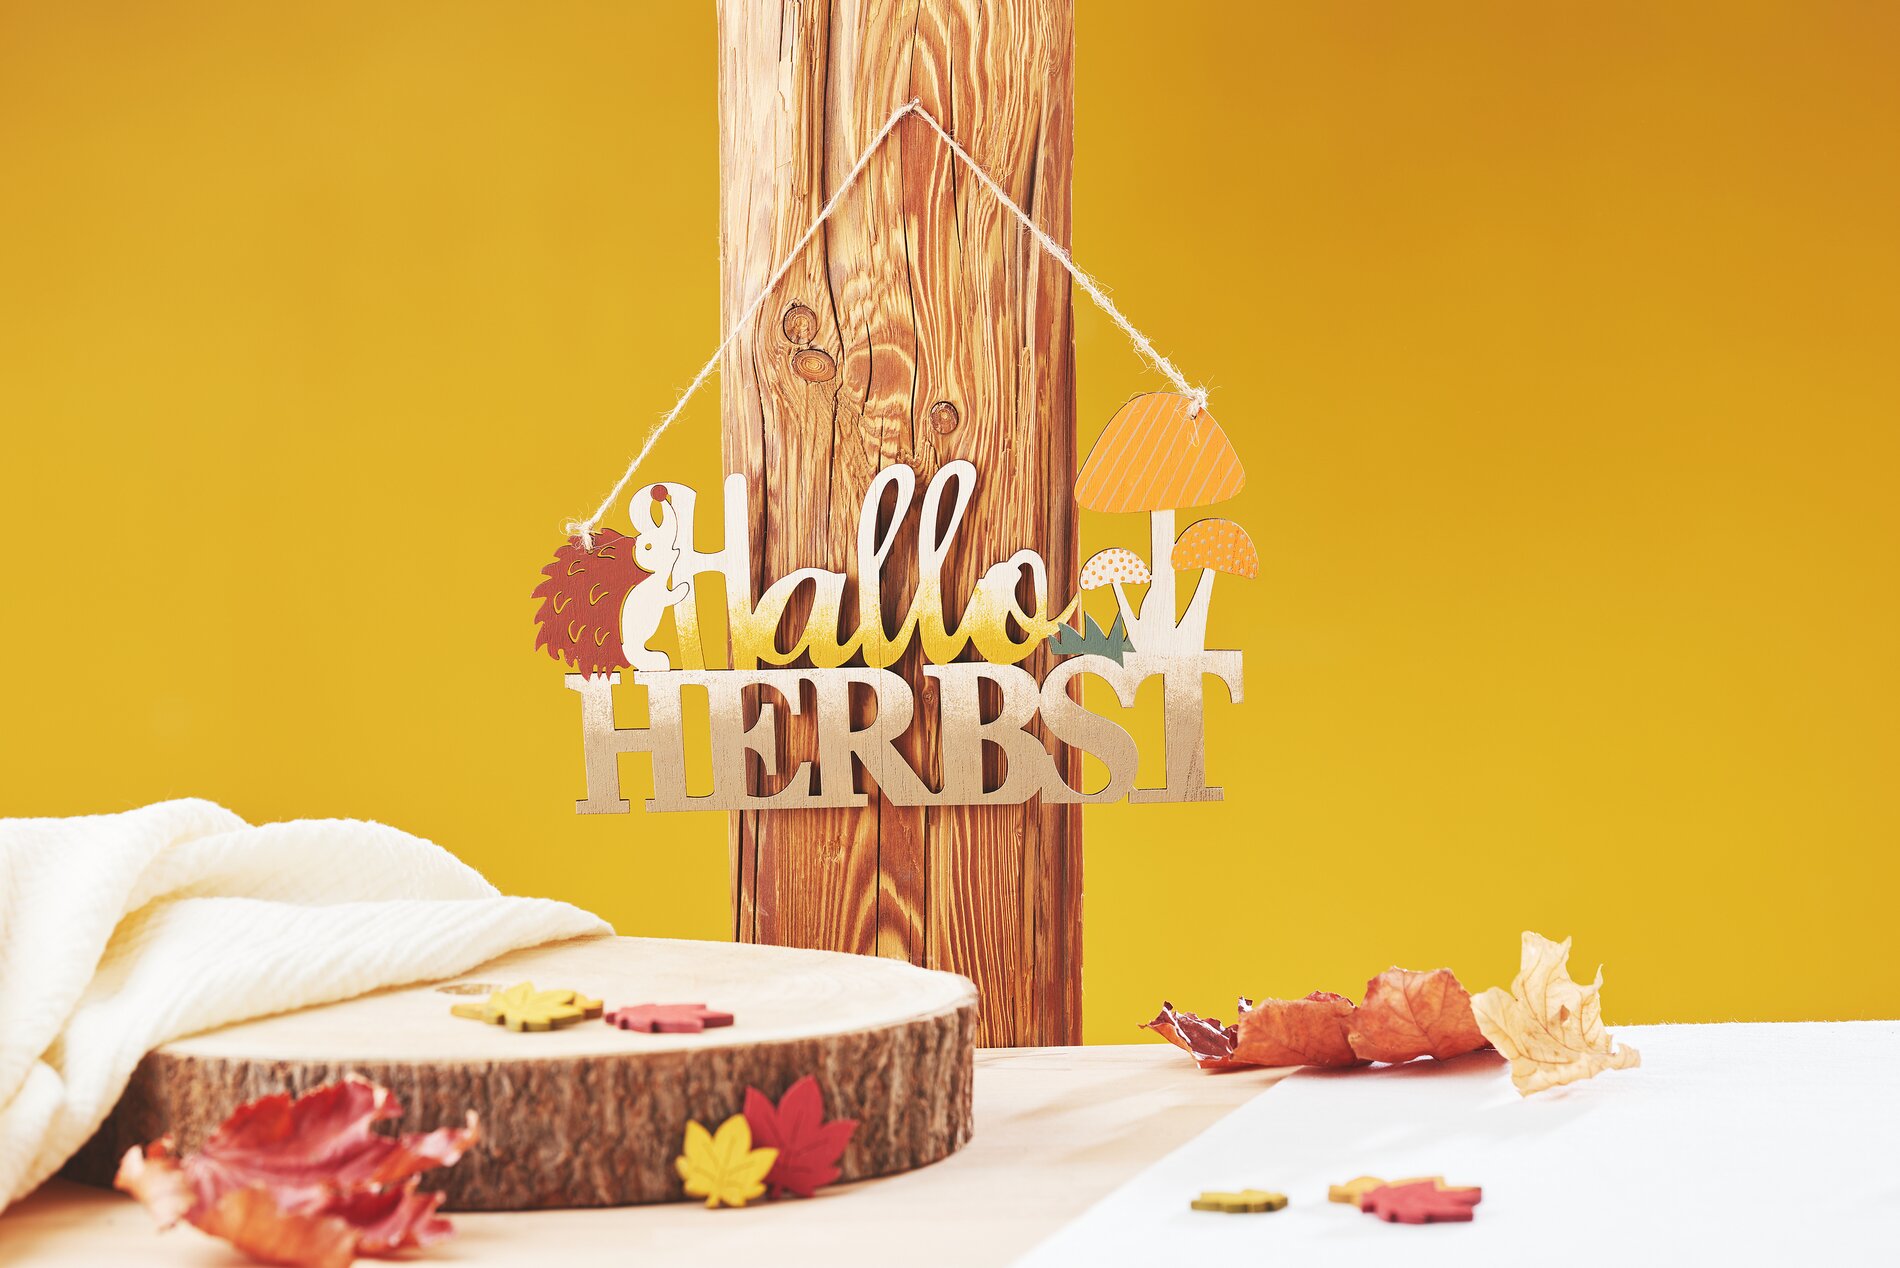
Step 1: Paint your sign with autumn colors
Start by painting your sign as you wish with VBS Craft paints. These paints are known for their luminosity and versatility. Grab a paintbrush and let your creativity run wild. Whether it's vibrant reds, warm shades of orange or muted browns - the choice is yours.
Step 2: Create color gradients with the sponge
Color gradients give your sign a special depth and dynamism. Use a sponge to gently dab the colors and let them flow into each other. You can moisten the sponge slightly to blend the colors better and create a smooth transition. Experiment with different pressures and movements until you are happy with the result.
Step 3: Wait for it to dry
Once you have finished painting, it is important to allow the sign to dry completely. This gives the paint the opportunity to set optimally and prevents smudging as you continue working. Allow enough time so that you get a perfect result.
Step 4: Attach the string
Now it's time to hang up the sign. To do this, tie a string to your sign at the designated point. Make sure that the knots are tight so that the sign hangs securely. The string gives your artwork a rustic charm and makes it ready to be hung in a suitable place as decoration.
Your fall project is complete!
Now that you've created your own fall sign, it's time to decorate your home with it. Every time you take a look at it, you'll be proud of your creative project. Feeling inspired to tackle more craft projects? Visit our online store to discover the high-quality craft materials you need to give free rein to your creativity. Your next project is already waiting to be tackled!


