Download the free Pattern one, print it and cut out the template. For a lunch bag, lay your fabric right sides together. Place the bottom cut edge on the fabric break and transfer. Cut the fabric with 1 cm seam allowance. You have to cut this Pattern twice, 1x for the upper fabric and 1x for the inner fabric.
Apply
TexWax Impregnating Fluid to the fabric Cotton fabric, that is to act as the inner fabric and allow to dry for approx. 2 hours. Alternatively, you can also use an already impregnated wax fabric.
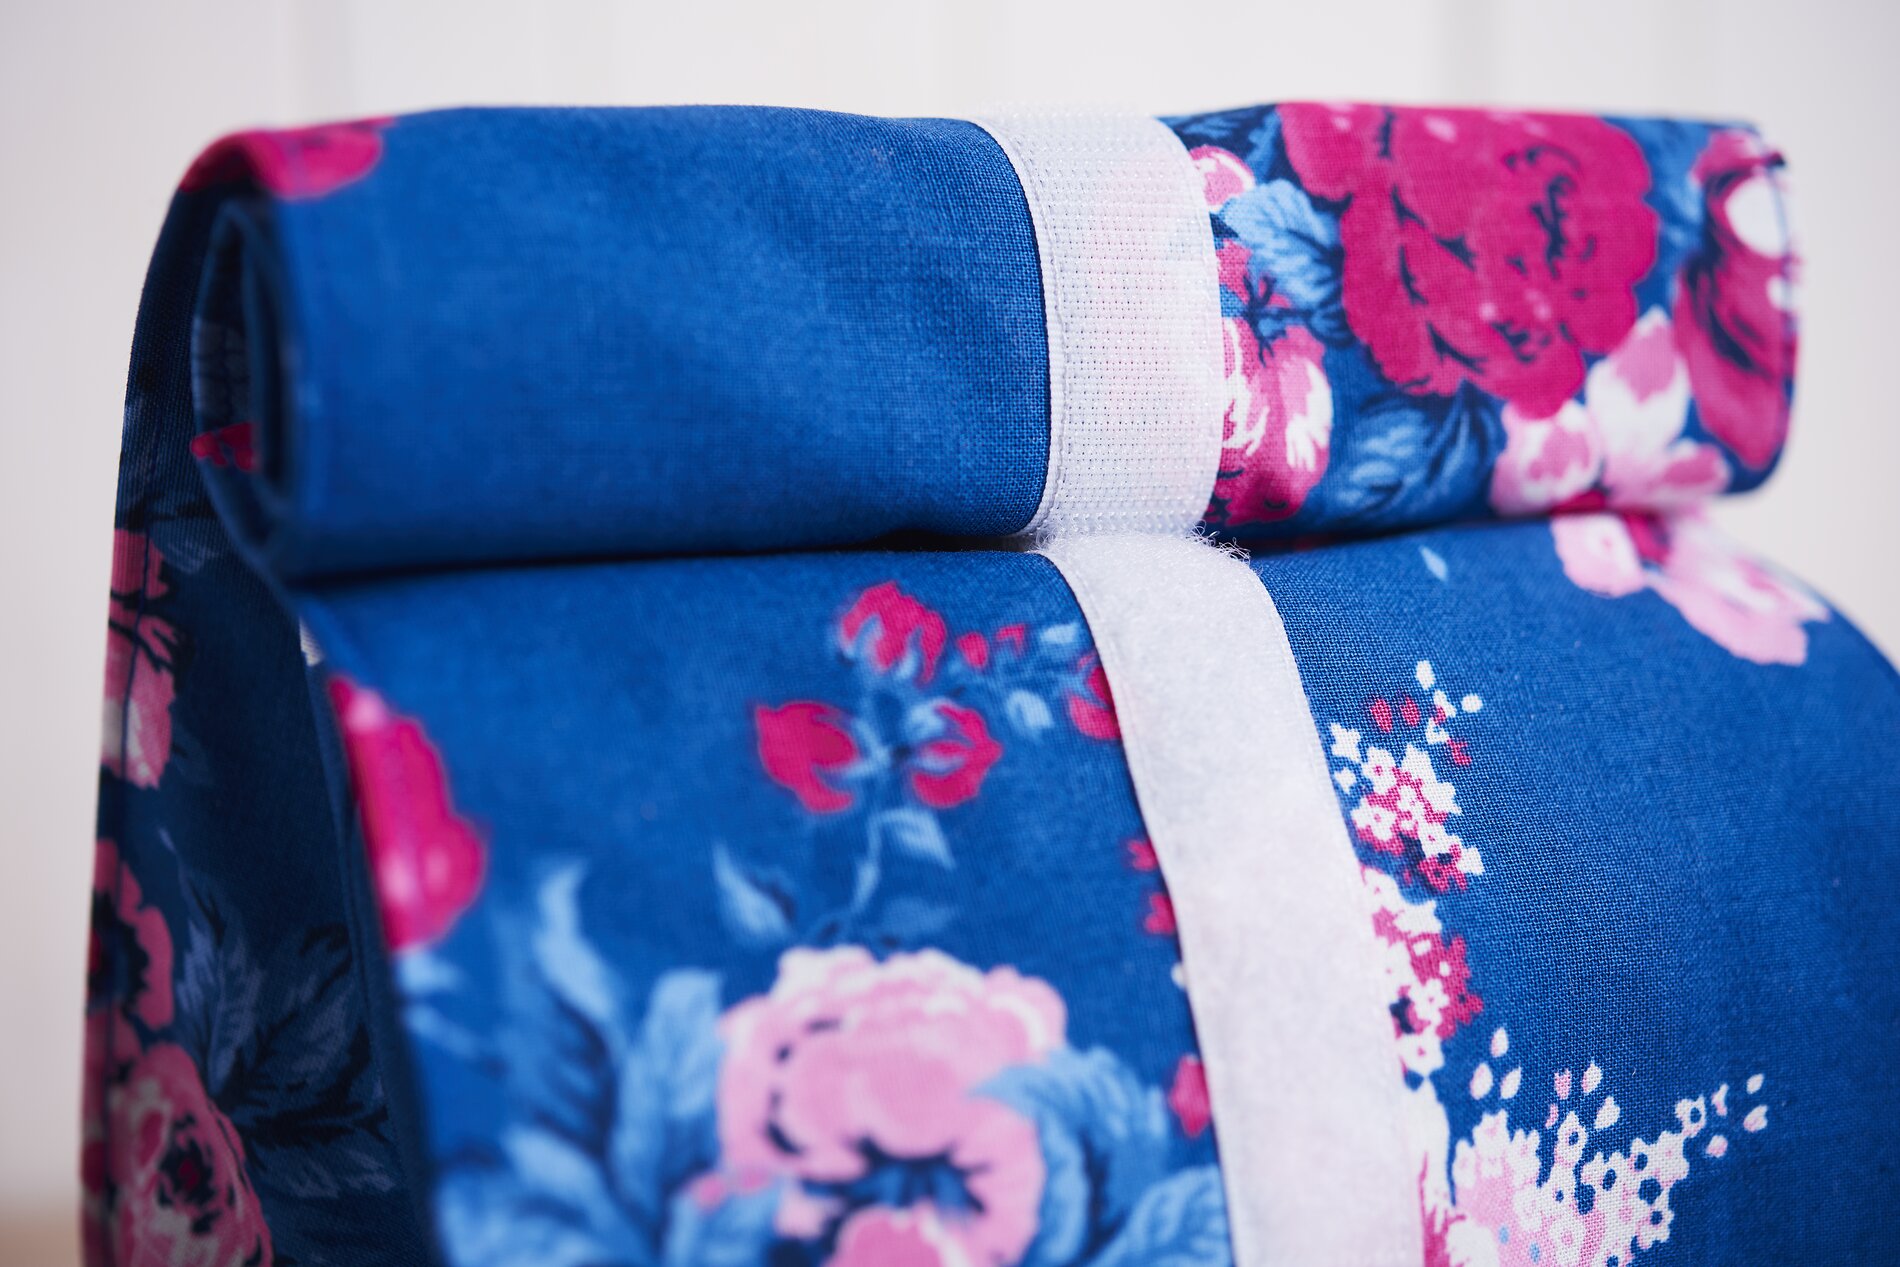
Unfold the Fabric cut, one that will later be visible on the outside. In the middle of each side, from top to bottom, a
Velcro strap sew on in 20 cm length. It is best to sew over the outside of the velcro tape. This way the Velcro fastener will hold better later.
The side seams can then be sewn shut. To do this, fold them both Fabric cuts right sides together and sew the sides together
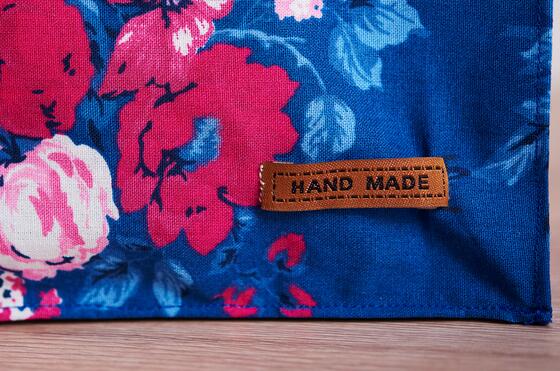
The two corners at the bottom cut edge are pulled apart and placed on top of each other so that the side seam is centred on the sewing edge. Now close this seam. You can also decorate the outer pouch with borders and labels. We have
sewn on a
label "Hand Made". You can also
sew on leather labels, which you can
Branding Pen with a name to decorate it
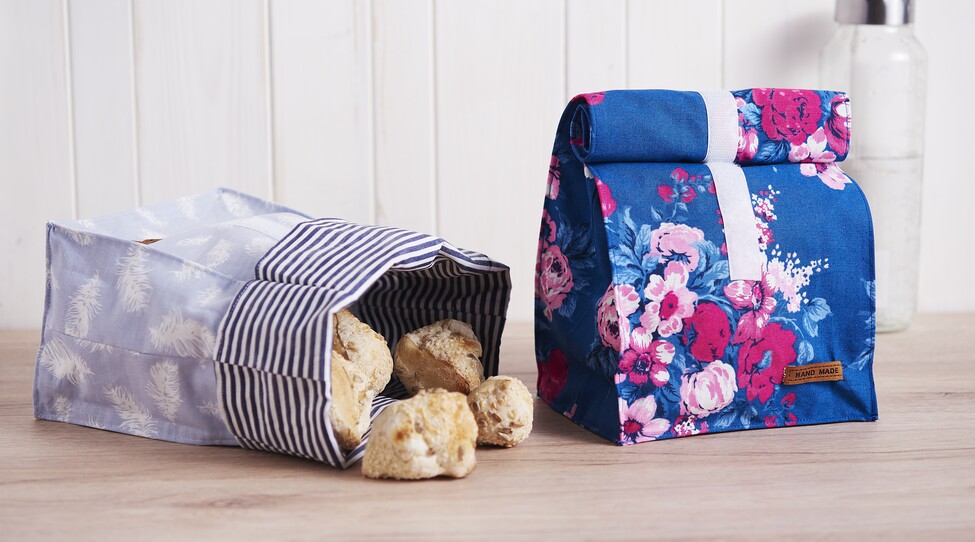
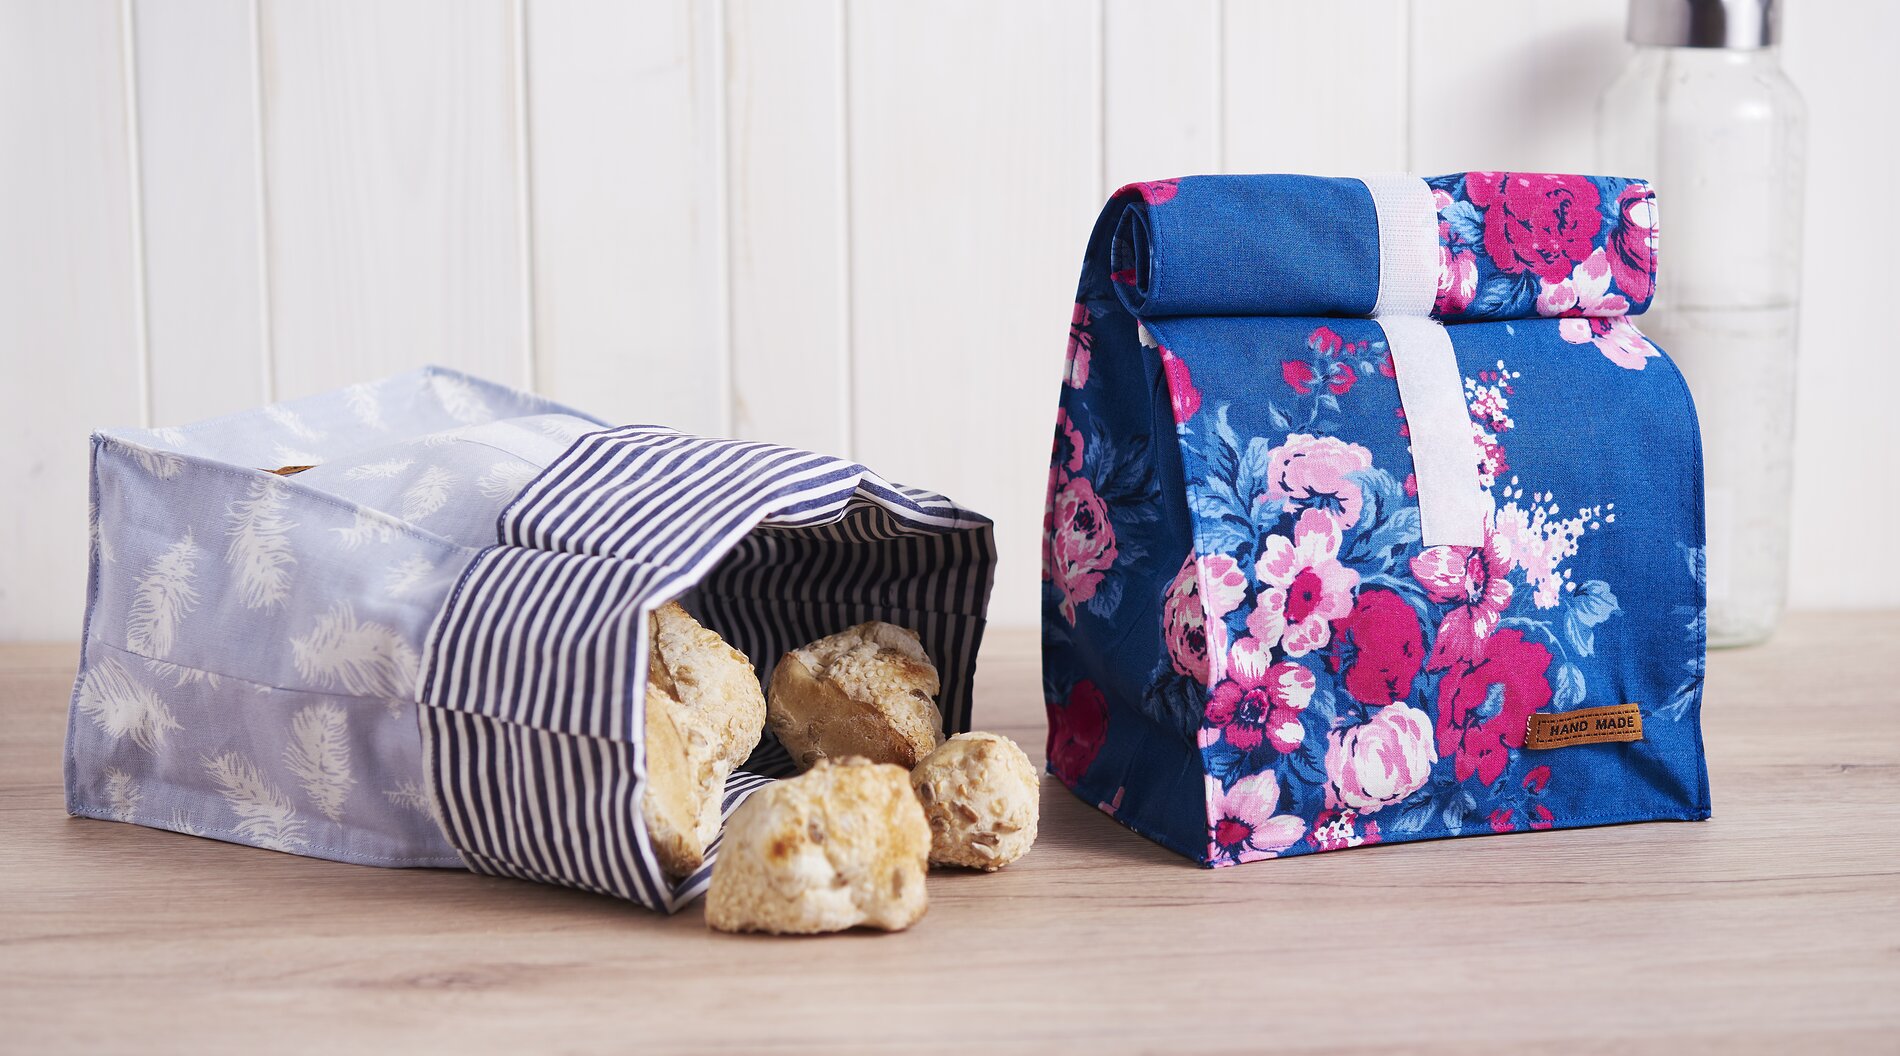
Now turn the outer bag and place it in the inner bag. The fabrics are now right on right. Sew the two bags together at the top of the edge. Leave a turning opening. Turn the lunchbag, close the turning opening, pin everything together and sew the top edge. Tip: Here it sometimes also looks nice to use a contrasting coloured thread.
Form the pouches along the bottom and the sides right and left from velcro, pin them and sew them close together. This way the bags are more stable and the shape is better emphasized.