- Secure order
- Easy return shipment
- Service-Hotline +31 20 809 5778
Instructions No. 3423
Difficulty: Advanced
Working time: 2 Hours
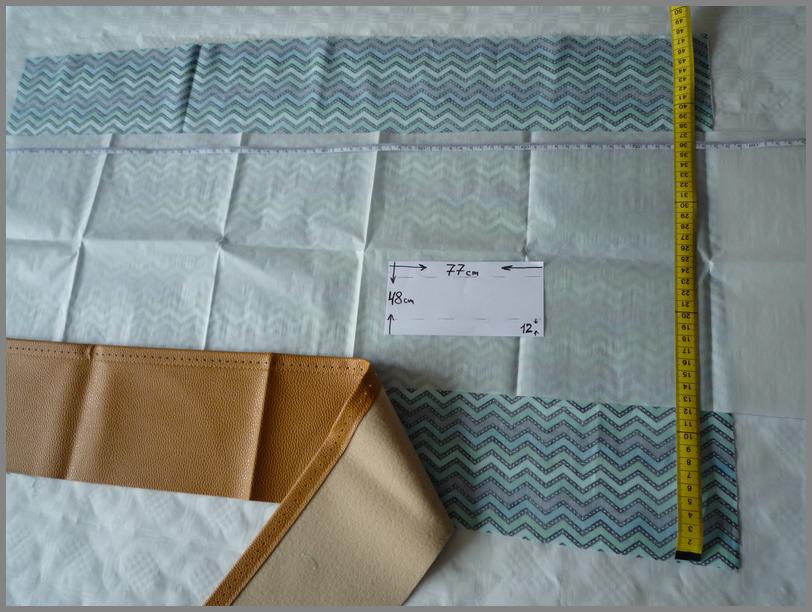
Step 1: Cut and reinforce the fabric
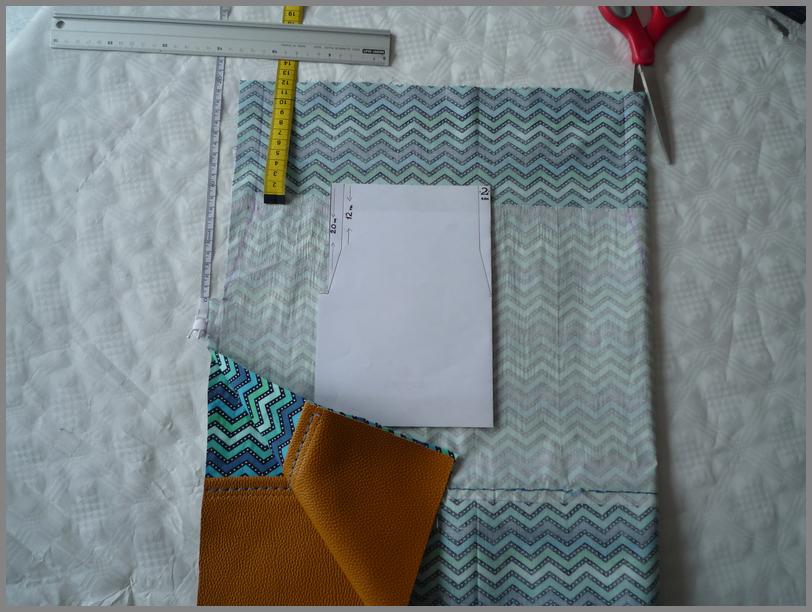
Start by cutting the fabric to the desired dimensions. We use a prefabricated bag base with a width of 77 cm and a height of 48 cm as a guide. The fabric is reinforced in the middle with iron-on fleece to ensure stability. Exceptions are 12 cm at the top and bottom, which remain without fleece.
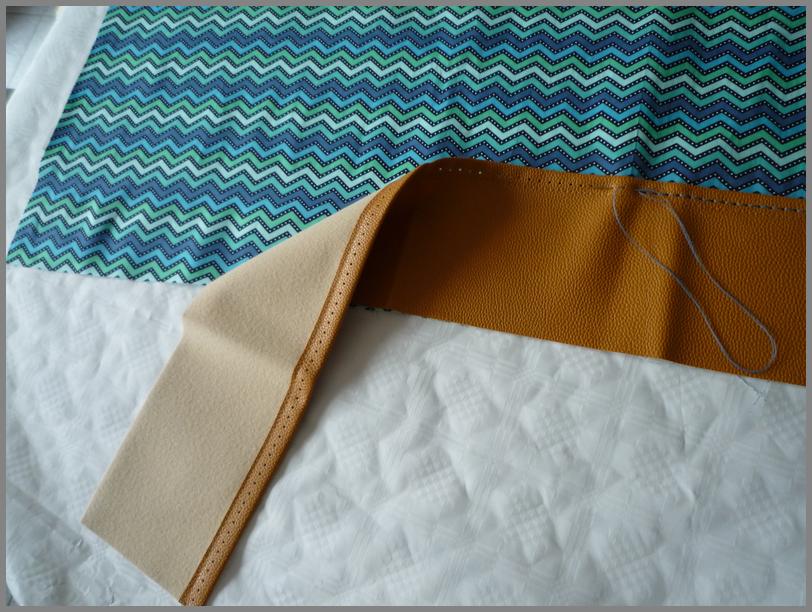
Step 2: Sew on the bottom of the bag
Now sew the bag bottom, which is already pre-punched, to the right side of the fabric. This is done by hand to achieve a precise result.
Step 3: Sew the gym bag together
Fold the bag in the middle so that the outside is inside. Sew the bag together up to the 12 cm mark using a zig-zag stitch. This marking remains open for the paracord cord and the bottom of the bag.
Step 4: Iron, sew and secure
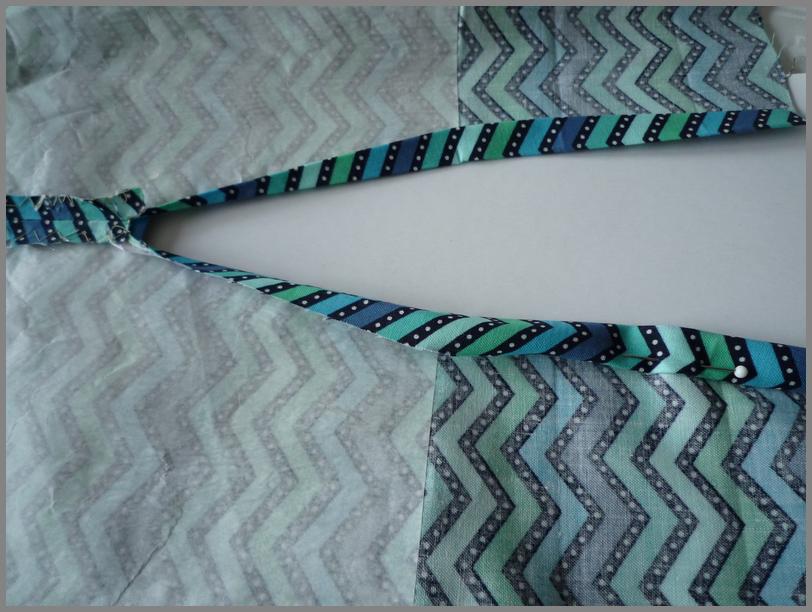
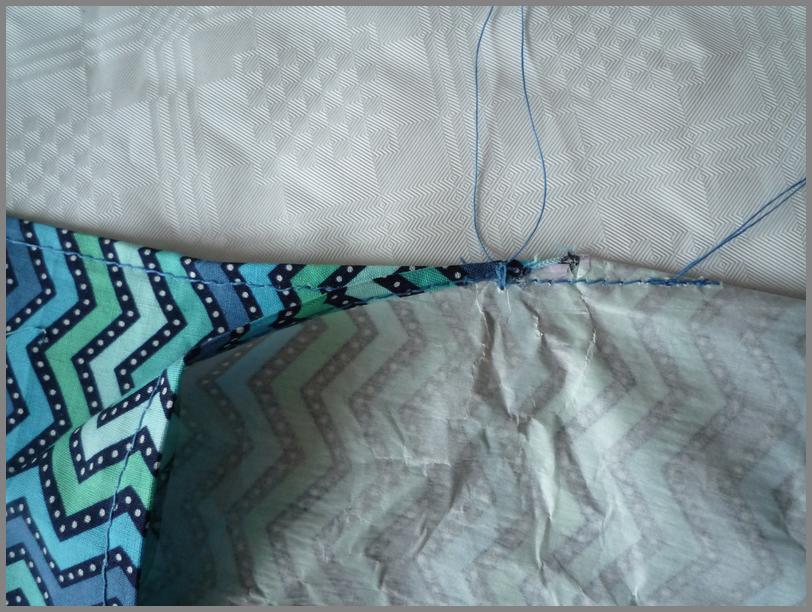
The upper part of the gym bag is now finished. The edges are doubled and ironed and then fixed with a small triangle as shown in the picture.
Step 5: Attach the ribbons
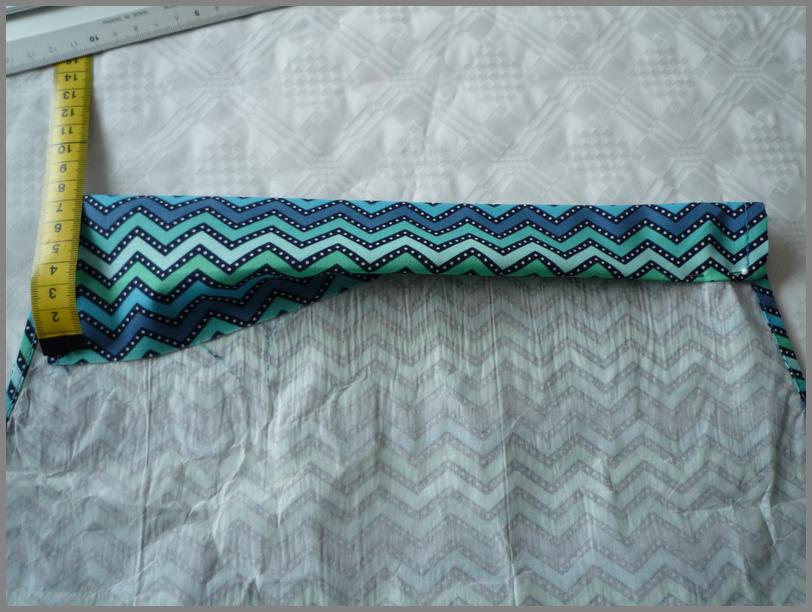
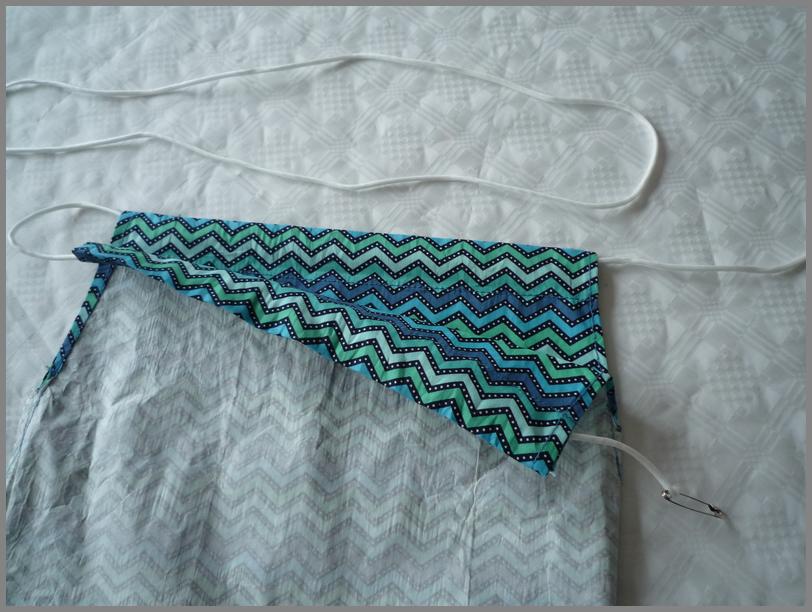
Mark 7 cm from the top edge, fold the fabric over twice and iron it. Then sew this section to the bottom edge to create the drawstring for the paracord ribbons. Pull the straps through using a safety pin .
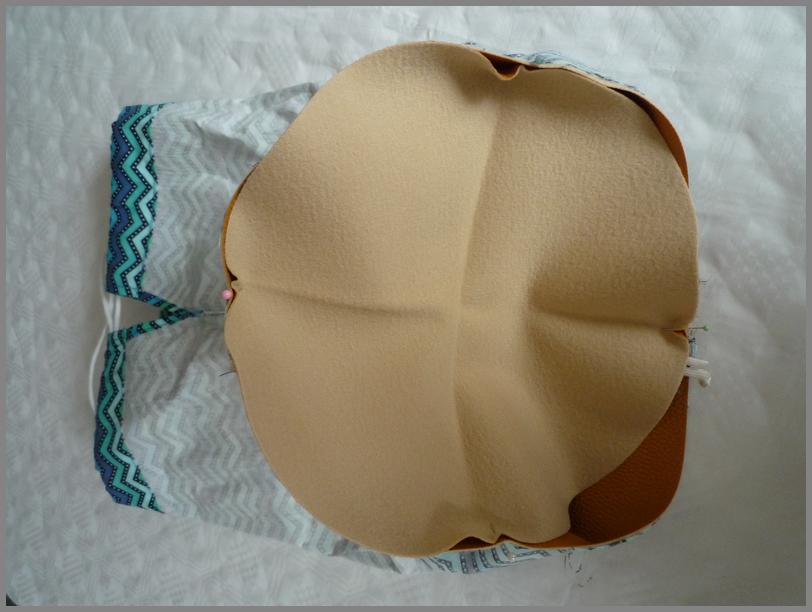
Step 6: Sew the gym bag together at the end
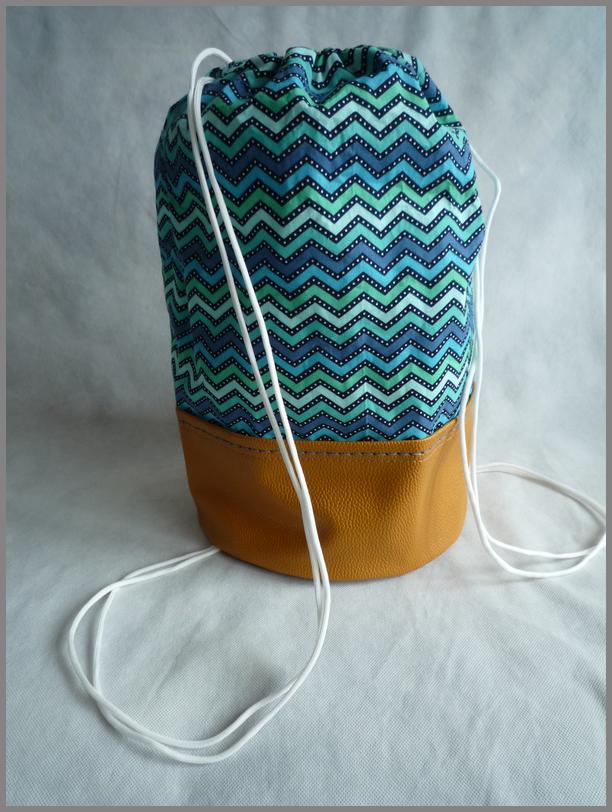
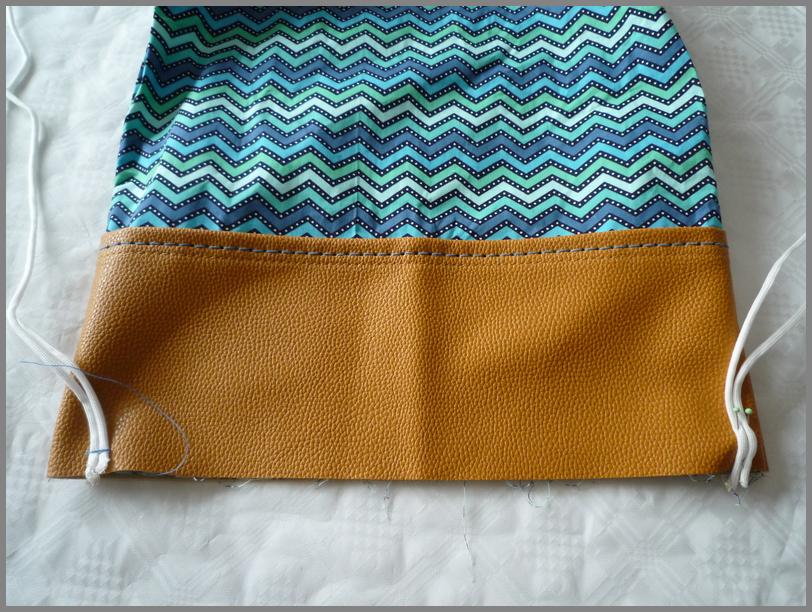
Turn the bag inside out and secure the bottom with pins. Now sew the bottom neatly in place. Your gym bag is finished!
