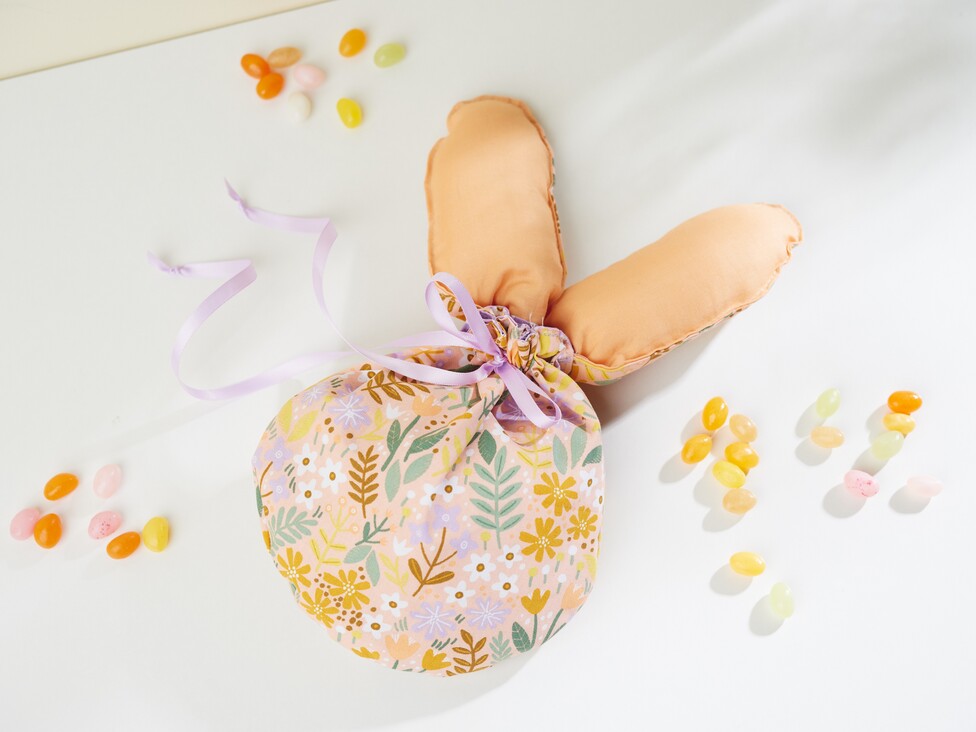
How to sew the cute bunny pouch:
Cuttings:
2x bunny ears for front
2x rabbit ears for back
2x outside pocket for outside
2x inside pocket for lining
1. Print out the templates and transfer them to the desired fabrics as indicated above. The seam allowance is already included.
2. Place the bunny ears on top of each other right sides together and topstitch the curve. Leave the short straight side open. Slightly cut in at the curves for easier turning and shaping of the ears. Please only cut in carefully, do not cut into the seam. Now turn the ears over. 3. Now take one outer and one inner pocket piece, place them right sides together and sew the straight side together. Leave a turning opening in the middle.
4. Now place the second outer pocket piece on your table, right side up. Place the bunny ears on top so that the edges are flush. Leave about 1.5 cm space to the right and left of the bunny ears. Now place the second pocket inside right sides together and sew the top straight edge together.
5. You now have two egg-shaped pieces of fabric. Now pin them together so that the seams meet. Topstitch everything together all around and then trim back the curves slightly again or cut in up to the seam.
6. Turn your bunny bag through the turning opening and iron it afterwards.
7. Topstitch the top edge to close the turning opening. Repeat with another seam about 1.5 cm below the first seam.
8. Carefully separate the seam on the side of the bunny bag between the two parallel seams.
9. Pull your desired ribbon through the opening. It is easier to do this with the help of a safety pin at the front of the ribbon.