Schmuck aus FIMO
Anleitung No. 1812FIMO gives you a variety of processing options. Besides the classic FIMO, which is available in countless colours, there is now also new FIMOleather which, after hardening, has a great leather look and can even be sewn. In our instructions we show you different ideas, FIMO into beautiful pieces of jewelry.
FIMO Leather earrings in leaf optics:
Now carefully pull this surface apart so that the fibres of the material stand up and the leather look is created. Important: Stretch in one direction only, otherwise the effect will be cancelled out
Now take a domed, ovenproof object such as a pot Terracotta-to help and place the FIMO around it. The FIMO Place the plate with the ovenproof object in the oven at 130 degrees for approx. 30 minutes and then let it cool down. Then cut out two leaf shapes, which taper narrower at the top end. These ends must later fit into the closing set when slightly twisted together.
Now choose the beads you want to put on two bead pens. Punch a hole in the upper end of the sheet with the hole puncher. Bend a hook into the end of the bead pins and hook it into the hole of the leaf. Tip: The best way to form the hook is to use two pliers. With one pair of pliers you hold the pin firmly and with the other you bend the hook.
Now bend the leaves around the bead pins and insert them with or Jewellery glue superglue into the closing set.
After drying, open the eyelets of the closing set, remove the link chain and replace it with earrings.
FIMO LEATHER Chain and earrings from stripes
To obtain a nice colour gradient, bevel the individual "plates" with the Cutter and put them together. Now crank through stage 2.
From now on you only still fold. Always fold in such a way that a slightly diagonal course of the colours is created. Crank through the machine so that the closed end of the FIMO-Fold is pulled into the machine first. Repeat this process until a clean colour gradient is visible.
Then correct the resulting plate slightly at the edges. IMPORTANT: At least 10 x 10 cm are required / or 5 x 20 cm.
Now form a second plate, which consists only of one colour and at least the dimensions of the "flow plate". Then place the gradient plate on the second plate, crank everything through the machine once at stage 2 or 3.
Now the material can be stretched in one direction so that the FIMO Fibres stand up and the leather look comes into its own. Harden your finished plate on a baking tray (colour gradient points upwards!) for 30 minutes at 130 degrees and let it cool down again.
The plate can then be cut. Cut out two 10 x 1.5 cm strips and one 10 x 4 cm strip. Now leave 1 cm space for the later "top end" of your pendants and start cutting thin, even strips of about 3 mm into the material. Then bevel the individual pieces.
With the hole puncher you can now make holes for the eyelets, pull the eyelets through and then and fasten them.
FIMO Jewellery with the extruder
Knead the ribs of the desired colours well and wind them with the appropriate attachments through the Fimo extruder.
Roll out the base colour gradually to level 4 of the modelling machine.
Now fold up the sections of the extruder and wrap them with a layer of the base colour from time to time. In this way, new and incomparable great patterns are always created. Continue in this way until a pattern is created. Now the FIMO-Split the roll in the middle and place the pattern next to each other.
If you are satisfied with your laid pattern, coat the piece one last time with the base colour. Roll lightly with the acrylic roller over it, so only firmly that everything is pressed together. The shape should be kept during rolling! Start by cutting off slices. Place these slices on a rolled out, thin Fimo square for the pendant and a strip for the one in your desired colour Bracelet and press them lightly together. For the one Pearl disc, roll it into a bead shape. Through Pearl and into the pendant a hole is pierced at the top for later hanging up. Bend it Bracelet in the shape of your wrist and burn it together with the pendant at 110° for about 30 minutes in the oven. After cooling down, cover with varnish.
After cooling down, you can thread the pendant and these on a cotton Pearl or leather band and close it with a knot.
FIMO Cabochon Decoration pendant:
Now cut off small pieces of different colors of the FIMO and knead well. Roll out to extremely fine snakes and then form and pick up with a tingling needle.
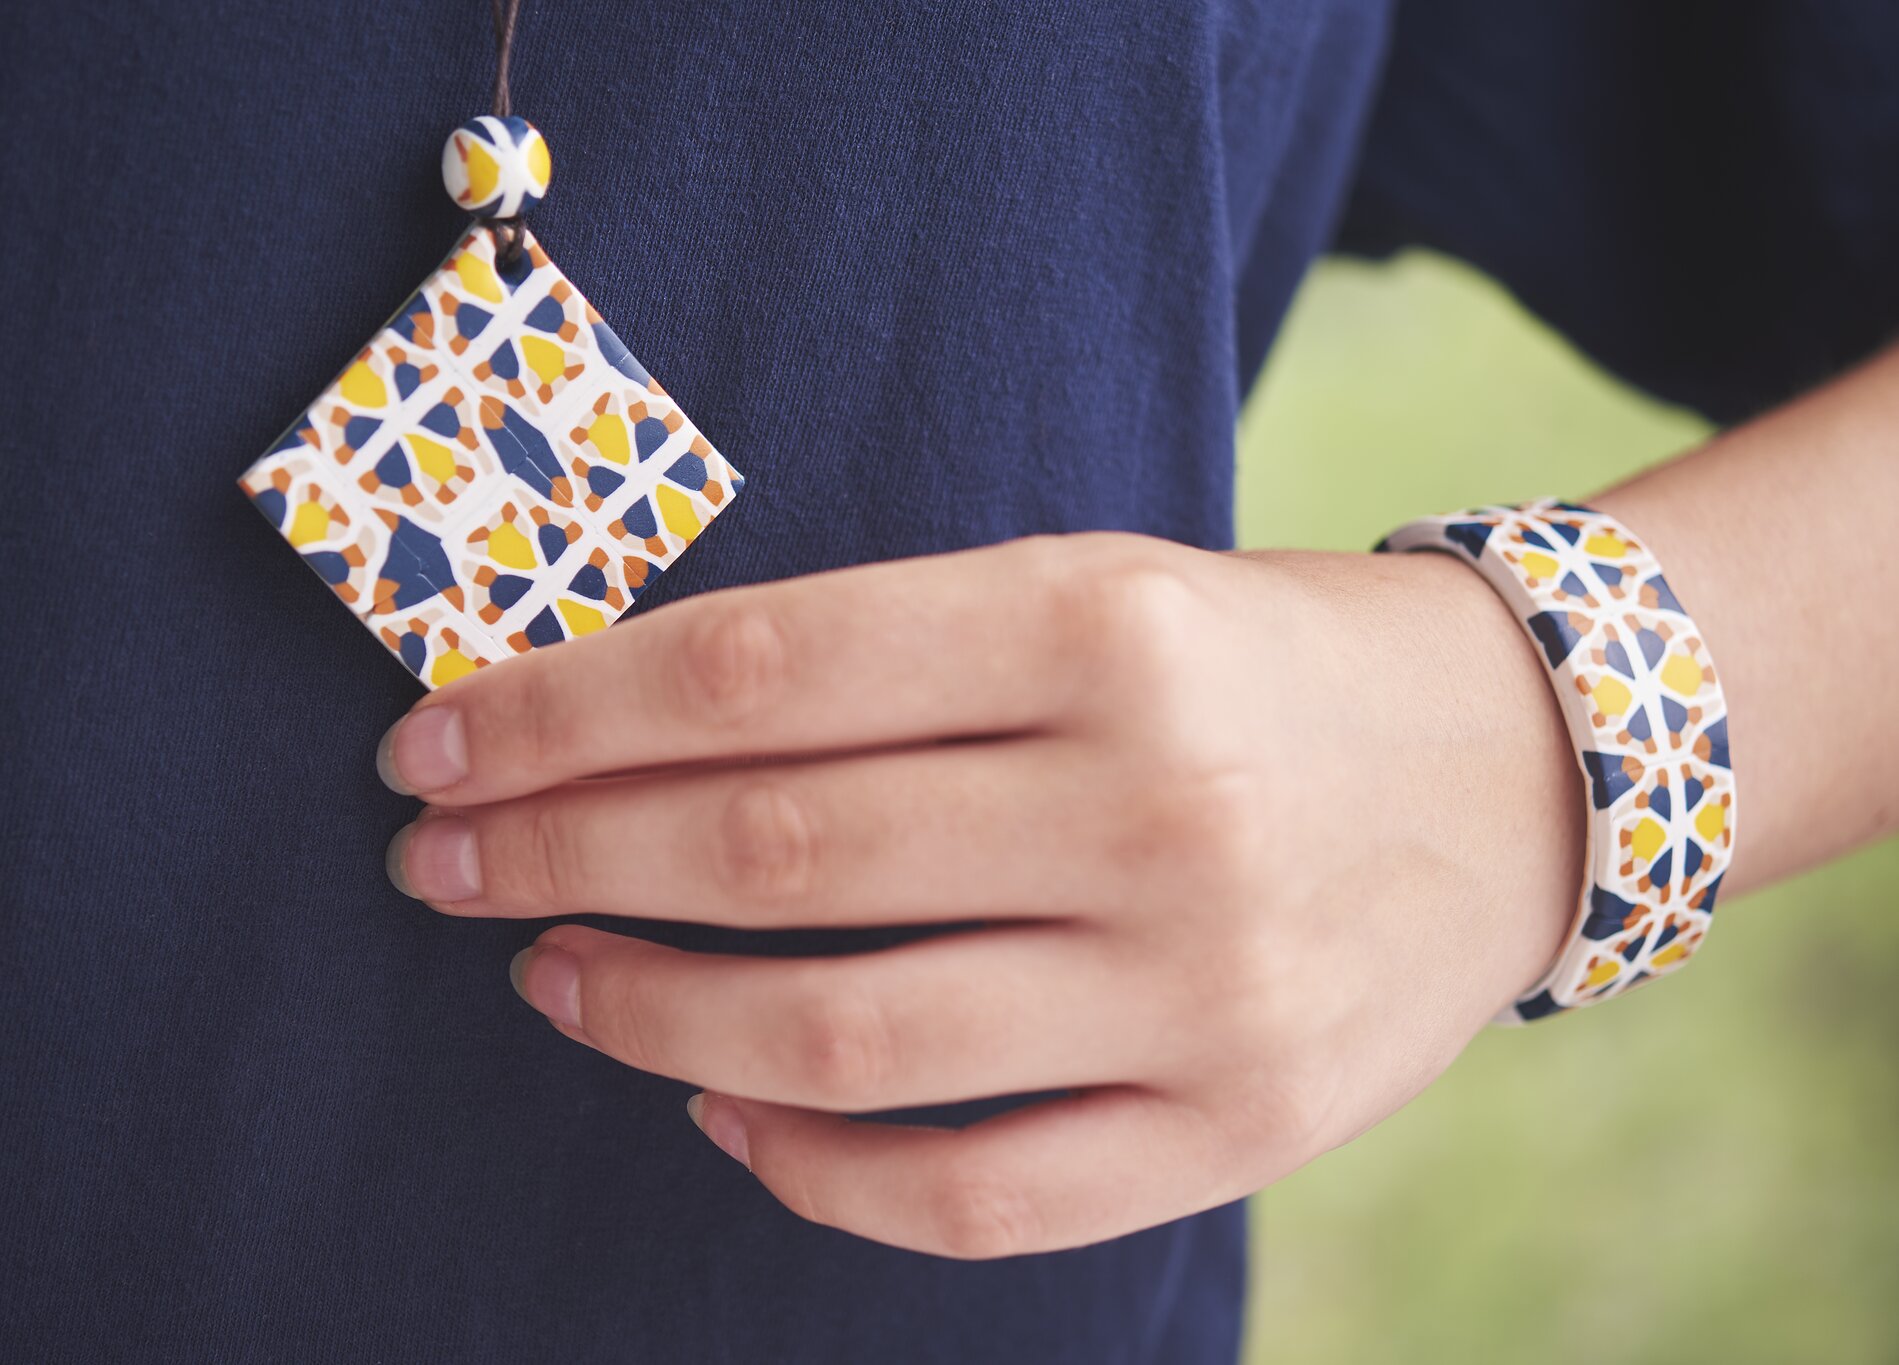
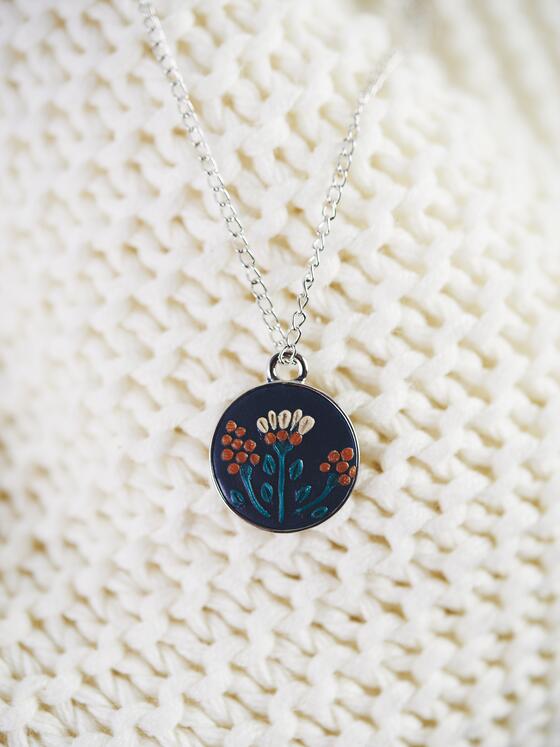
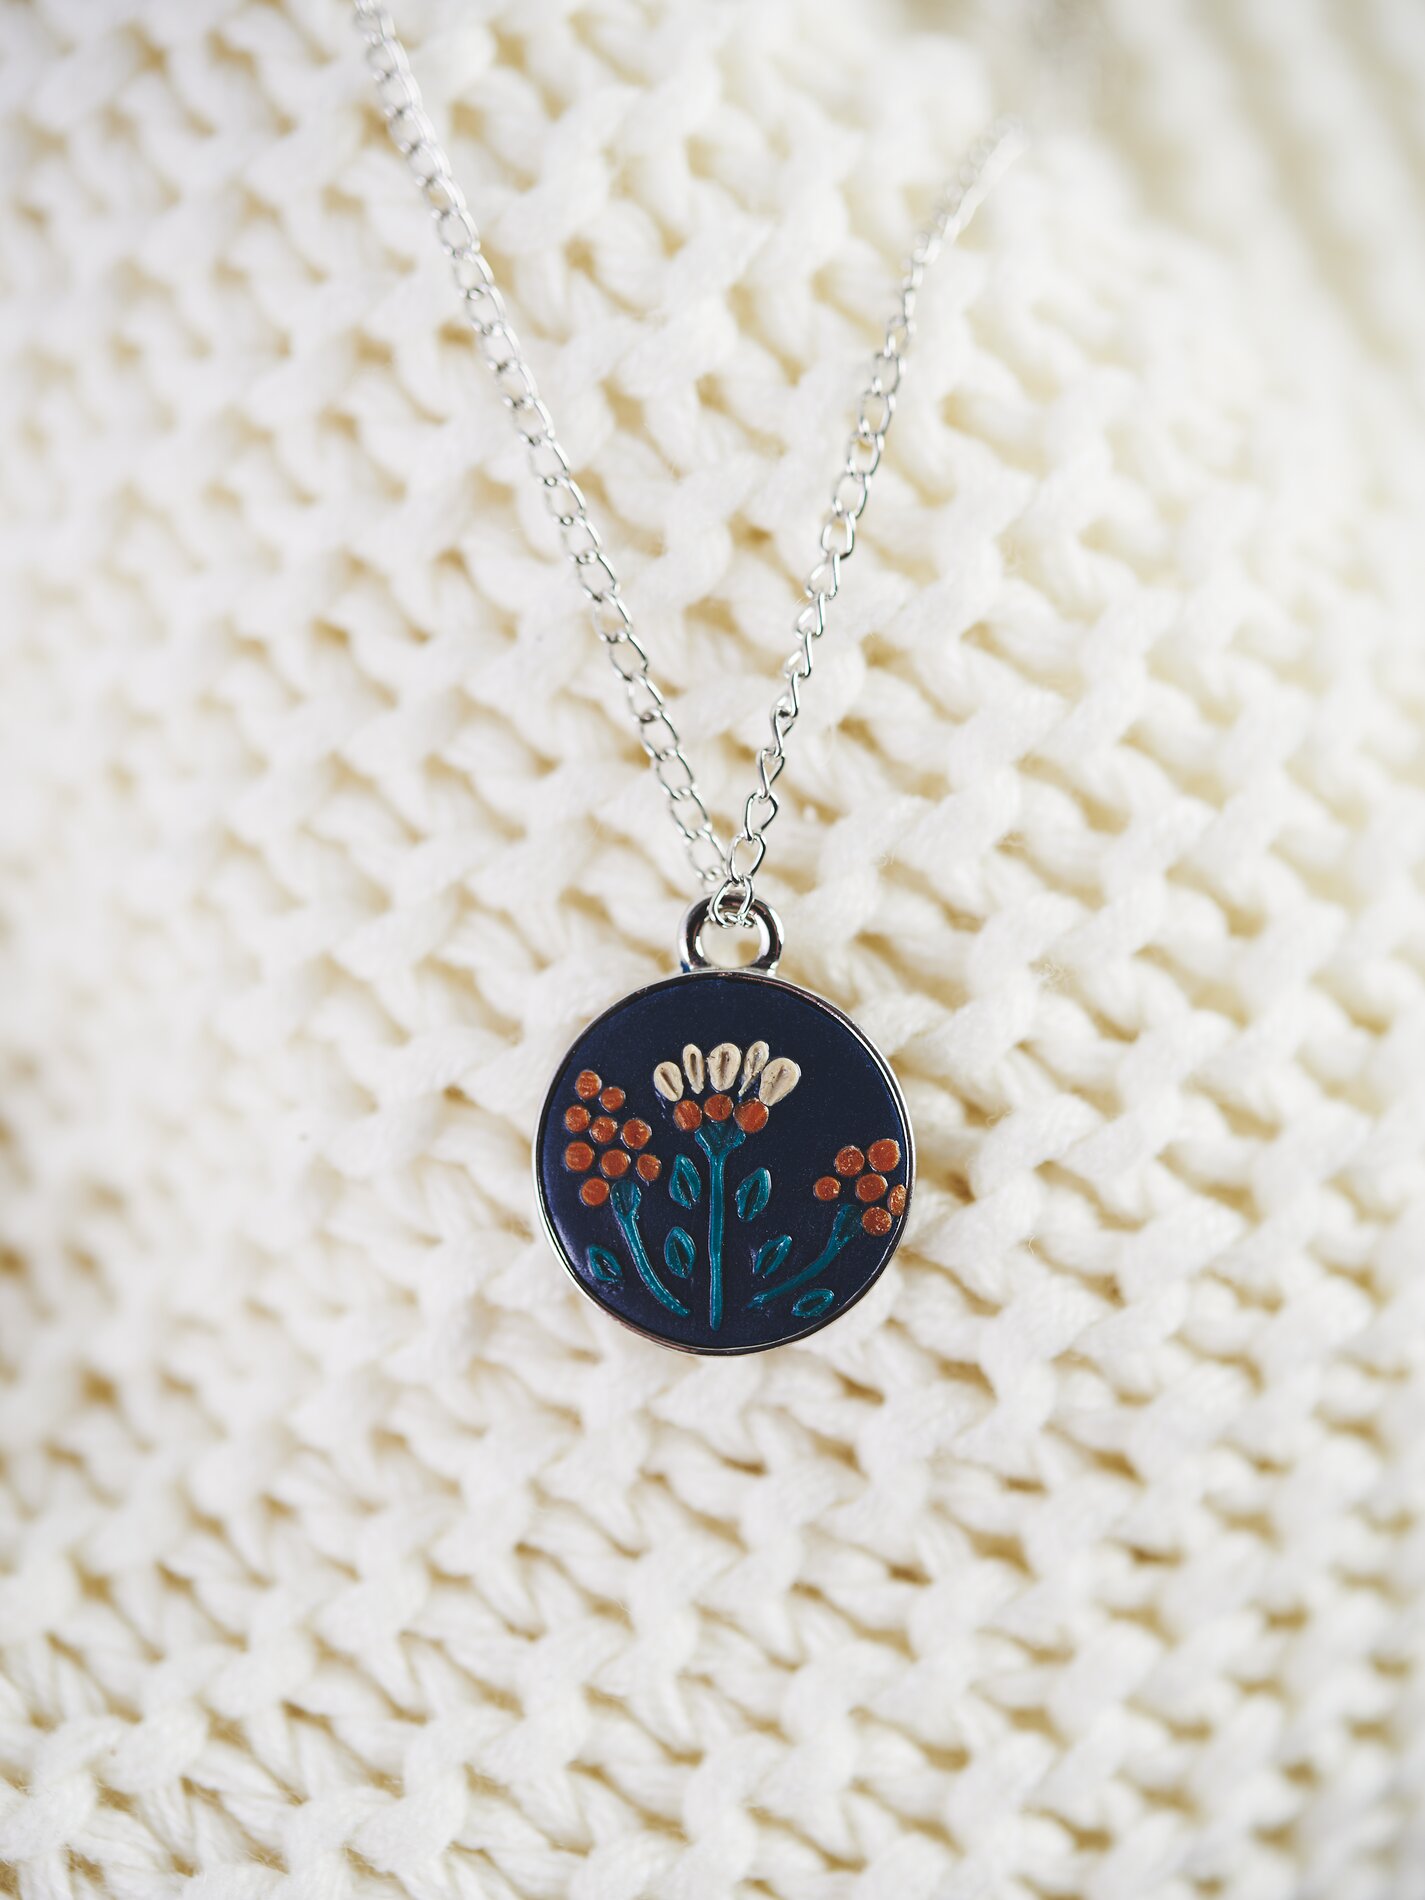
Carefully press your shapes into the base colour that has already been placed in the pendant. In this way you will gradually model a picture on the pendant.
Harden your trailer in the oven at approx. 110° for 30 minutes, let it cool down. Afterwards you can refine your trailer with lacquer.
A cabochon pendant does not look good as a only jewelry pendant, but looks great as a key ring and is also a nice gift idea!