1. Stable surface made from wooden blocks as a base
Start by gluing wooden blocks together using handicraft glue to create a stable base for your winter landscape. Glue together as many blocks as you like; we recommend a surface of 3 blocks long and 13 blocks wide. To do this, glue three rows of 13 craft blocks together along the long edge. Then glue the three "rows" that you have created together vertically to create a rectangular surface. Leave the surface to dry completely. It will then be stable enough to serve as the base for your miniature installation.
2. Lighting for the metal star
Carefully wrap the chain of light around the metal star. Use hot glue to fix the star securely between two upright blocks. Make sure it is firmly attached so that the decoration remains stable.
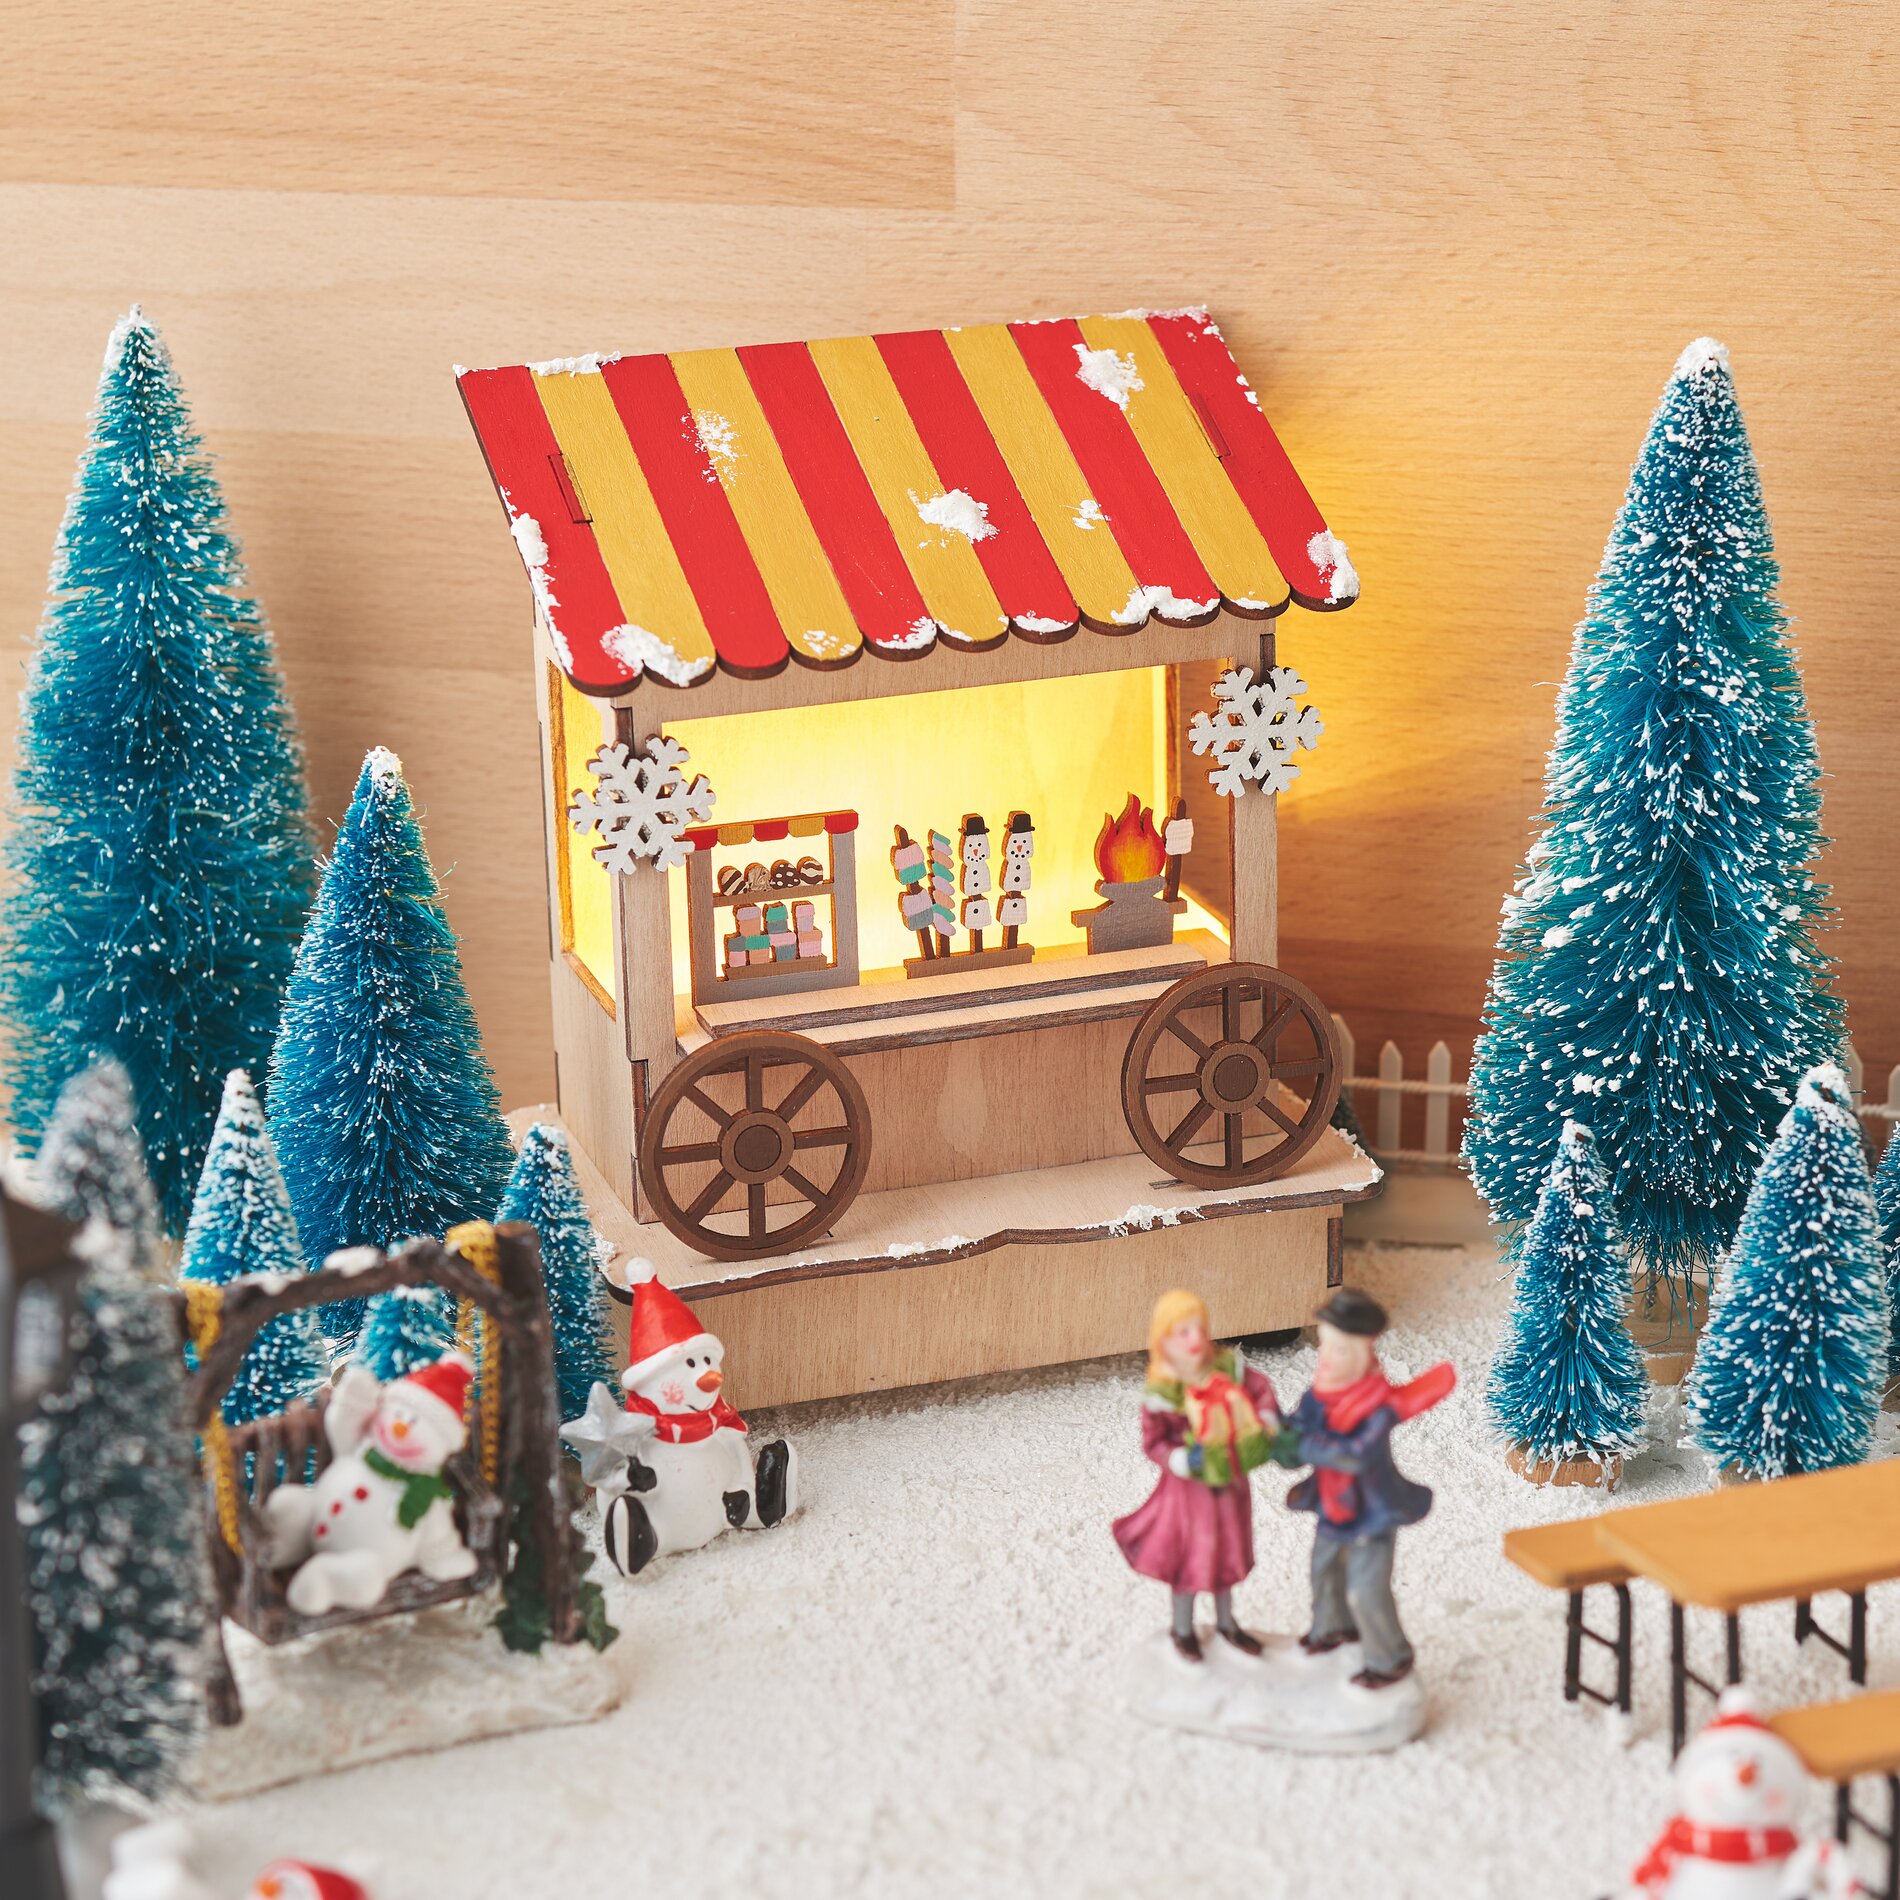
3. Painting the market stall
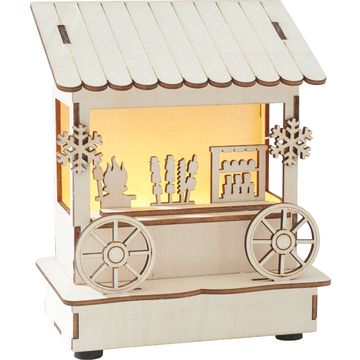
The VBS wood building kit "Market stall" consists of individual wooden parts. Paint these parts according to your personal taste with VBS handicraft paint. As soon as the paint is completely dry, assemble the miniature stall with the help of VBS handicraft glue together.
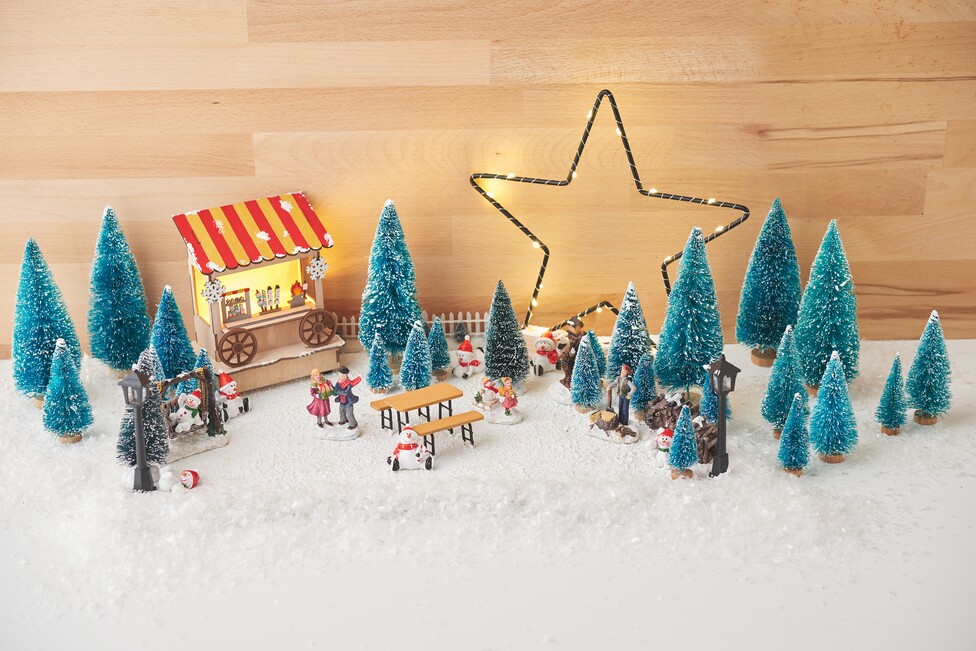
4. Creating a snowy landscape & placing miniatures
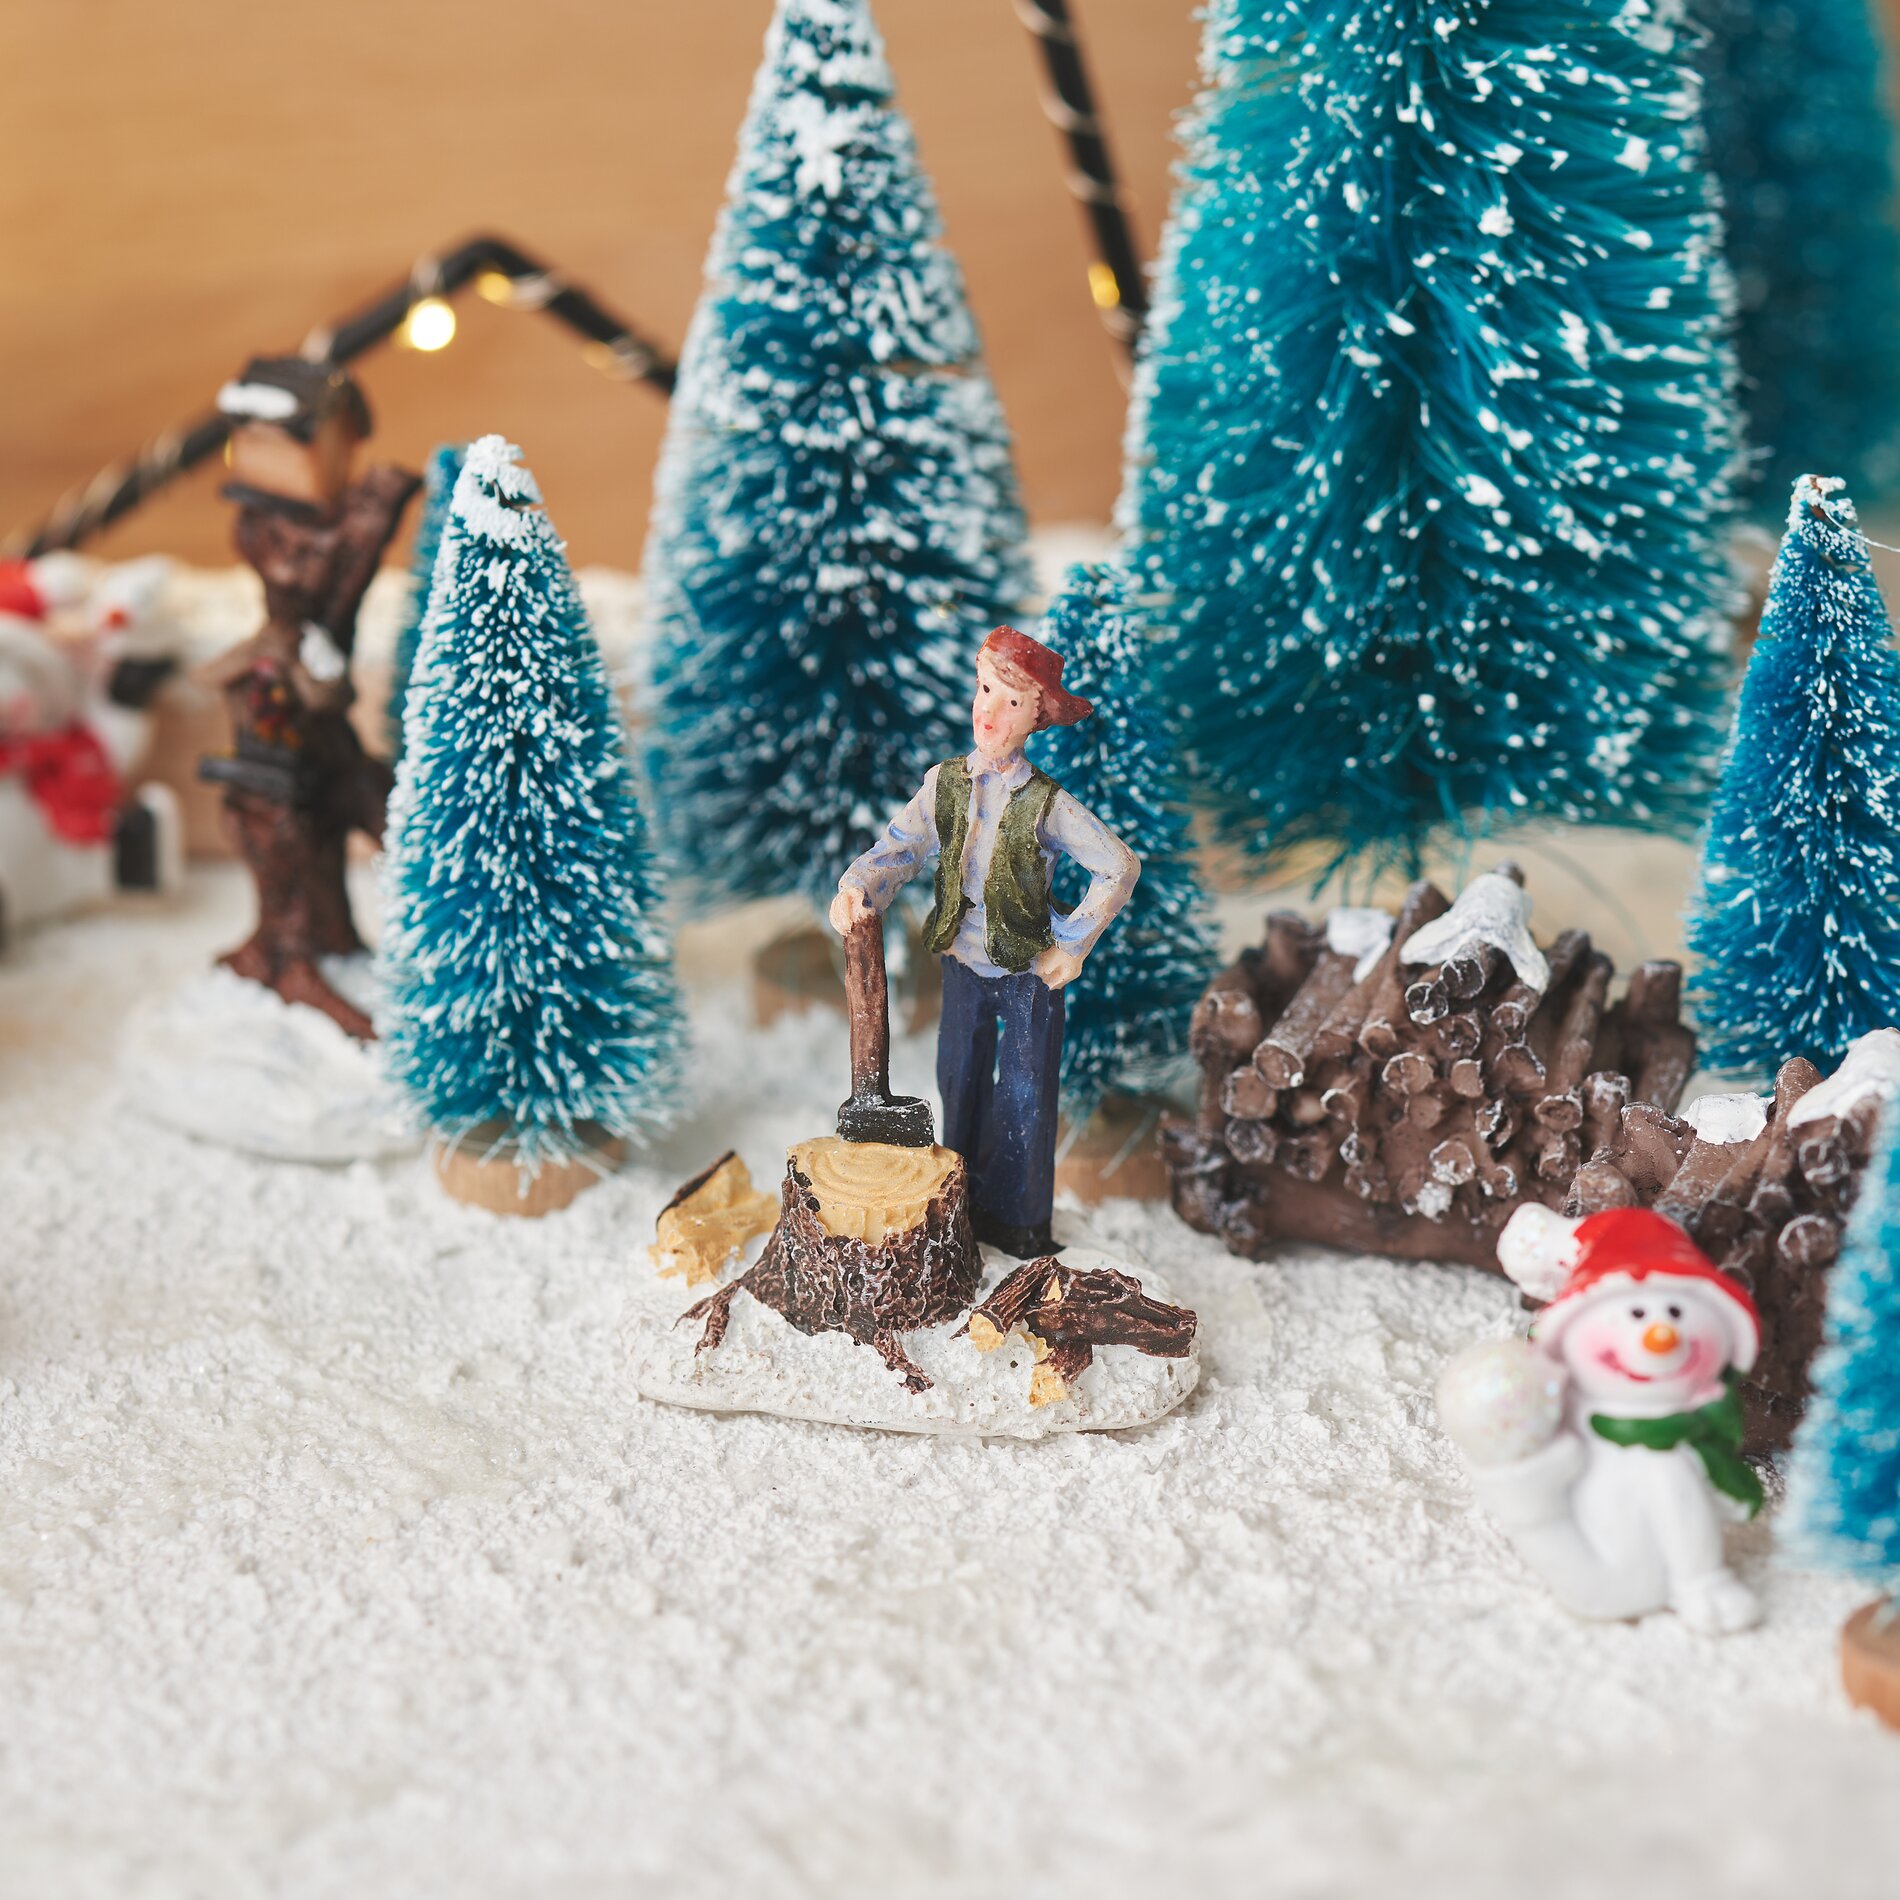
In the next step, use the plastic spatula to evenly distribute the VBS Decorative snow and also VBS Decorative snow glitter on your wooden block plate to create a lively look.
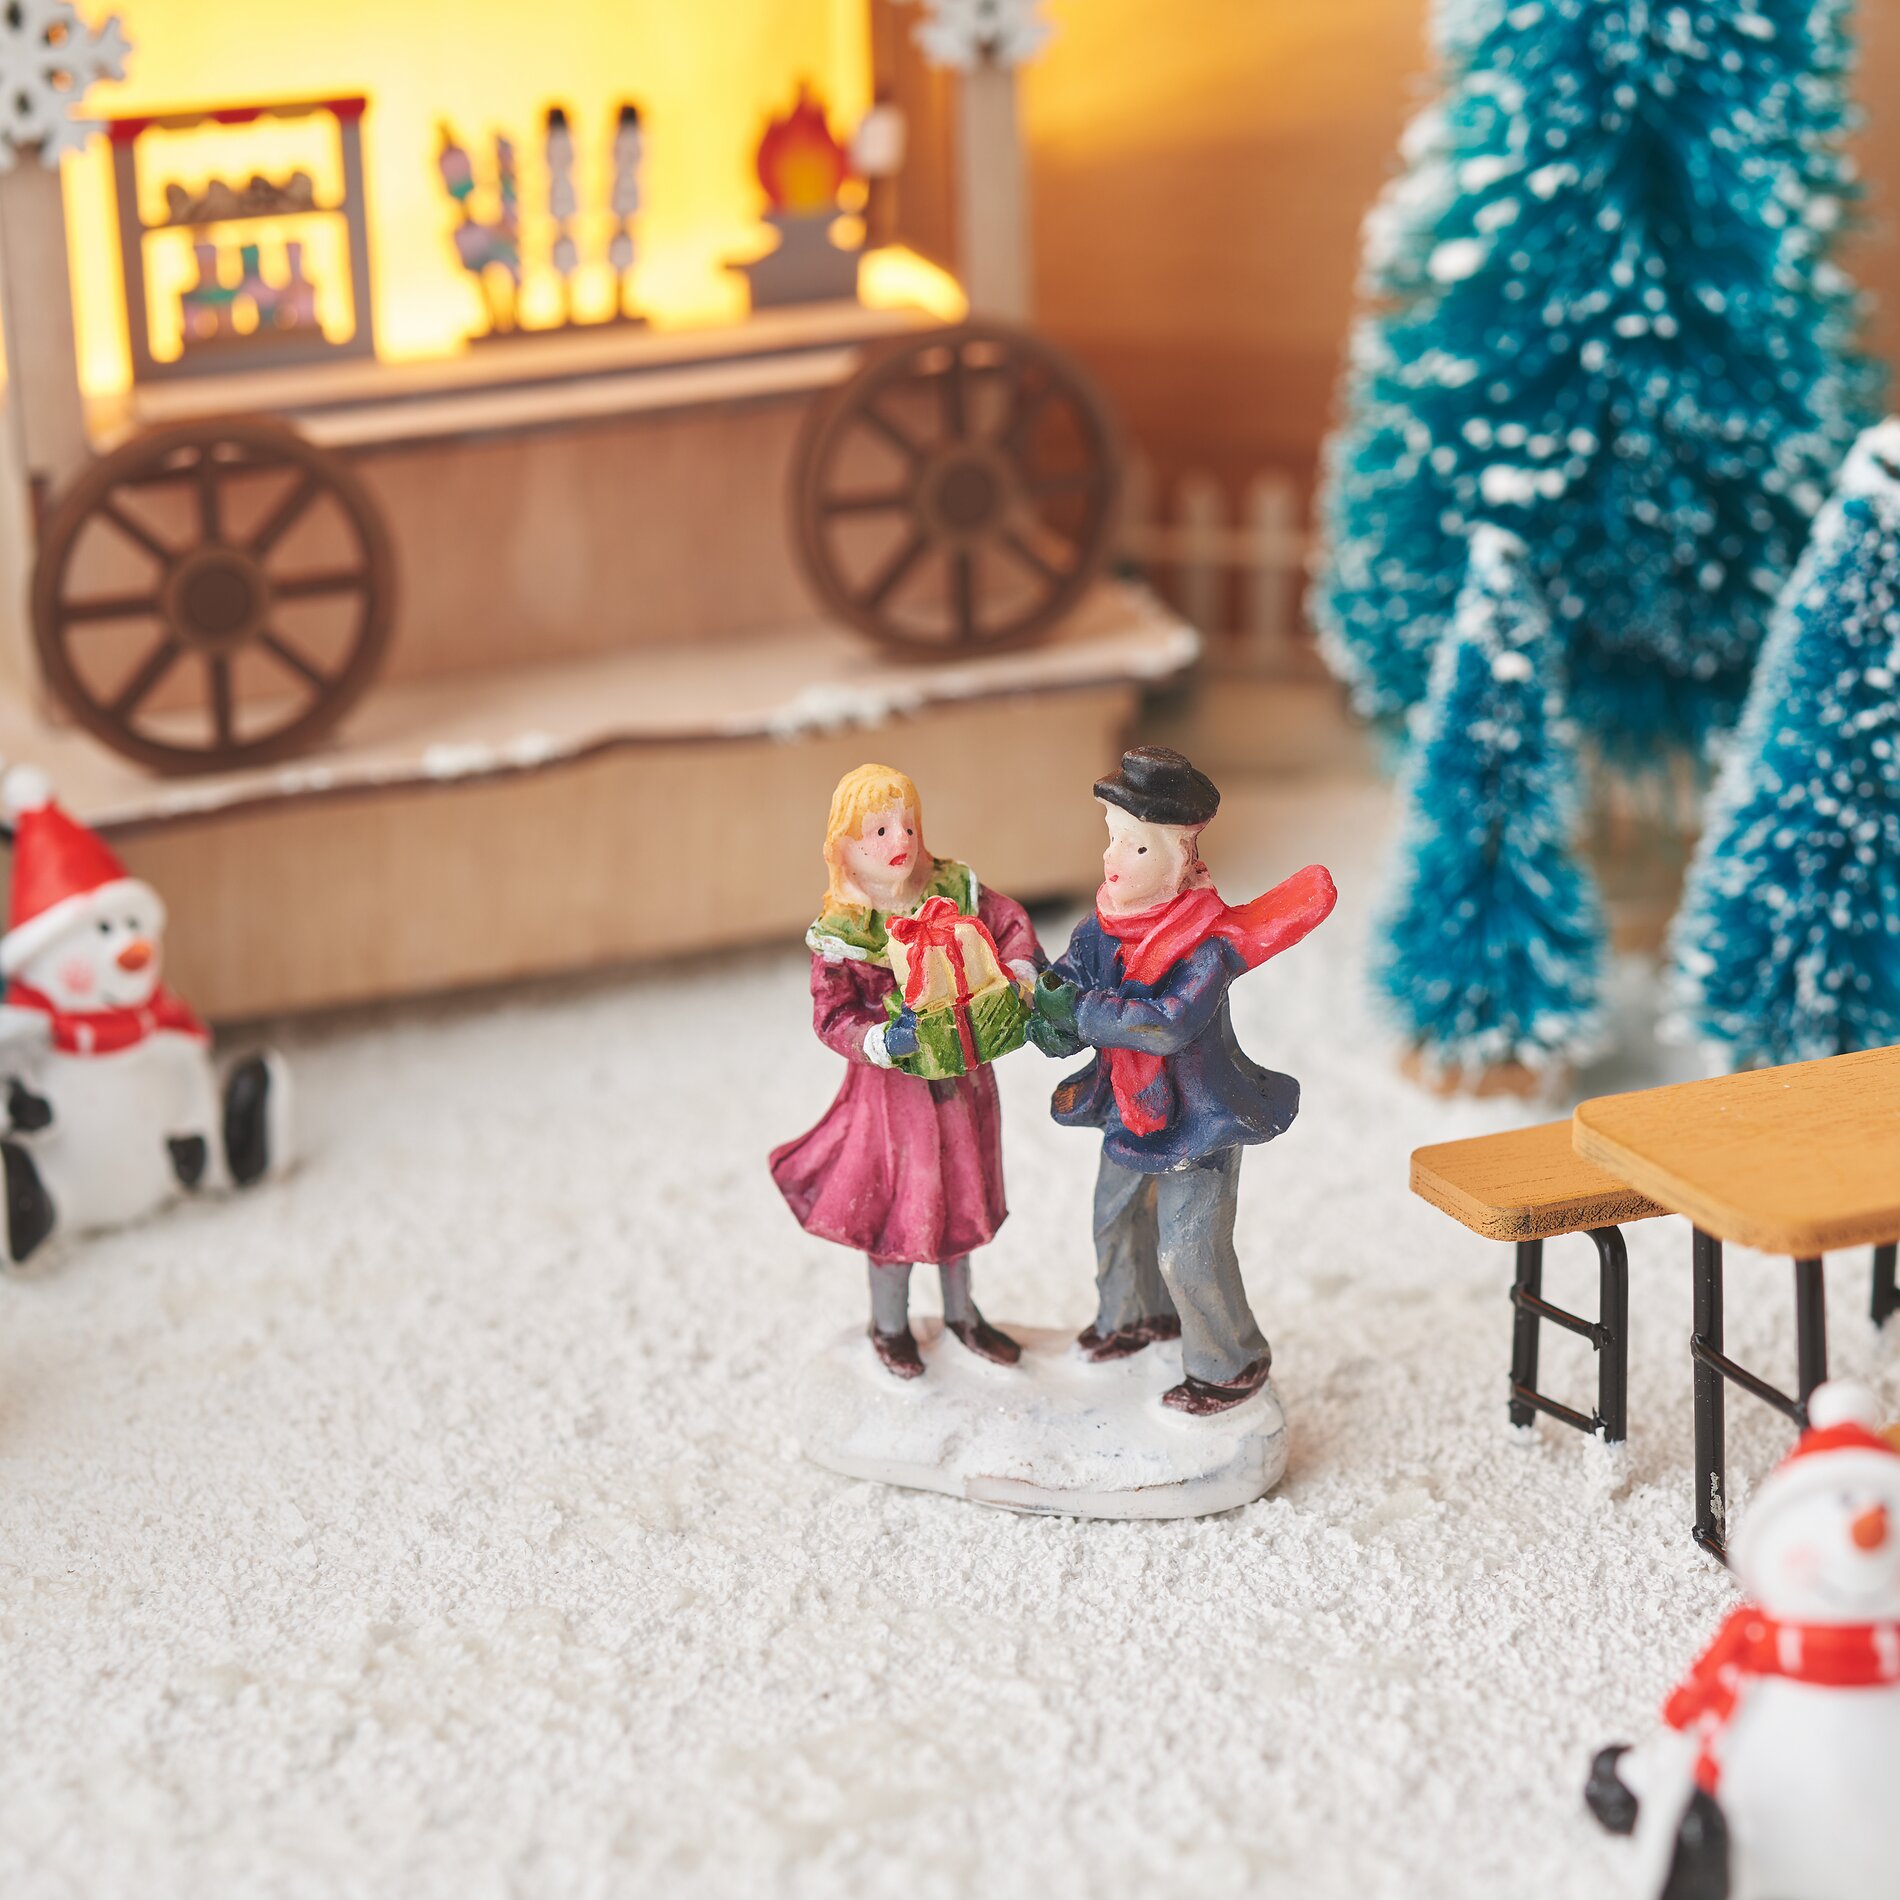
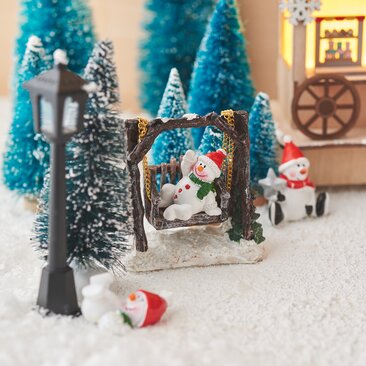
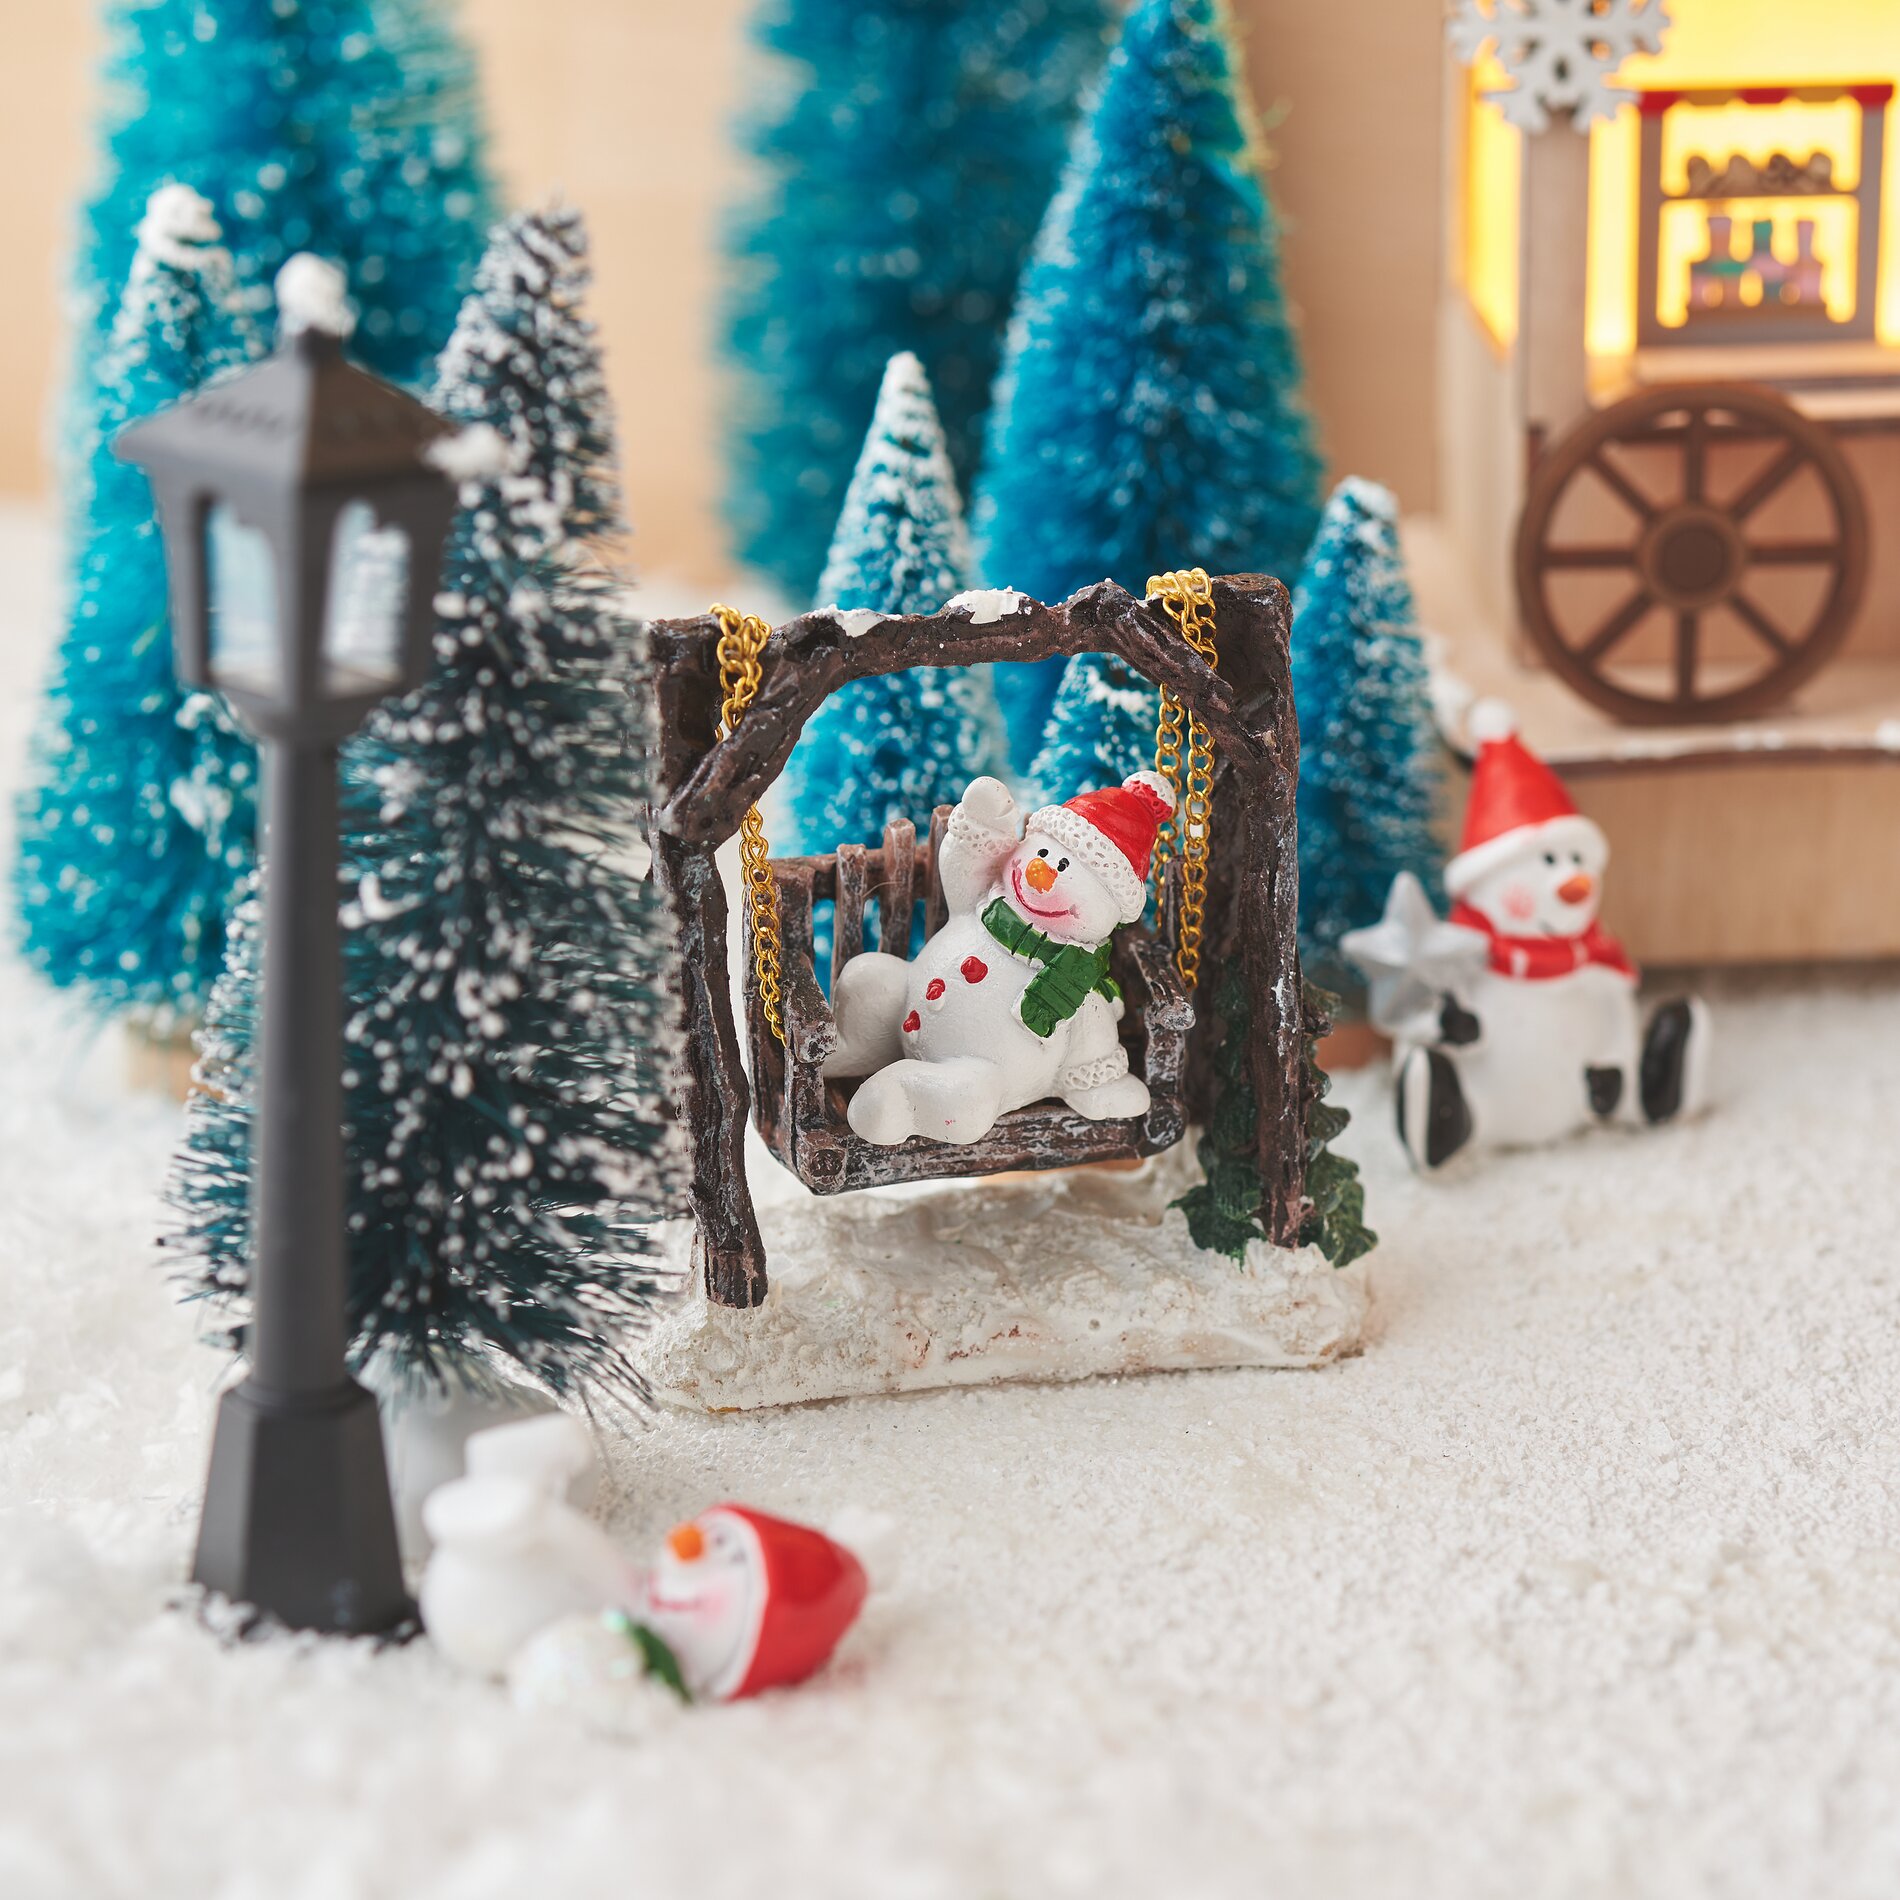
Then, while the snow is still wet, place the miniature fir trees, the miniature beer table set, the lanterns, snowmen, the miniature winter set and the star in the layer of snow. These accessories will be glued in place as soon as the decorative snow has dried.
Therefore, make sure that you do not cover the battery compartment of the chain of light with the decorative snow so that it remains accessible. Once everything is completely dry, insert the market stall into the snowy landscape.