- Secure order
- Easy return shipment
- Service-Hotline +31 20 809 5778
Instructions No. 3330
Difficulty: Beginner
Working time: 2 Hours
The question of a suitable wedding gift can be tricky. While some brides and grooms have a preferred gift list, others want creative or personalized gifts. If you're looking for original packaging for a monetary gift or a unique extra, then a handmade wedding picture is just the thing for you! In this step-by-step guide, I'll show you how to create such a work of art.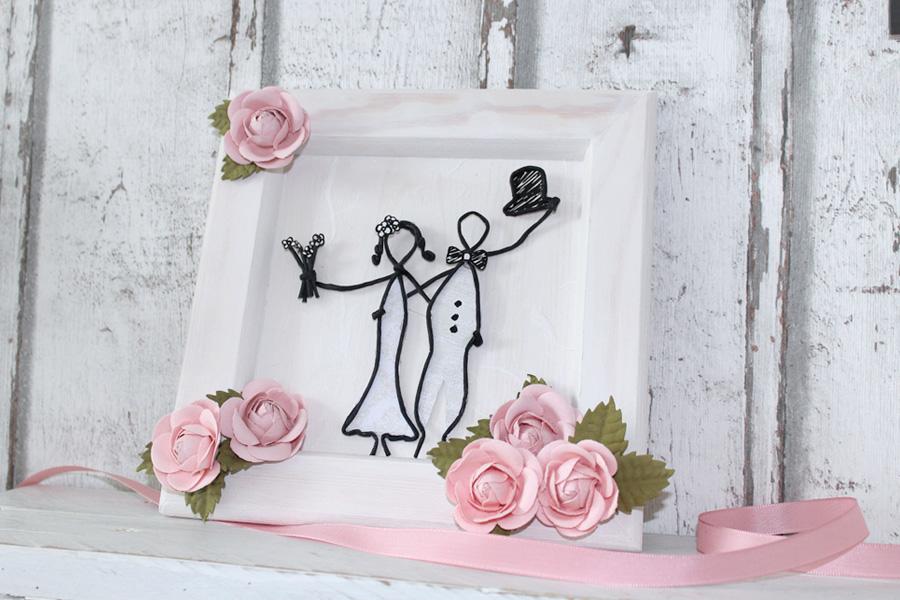
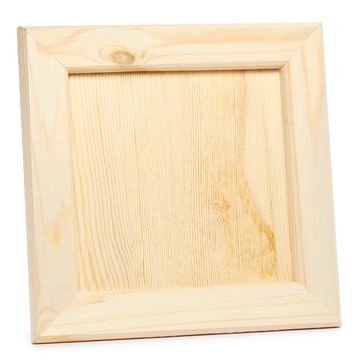
Step 1: Prepare the picture frame
Start by painting the picture frame white. Then let the paint dry. Meanwhile, cut the straw silk paper to 15 x 15 cm to fit into the inner square of the frame.
After the paint has dried, glue the straw silk paper into the frame. Use napkin varnish for this and paint it with a brush from the center outwards. Alternatively, you can use handicraft glue by fixing the straw silk paper at the edges and in the middle.

Step 2: Make the figures
Draw the required elements for the figures on the motif-Paper and cut them out. The figures, including outstretched arms, should fit on the picture and be about 10 cm tall.
Decorate the paper elements with a marker. Then cut three pieces of paper wire to outline the hats, dresses and suits. Bend the wire so that it follows the contours of the pieces of paper. For the heads, twist an eyelet in the middle of the longer pieces of wire.


Attach the paper wire to the paper elements using minimal amounts of hot glue. If you prefer to use handicraft glue , fix the wire with staples while it dries. Then add further wire elements such as hair, flower stems and arms. Wind the ends for the hair a little and attach flowers to the wire with glue.
Glue the Mrs. 's hair and a large flower to her head and the man's bow tie to his neck and hat.

Finally, arrange the figures so that they are hugging each other and glue them together at the arms and back for better support.

Step 3: Finish the picture
Glue the finished figures into the frame. If necessary, bend the wire one last time. Finally, glue the roses or other decorations to the frame. The finished wedding picture is a unique, personal gift!

I hope these instructions have helped you to create an enchanting wedding gift. Visit our online store and get the right materials for your next craft project. Have fun designing!