- Secure order
- Easy return shipment
- Service-Hotline +31 20 809 5778
Instructions No. 3372
Difficulty: Beginner
Working time: 1 hour
Bowls are not only only practical, they are also real eye-catchers in any room. So why not make your own individual bowl out of concrete? This DIY-Instructions show you how easy it is to make your own unique creation with modeling clay. The advantage: you don't need a kiln and can give free rein to your creativity. Concrete is timeless, durable and fits perfectly into any decor. Find out now how to make your own bowl from modeling clay step by step!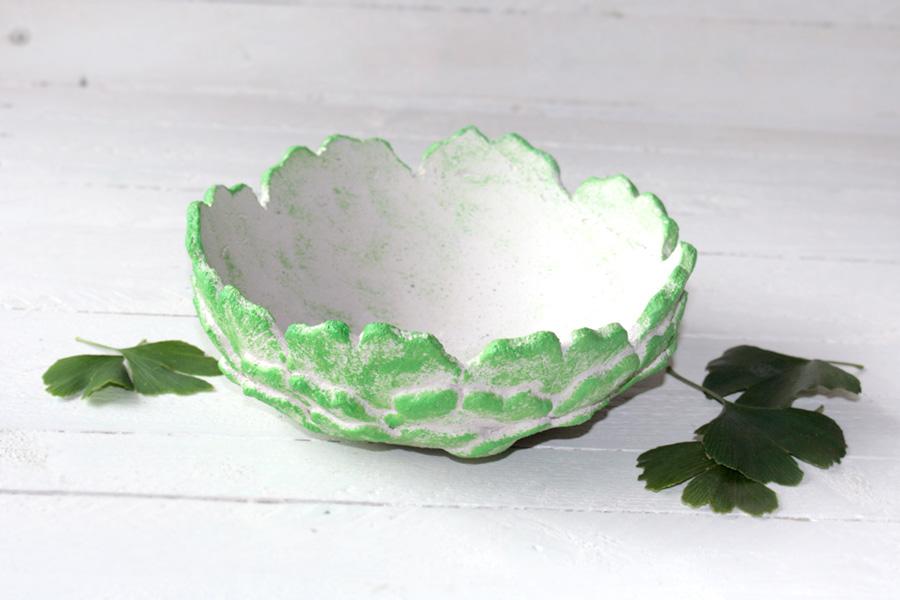
Preparing the kneaded concrete
Before you start, make sure you put on disposable gloves! The concrete can corrode the skin and should therefore not come into direct contact with it. Also avoid inhaling the dust, as it can irritate the lungs.
For the Processing of material: you have about one hour time before the concrete hardens. However, small amounts will naturally dry faster, so it is best to work in smaller portions. Pour the kneaded concrete into a suitable container and gradually add water until you have a malleable, slightly crumbly mass. If the mixture becomes too wet, simply add more concrete.
Now place the inflated balloon in another container so that it cannot slip. Cover the surface of the balloon with some of the concrete mixture. You can shape the size of the base as you wish. A slightly wetter mixture is better for this.

Shape and decorate the bowl
Now it's up to you to be creative! You can either create shapes with cookie cutters or shape your own elements by hand and place them on the existing concrete. If an element does not adhere, lightly moisten the interfaces with water and press it down carefully.
To smooth the concrete or close gaps, lightly moisten the glove and apply light pressure to the relevant areas. Make sure that the bowl is even and without gaps, as the concrete has weight and can easily slip away.

Once you are happy with your work, you can work in additional structures with a shashlik skewer or emboss the surface with other materials.

Drying and finishing touches
The bowl should be left to dry for at least 24 hours. The drying time varies depending on the thickness of the layer, but you can tell when it is dry because the concrete becomes lighter in color and sounds hollow when you tap it lightly.

Once dry, you can carefully cut open the balloon and allow the air to escape. To dry out any residual moisture inside, leave the bowl to stand for another hour or two.

Your bowl is now ready for use. If any concrete fibers are still visible, cut them off and sand uneven edges for a perfect finish.
Painting and sealing
If the bowl is not colorful enough in its raw state, you can paint it however you like. A brush is suitable for large areas, while a sponge is better for using the concrete structure.
For additional protection, paint with clear varnish or deep primer to make the bowl waterproof so that it can also be used as a vase.


We hope you have fun crafting! You can find our high-quality materials in our online store. Let your creativity run wild and create wonderful unique pieces!