- Secure order
- Easy return shipment
- Service-Hotline +31 20 809 5778
Instructions No. 3515
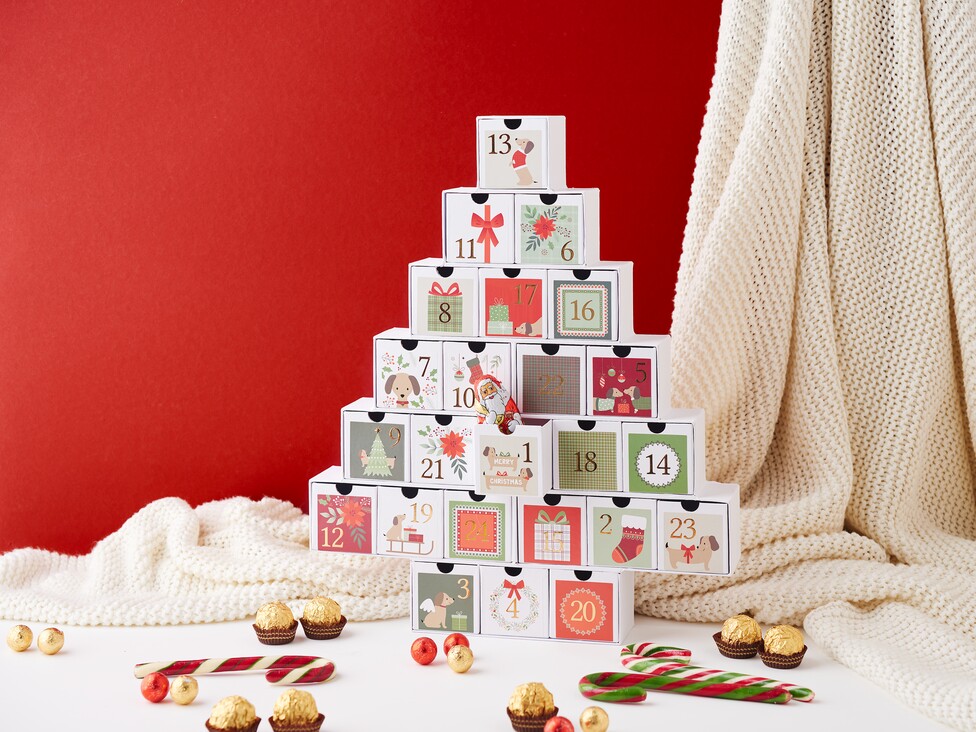

Step 1: Choose your stickers
The creative part begins with Selection the Christmas stickers that will give your advent calendar that certain something. think about which motifs, colors and themes you like best and which best suit your advent calendar . Whether traditional Christmas motifs such as stars, bells and snowflakes or modern designs - the decision is entirely up to you!
Step 2: Stick on the stickers
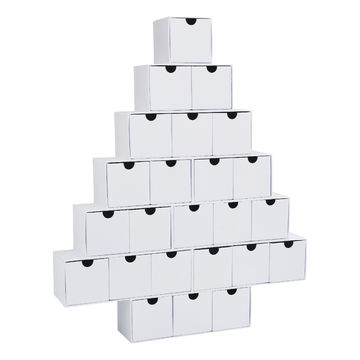
Now comes the fun part: sticking on the 24 compartments of your Advent calendar! Make sure you stick the stickers carefully and evenly on the individual compartments of the Christmas tree. Start at the top and work your way down. This will give you a harmonious and balanced overall look.
Step 3: Create a harmonious overall look
When you stick the stickers on the fans, it is important to create a harmonious overall look. Make sure that you distribute the different motifs and colors evenly over the entire calendar. This will not only only ensure that each section of the Advent calendar looks appealing, but also that all the surprises are evenly emphasized.
Step 4: Add a personal touch
If you want to give your advent calendar a personal touch, you can add more decorative elements. Perhaps a little glitter or small bows. There are no limits to your creativity!
Give your Christmas a unique touch!
With just a few simple steps, you have now created your very own advent calendar . Every day in December will be a little highlight, filled with lovely details and surprises.
Ready to breathe life into your advent calendar with your own style? Visit our online store and discover our large Selection range of Christmas stickers and other creative materials! Let your creativity run wild and create unforgettable moments for you and your loved ones.