- Secure order
- Easy return shipment
- Service-Hotline +31 20 809 5778
Instructions No. 3503
Difficulty: Beginner
Working time: 30 Minutes


Preparation: Gathering materials and placing the wreath
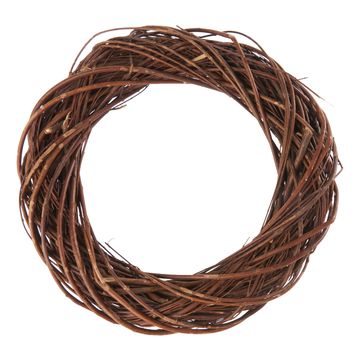
Before you start the actual work, you should make sure that you have all the materials you need to hand. Prepare your workspace by placing the brushwood wreath on a flat surface and having hot glue and a hot glue gun to hand.
Step 1: Attach moss
Start by attaching the moss to the brushwood wreath. Apply the hot glue generously to the areas of the wreath that you want to cover with moss . Carefully press the moss onto the glue and hold it in place for a few seconds until it adheres securely. Make sure to show off the natural shapes of the moss to give the wreath an organic, forest-like look.
Step 2: Prepare the cinnamon sticks and orange slices
Now cut the cinnamon sticks and dried orange slices into smaller pieces. The smaller pieces are not only easier to attach, but also create an interesting texture and variety on your wreath.
Step 3: Attach additional decoration
Take the prepared cinnamon sticks and orange slices as well as the cones, scatter decoration etc. to hand. Use the hot glue gun to attach the pieces to suitable places on the wreath. Make sure to distribute the elements evenly to achieve a harmonious overall look. During the gluing process, you can proceed according to your own taste to personalize your wreath.
Step 4: Attach jute ribbon
Finally, take the jute ribbon, cut off a sufficient piece and tie it around the wreath as a loop. This way you can easily hang your wreath on the wall or door later. Make sure the knot is tight so that the wreath hangs securely.
Now that you know how easy it is to make your own winter wreath, what are you waiting for? Give your home a personal touch and enjoy your own creativity. Visit our online store to find all the materials you need and start your winter project today!