Creative with cast resin
Instructions No. 2379
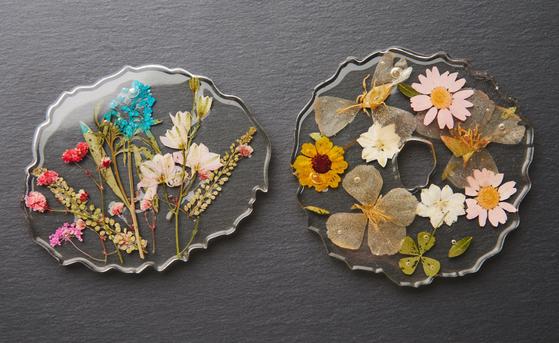
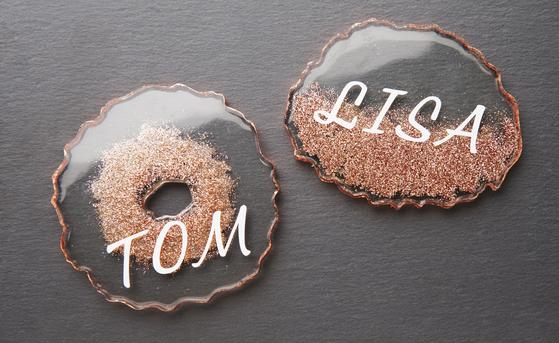
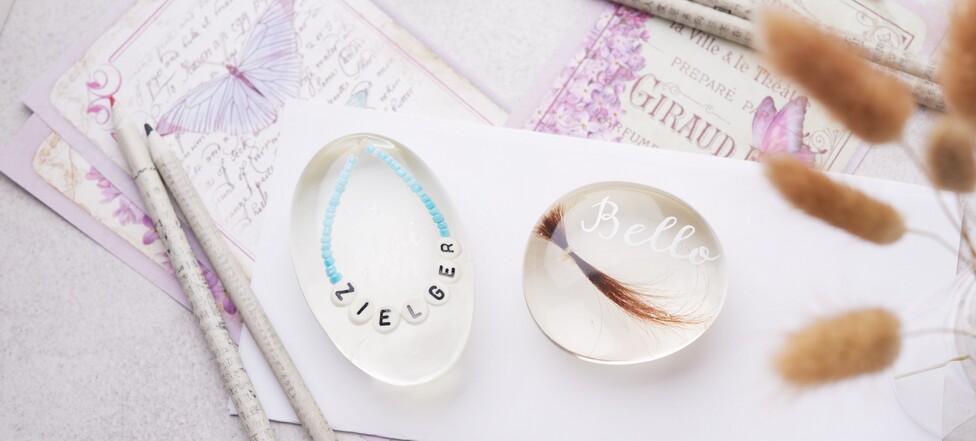
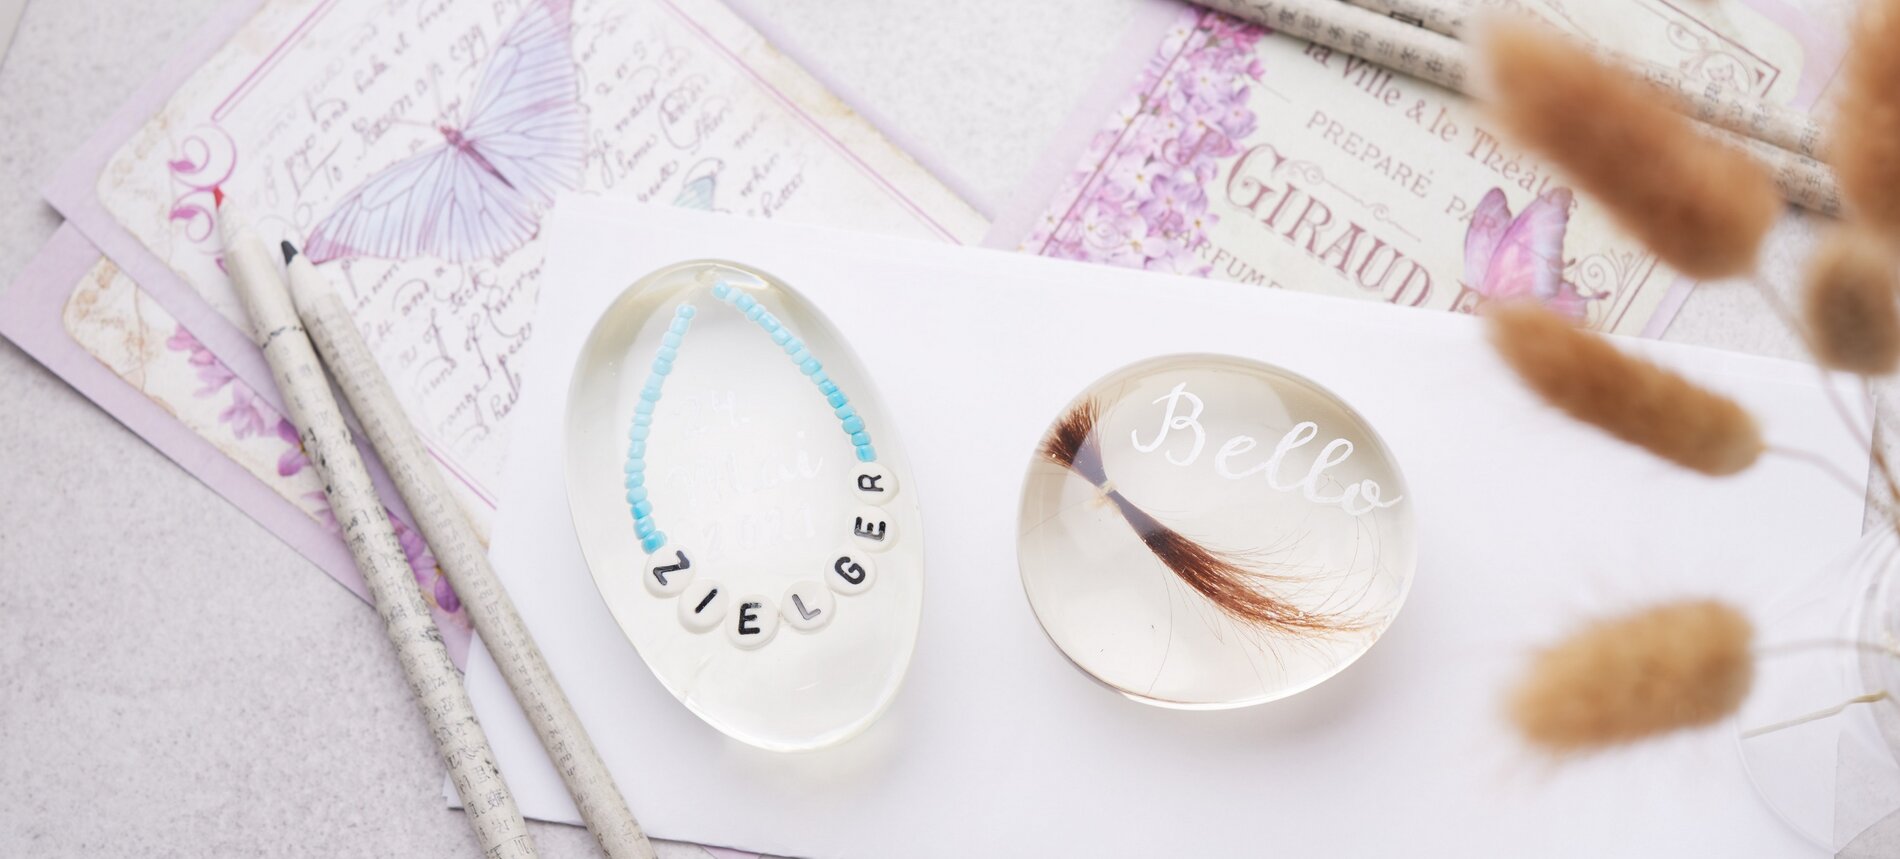
Working with casting resin is a lot of fun and particularly versatile. Because the resin can be poured into any silicone mould. If desired, decorative objects such as flowers, glitter, sprinkles, beads and much more can be incorporated into the still liquid casting resin.
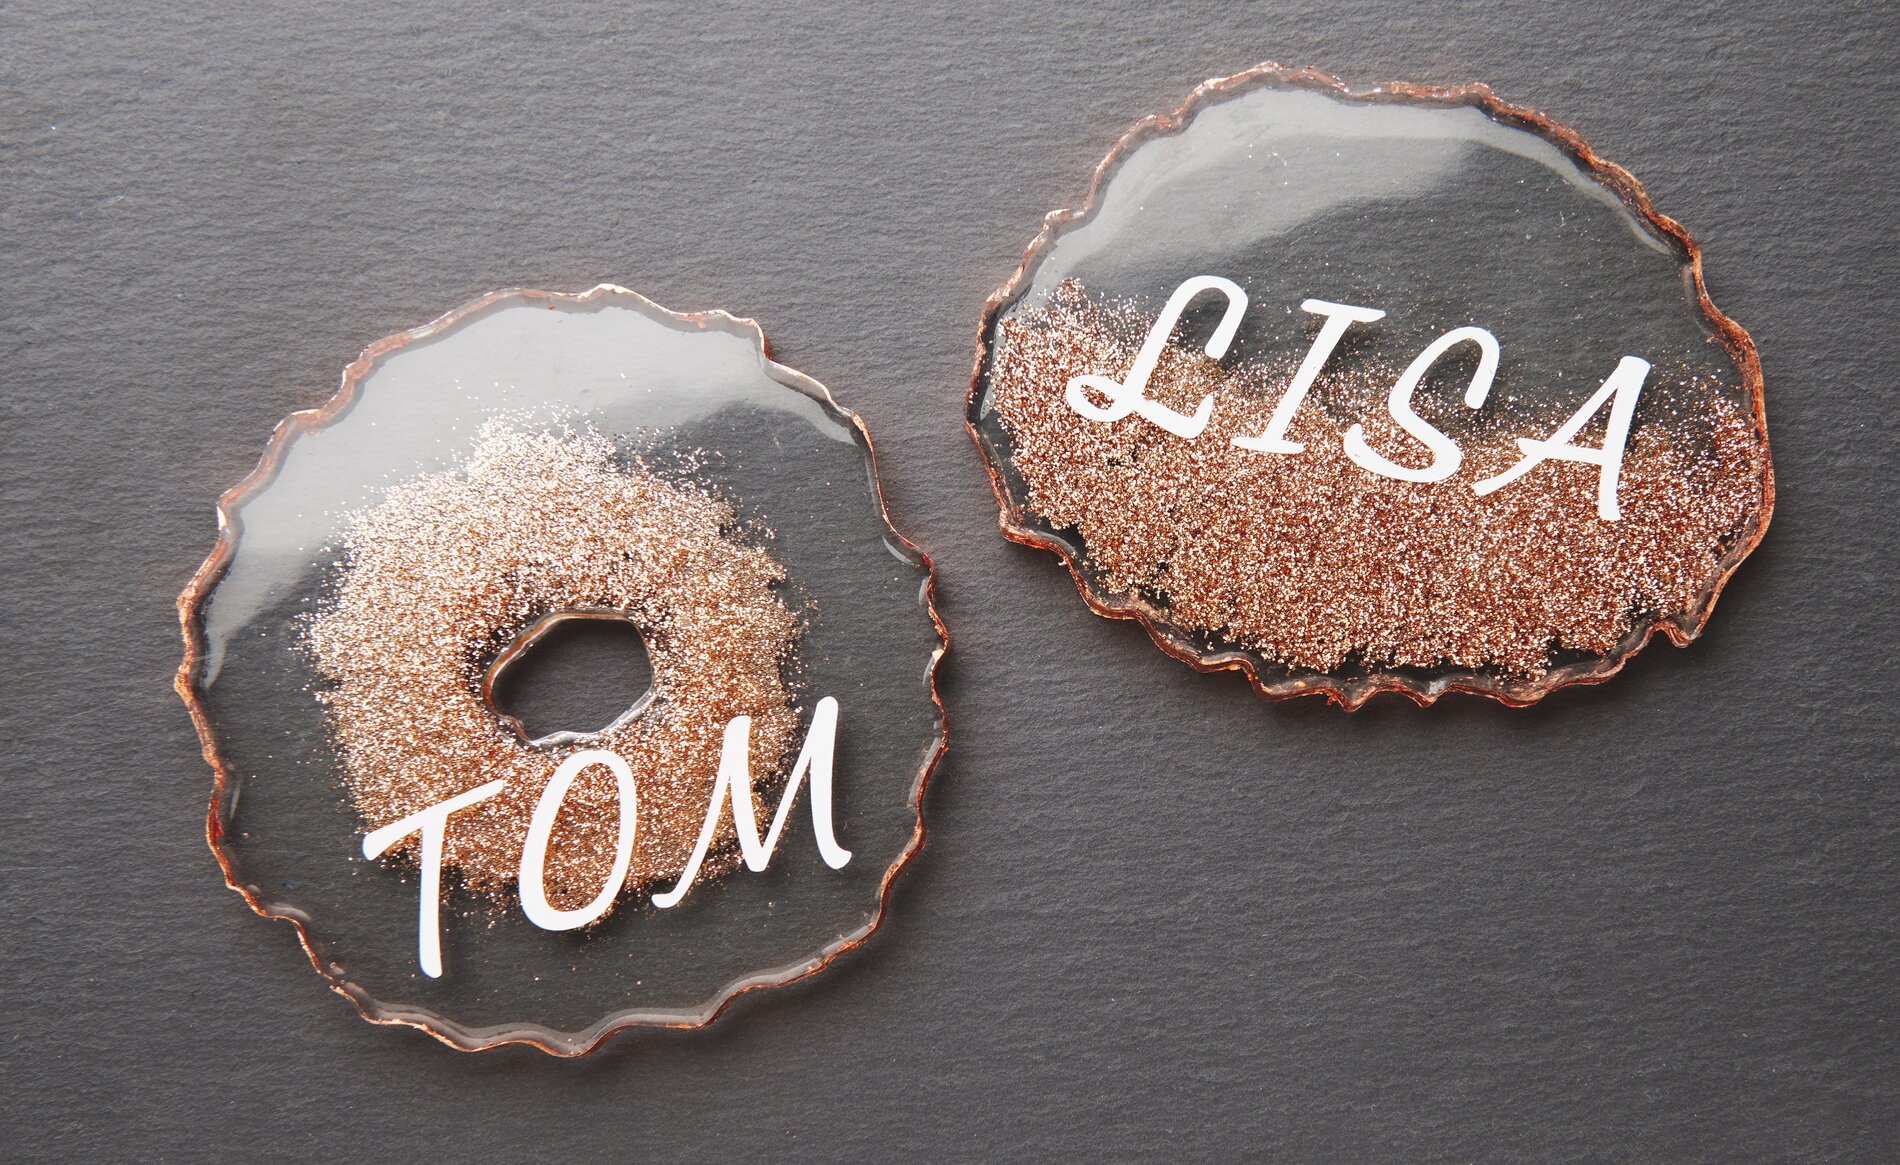
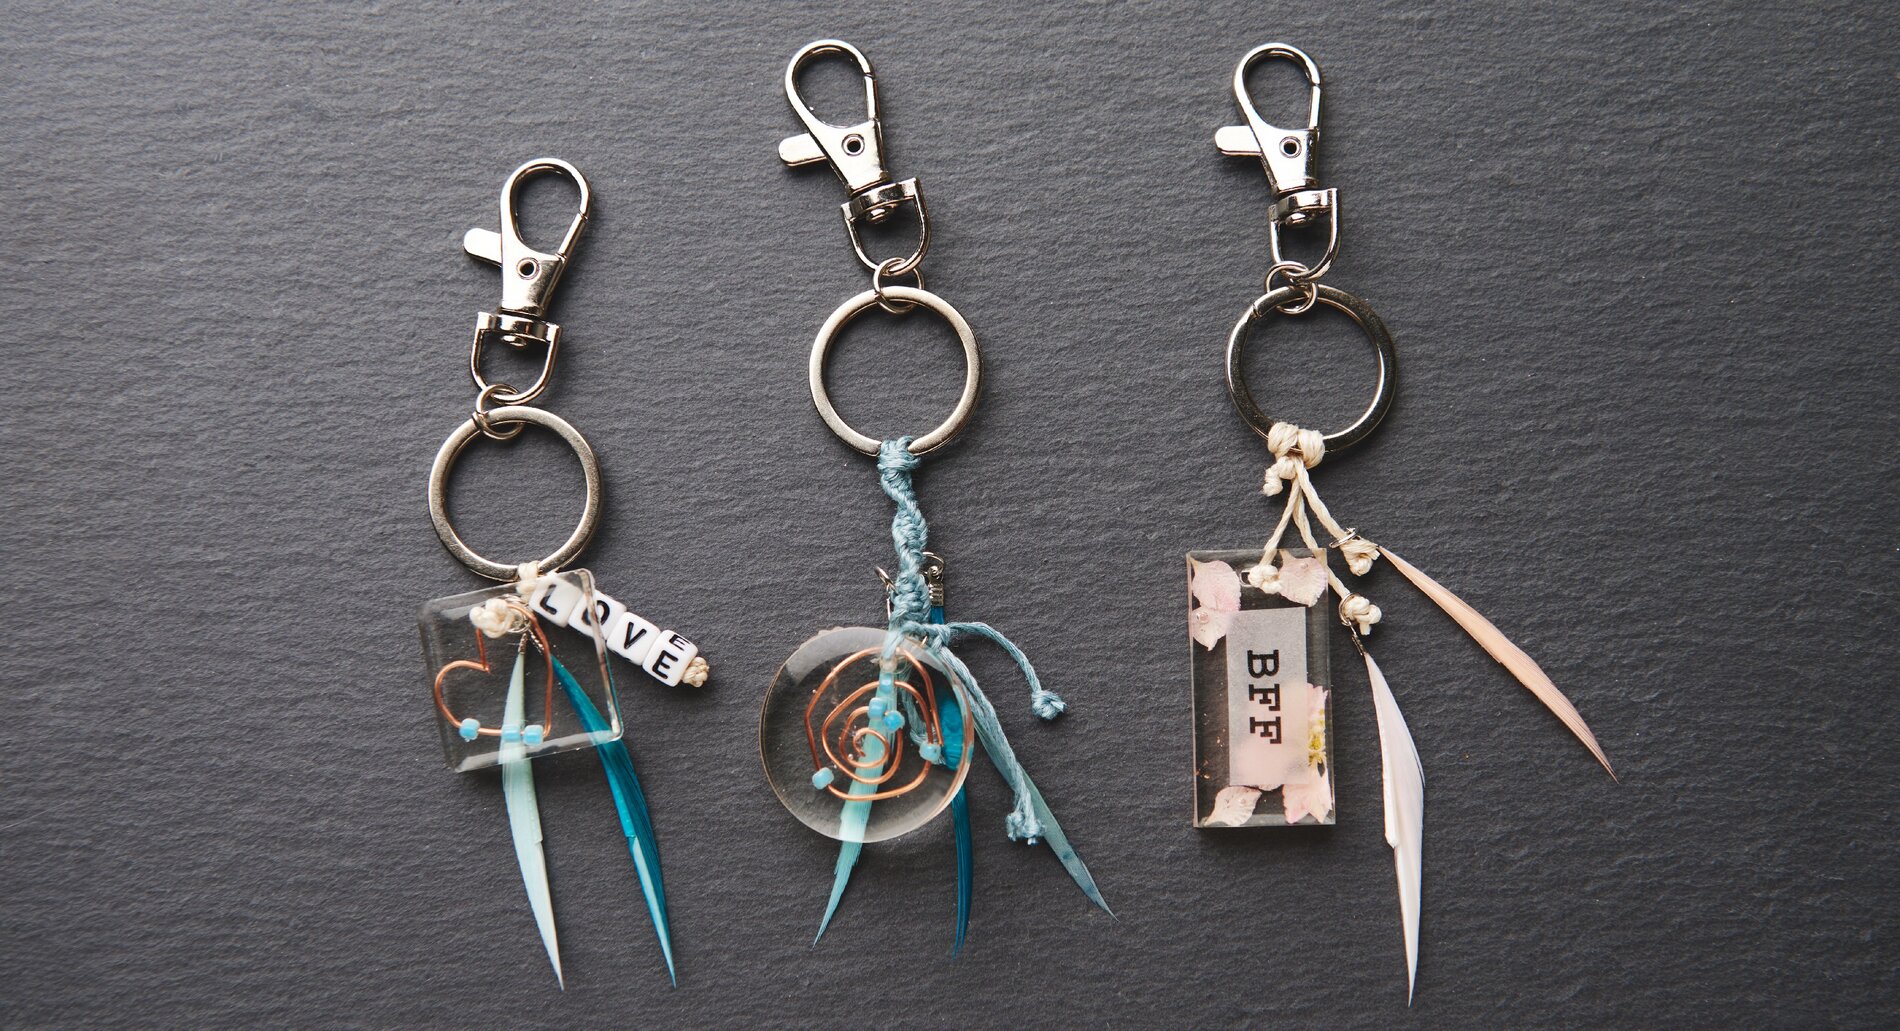
In this tutorial, we will show you three different ways to use casting resin. For example, you can create personalised paperweights, key rings or decorative coasters.
Decorative coasters
One mould can be filled with approx. 100 ml of resin!Coasters with flowers
1. Mix some resin according to the instructions on the packet and pour it into the moulds so that the bottom is covered. Leave to dry for several hours.2. Now place various pressed flowers in the mould.
3. Mix the resin again and fill the mould with it. Leave to dry.
4. Finally, remove the castings from the moulds.
Coasters with glitter and lettering
1. Mix 200 ml of resin according to the instructions on the packet and fill into the moulds. Sprinkle glitter on top and leave to dry for several hours.2. Remove the finished castings from the moulds and write on them with a permanent marker.
3. Decorate the edges with metal leaf.
Personalised key rings
1. Mix some resin according to the instructions on the packet and pour it into the mould so that the bottom is covered. Leave to dry for approx. 6 hours.2. Bend a piece of wire into the desired shape with round nose pliers, string beads or similar as desired and place in the mould.
3. Add pressed flowers, beads, paper lettering, glitter or resin colouring as desired to the mould.
4. Mix the resin again and fill the mould with it. Leave to dry for 12 hours.
5. Carefully remove the hardened pendants from the moulds and attach to the keyring with ribbon, feathers and beads.
Personalised paperweights
1. Mix some resin according to the instructions on the packet and pour into the moulds so that the bottom is covered. Leave to dry for several hours.2. Now place personalised items such as your first lock of hair, your pet's hair or bracelet with name in the mould.
3. Mix the resin again and fill the mould with it. Leave to dry for several hours.
4. Remove the finished paperweights from the moulds and write on them with a marker as desired.