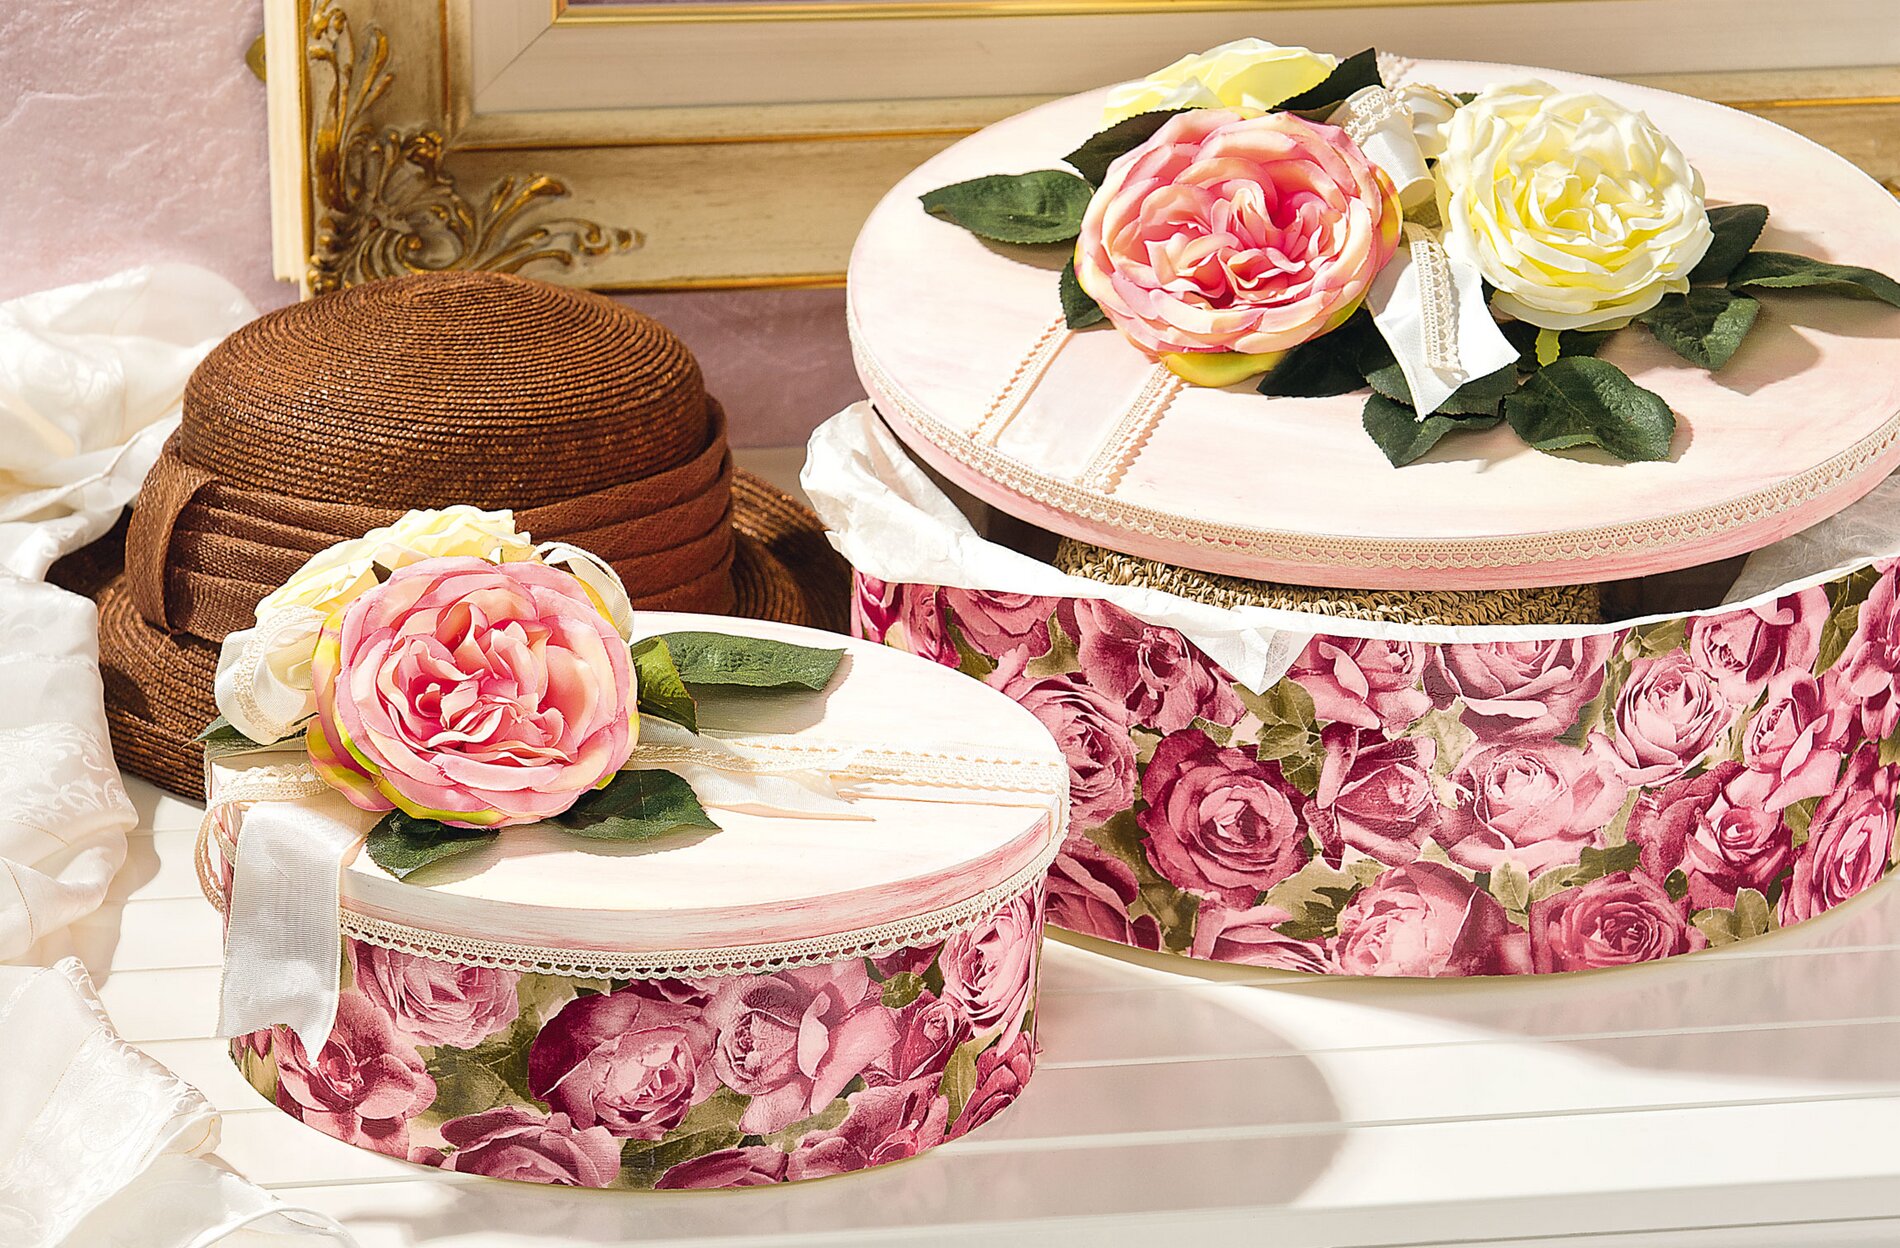
Décopatch in its most beautiful form - simply perfect for the design of these large chip boxes. The flat glued-on Paper lid is particularly effective due to its simple design. The sumptuous fabric roses are the highlight.
Simple chip boxes become rosy eye-catchers with the help of Décopatch
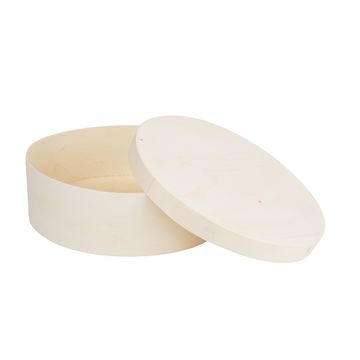
In the first step, the chip boxes and lids are primed ivory and left to dry. The Décopatch-Paper is cut in half lengthwise, the chip boxes are coated with patch adhesive and the Décopatch papers are glued on flat or painted with a brush. After the Paper applied on the box is dry, another layer of patch varnish is applied as a sealant. As soon as everything has dried well, the protruding paper edges can be cut from the edges of the chip boxes with a scalpel.
On a damp Paint sponge take some old pink Handicraft paint and wipe it over the lid. This creates a great wiping look, the box gets that "certain something". wipe Handicraft paint with a Paint sponge on the lid, let it dry
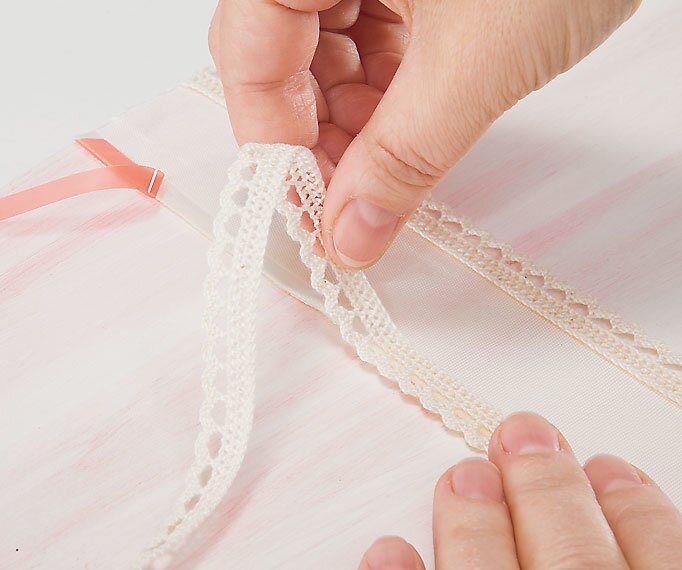
A narrow Lace ribbon is glued around the lids with double-sided Adhesive tape , a wide glued Lace ribbon decorates the lid. Rose blossoms and leaves are arranged on the lid to a great look and fixed with hot glue
Finally, the boxes should be lined inside with Silk paper . Gifts or small objects stored in the boxes will then have a higher value.
Tips & tricks
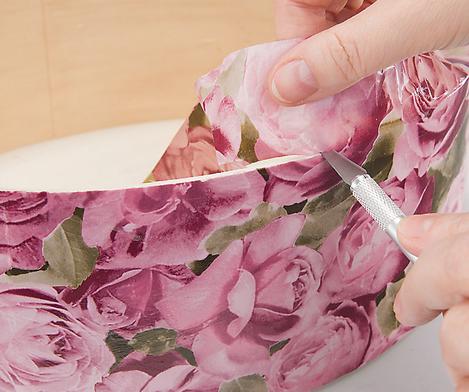
Remove protruding pieces of paper
It doesn't matter at all if Décopatch Paper stands over the edges when gluing a box. After drying, these protruding snippets can be removed wonderfully: With a sharp scalpel they are simply cut off, the edge looks so clean.
Indispensable: Double-sided Adhesive tape - with the help of the adhesive tape, decoration tapes can be fixed cleanly and easily.
This idea is timelessly beautiful!
Some Article are unfortunately no longer available
But this idea is too good to withhold from you. We would be happy to continue to present it to you - let yourself be inspired!