- Secure order
- Easy return shipment
- Service-Hotline +31 20 809 5778
Instructions No. 3463
Difficulty: Advanced
Working time: 1 hour 30 Minutes

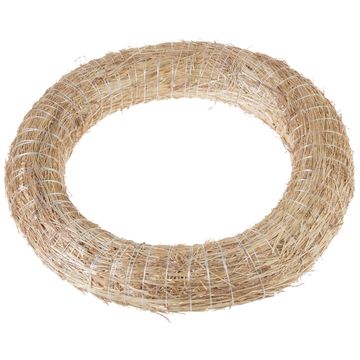
Step 1: Prepare floristry
First, take the side cutter and cut your floristry materials to fit the straw wreath perfectly. A side cutter is a tool specially designed to cut wire and fine materials cleanly. This will give you a stable base for your arrangement.
Step 2: Tie the wreath
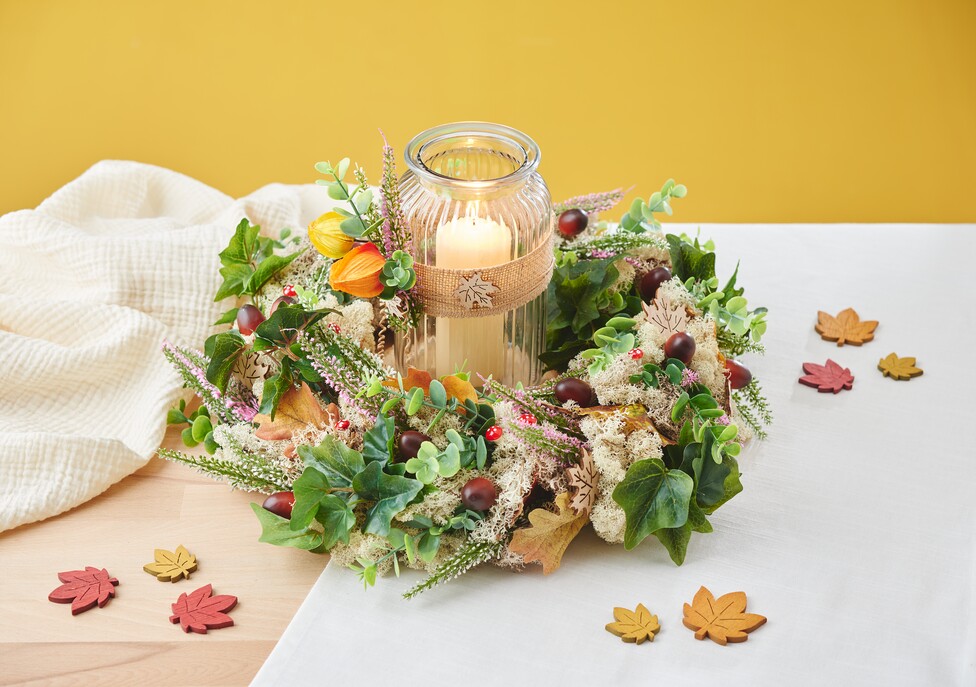
Now take your floristry material, moss and acorns and tie them securely around the straw wreath using winding wire. The winding wire ensures that everything stays firmly in place and at the same time remains flexible so that it can be adjusted as desired.
Step 3: Add toadstools
Then stick the small toadstools, which are attached to a wire, into your wreath. These little splashes of color symbolize autumn and add playful accents to your creation.
Step 4: Attach scatter decoration
Use the hot glue to evenly distribute the scatter decoration in the shape of maple leaves in your wreath. The hot glue will ensure that they stay securely in place and give your wreath extra volume and color.
Step 5: Decorate the storage jar
Take the jute ribbon and glue it carefully around the storage jar. jute ribbon gives your project a rustic touch that perfectly matches the cozy autumn. Then tie the paper wire around the jar several times and twist it creatively. Make sure to wrap the ends of the wire around a round object so that they form a beautiful spiral.
Step 6: Arrange artificial flowers
Place a small bunch of artificial flowers in the center of your storage jar and twist the paper wire to hold everything together. The artificial flowers add color and give your work a lively charm.
Step 7: Position the wreath and glass
To make your glass stand out, place one or more tree slices in the wreath and place the glass on top. The tree slices make the glass stand out visually and integrate it harmoniously into your overall design.
Step 8: Final details
Optionally, you can glue more scatter decoration in the form of maple leaves to the jute ribbon with hot glue to give your glass the finishing touch. Done!