- Secure order
- Easy return shipment
- Service-Hotline +31 20 809 5778
Instructions No. 3475
Difficulty: Beginner
Working time: 2 Hours

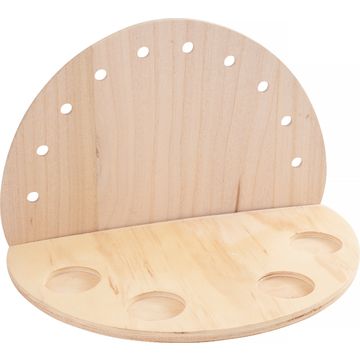
Step 1: Assembling the light arch
Start by assembling the light arch . Most light arch-sets are easy to screw together. Make sure that all parts are firmly connected to each other so that they stand securely and hold the subsequent decorations reliably.
Step 2: Apply napkin technique
To give your light arch a special accent, use napkin technique. First separate the thin layers of napkin from each other until you have the printed layer to hand. Then carefully coat the back wall of the light arch with Candlepotch. Candlepotch is a special glue that is used for napkin technique applications and serves as an aid for applying the delicate napkin layer well.
Then place the printed layer of napkin on top and carefully coat it with Candlepotch as well. This step must be carried out carefully to prevent the napkin from tearing. Repeat this process on the candle to create a harmonious overall look.
Step 3: Decorate the tealight jars
Stick individual snowflakes from the foam sheets sticker set on the tealight jars. These stickers give the glasses a playful, wintry flair. If the adhesive strength of the stickers is insufficient, you can attach them with VBS handicraft glue additionally.
Step 4: Add details with bows and lanterns
Now it's time to use the miniature-lanterns . Tie small bows and attach them to the lanterns. using handicraft glue or hot glue. The bows give the lanterns a delicate and festive touch. Attach the finished lanterns securely to the wooden plate of the light arch so that nothing can slip.
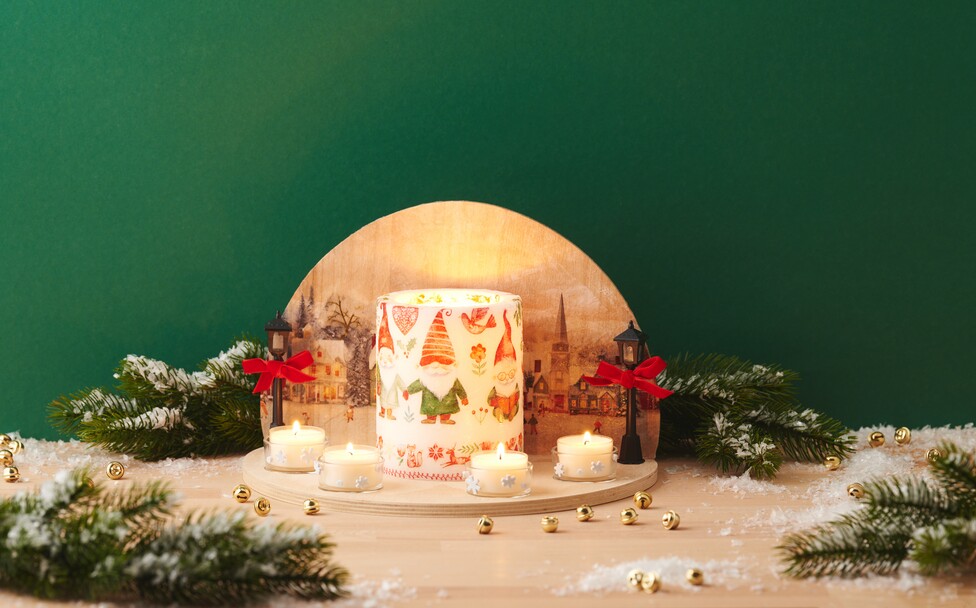
Step 5: Finalizing the light scene
Now that all the parts are ready, place the decorated candle and the tea lights on the light arch. and voilà - your idyllic light scene is finished and ready to radiate wintery cosiness!