- Secure order
- Easy return shipment
- Service-Hotline +31 20 809 5778
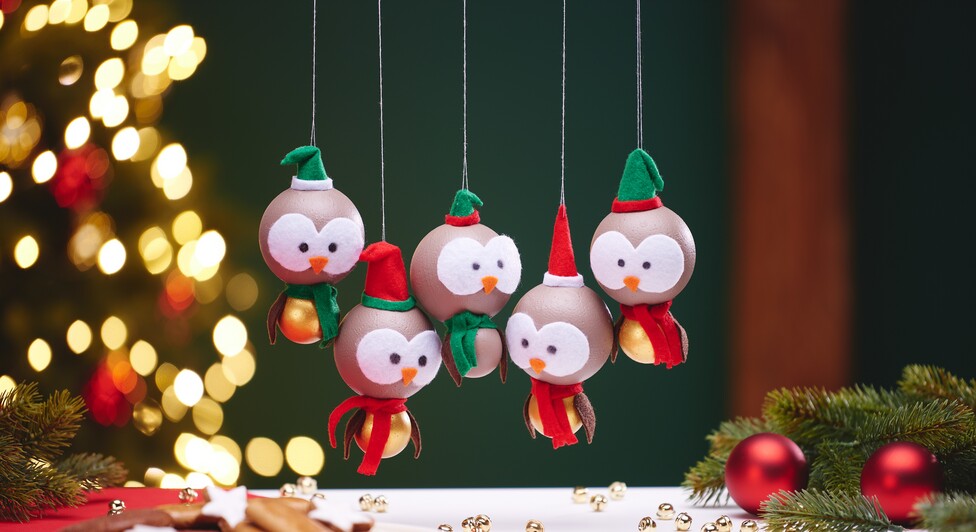
Instructions No. 2944
Difficulty: Beginner
Working time: 3 Hours

Tip: To keep your hands clean, you can stick a bamboo skewer into the polystyrene ball and then paint the balls.
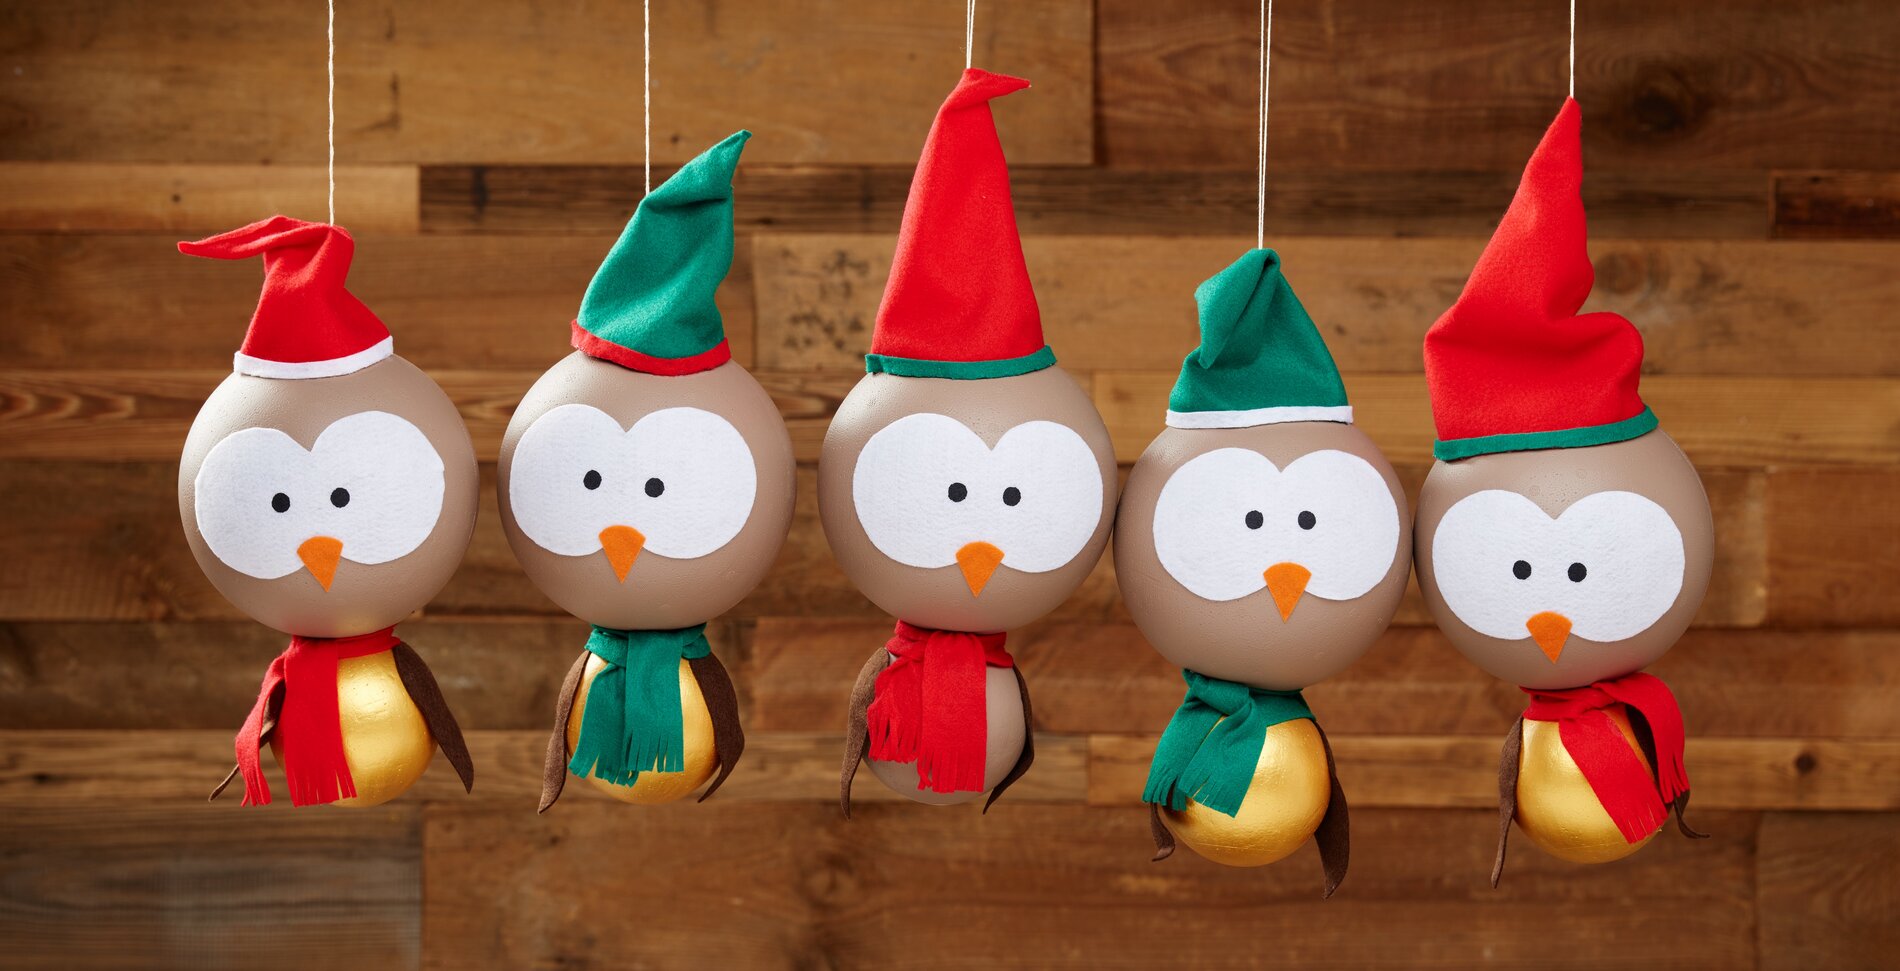
2. Print out the templates and cut them out. transfer them to the craft felt using a sublimat pen, for example. Cut out all the parts with sharp scissors.Tip: Do not go all the way to the tip of the hat with the glue. This will prevent you from burning yourself with the hot glue and keep the edges clean.
Then cut an approx. 1 cm wide strip of from felt and glue it around the brim of the hat. Fold the tip over slightly and glue it on with a dot of hot glue. Pierce the felt hat with a needle and thread so that you can hang the birds up later. Now fix the hat to the head with some hot glue.
5. Apply some glue to the eyes, beak and wings and stick them to the polystyrene balls. Then draw on the pupils with a black pen (e.g. acrylic marker).Your funny Christmas birds are ready and can be given a great place in your home.