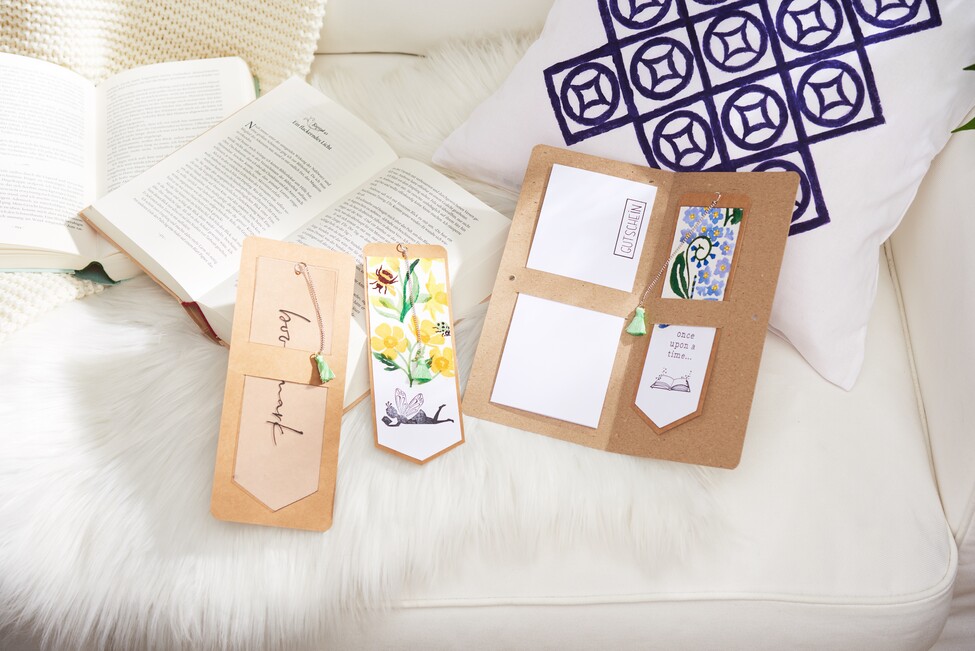
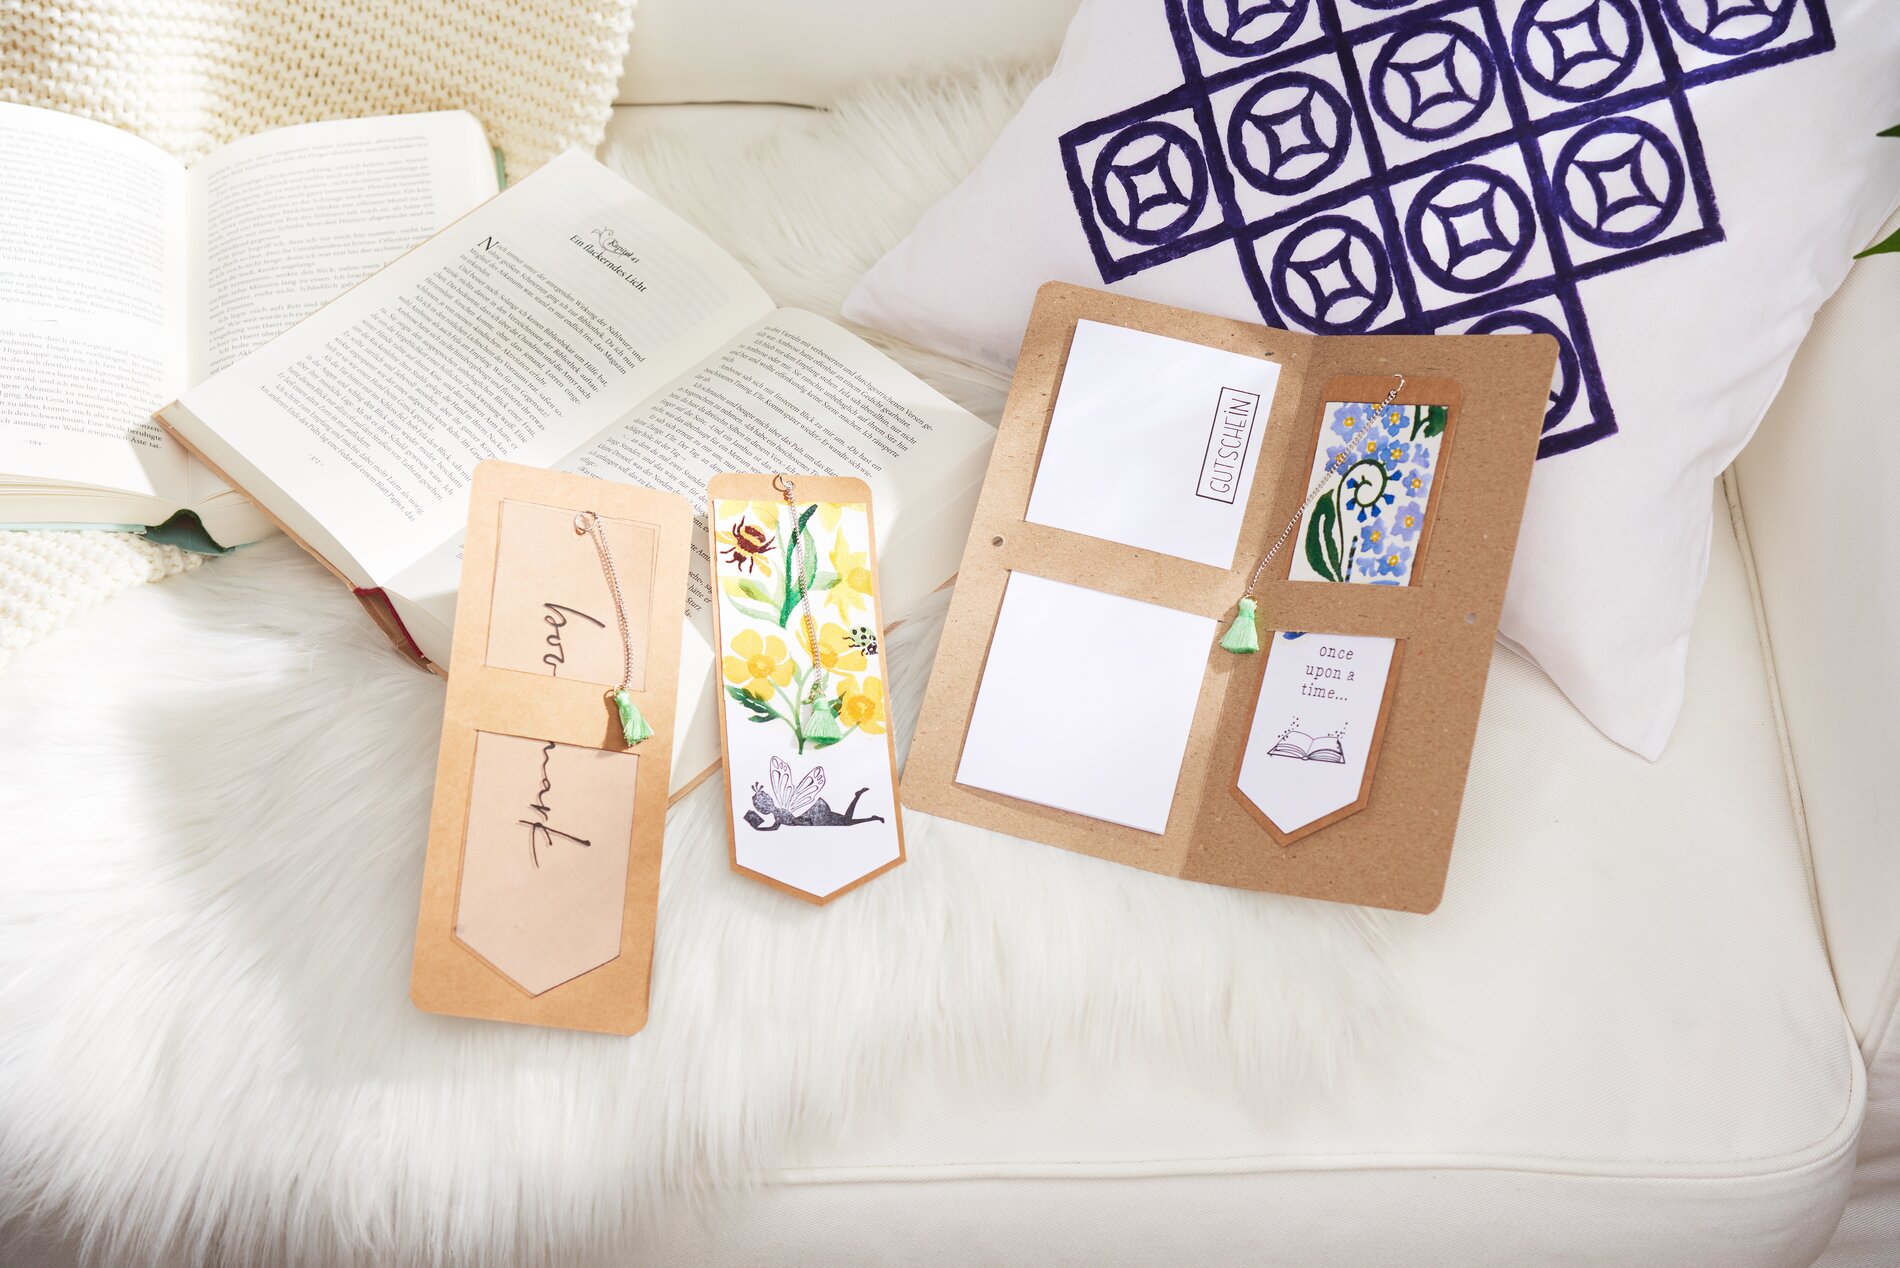
Voucher
For the Voucher , simply cut coloured paper to the size of 20 x 9 cm and place the "Voucher" stamp.
gift wrapping
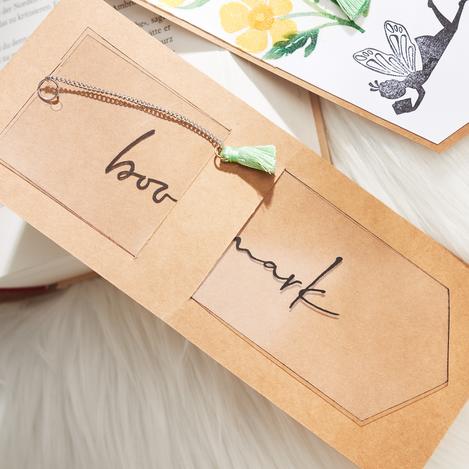
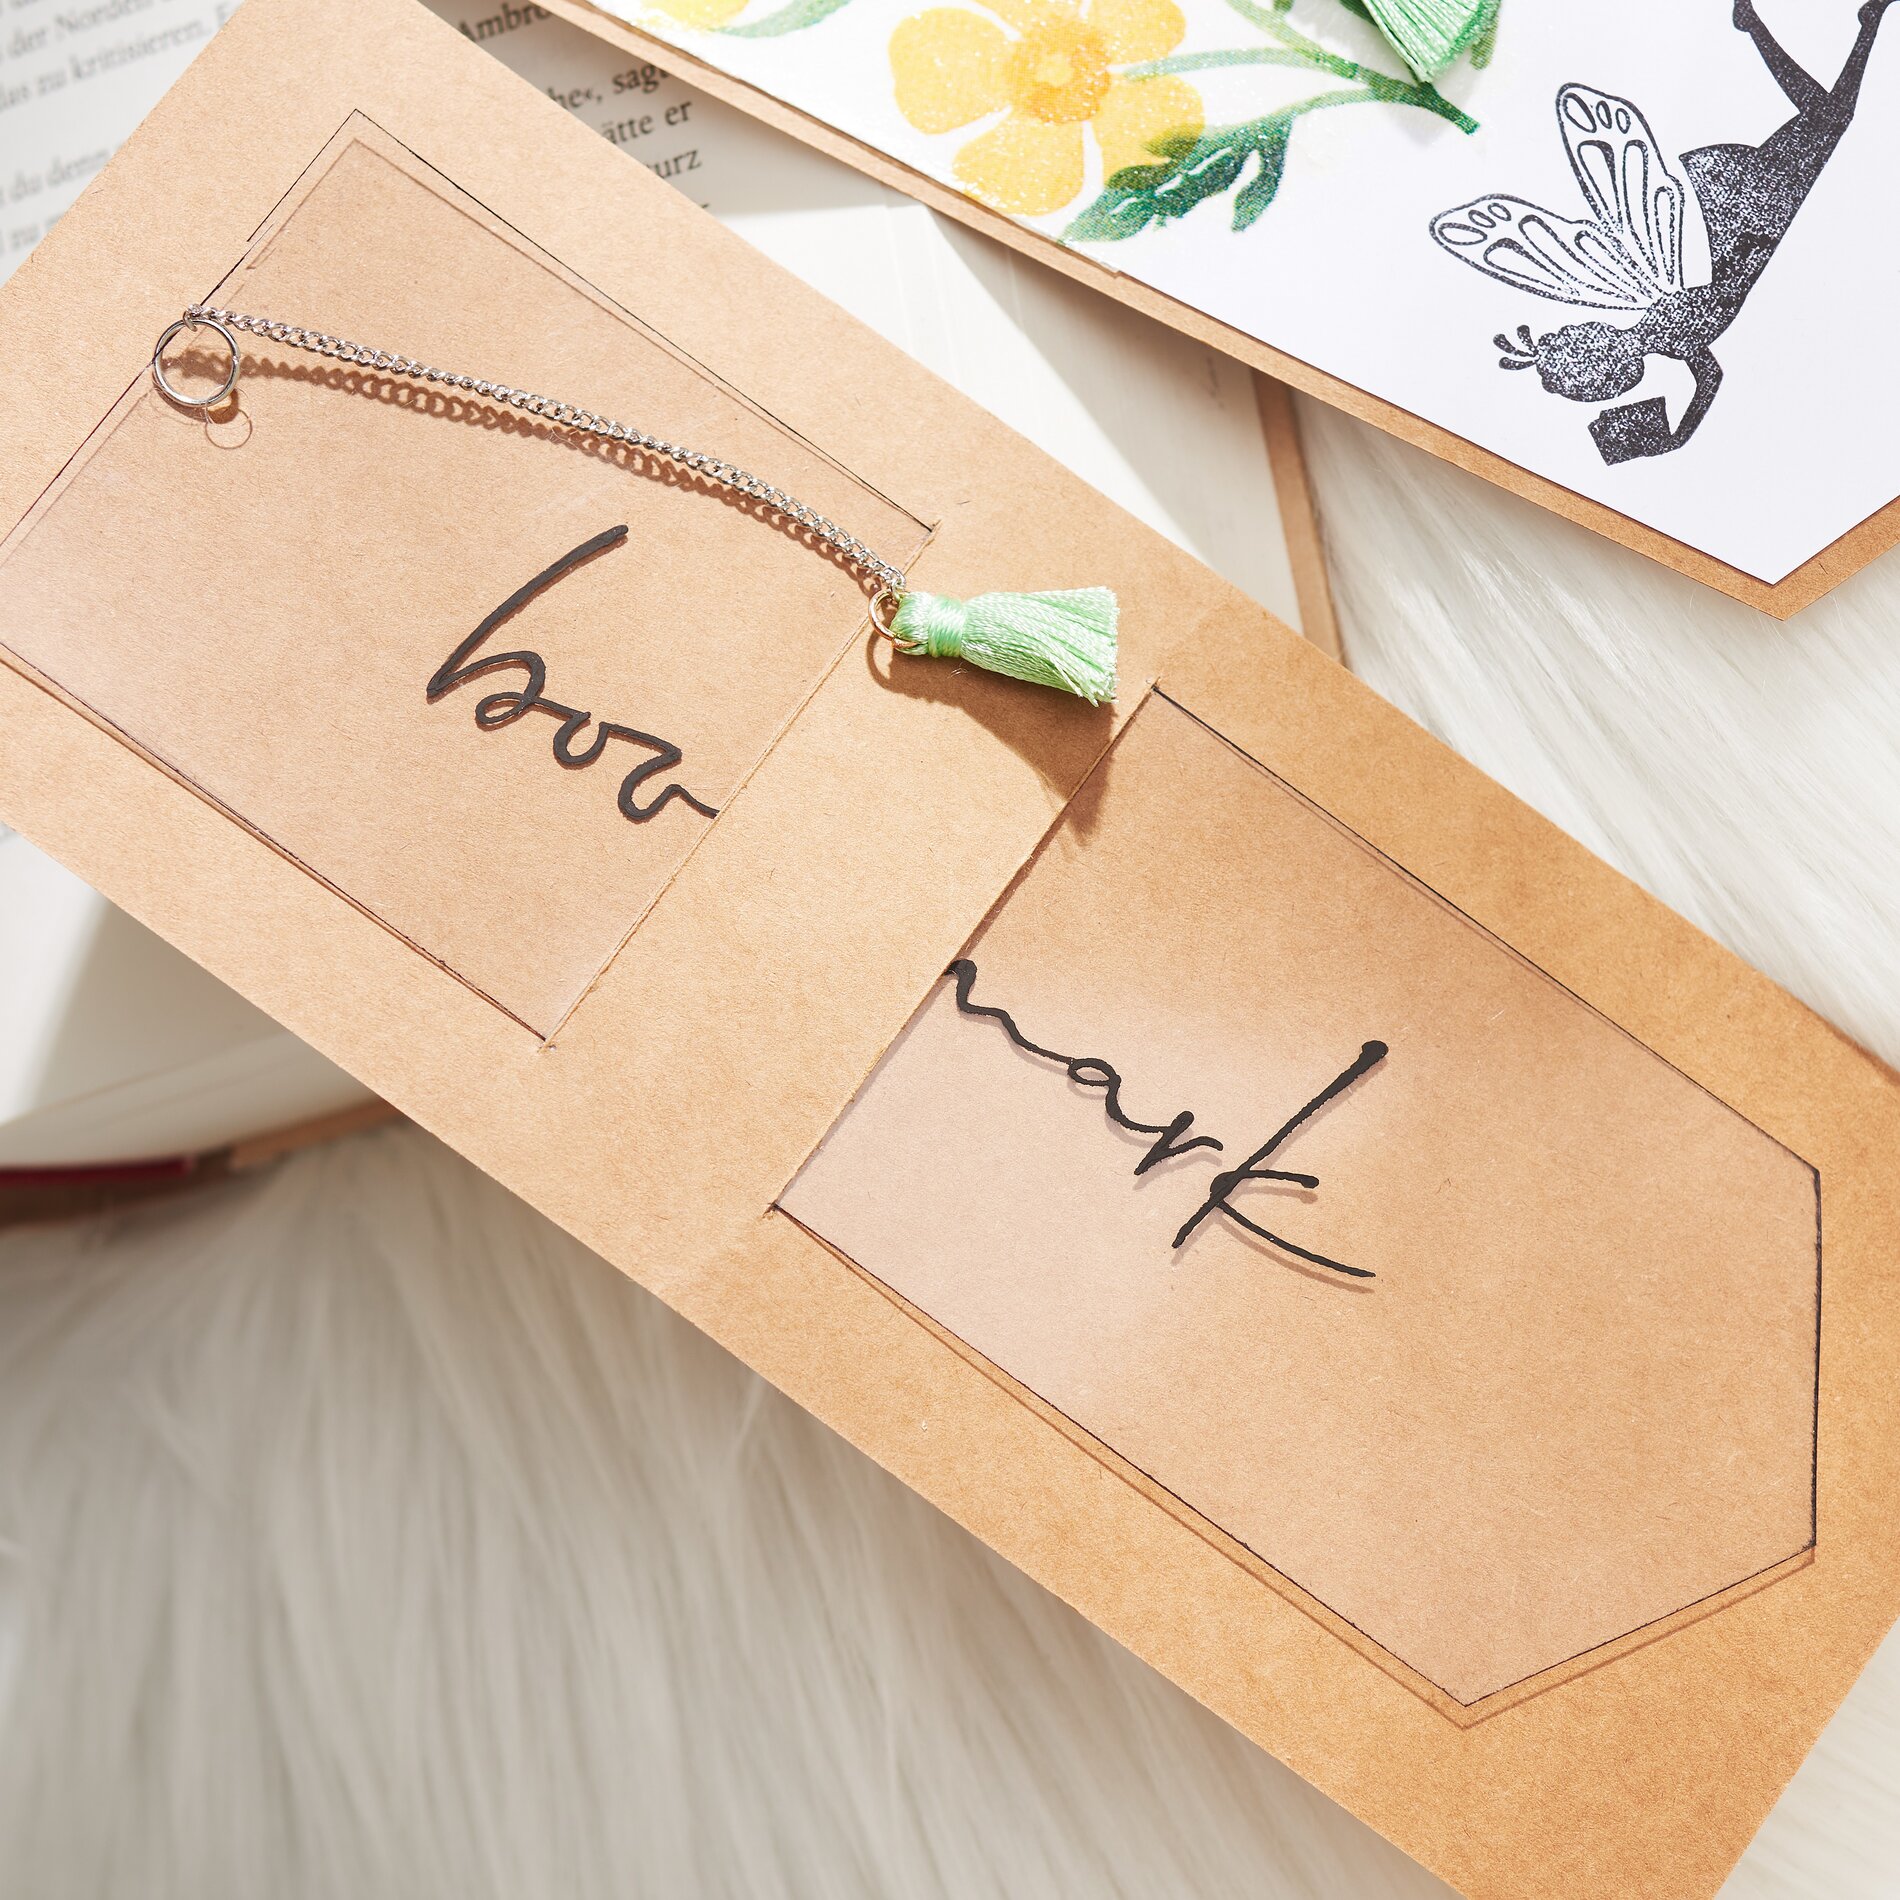
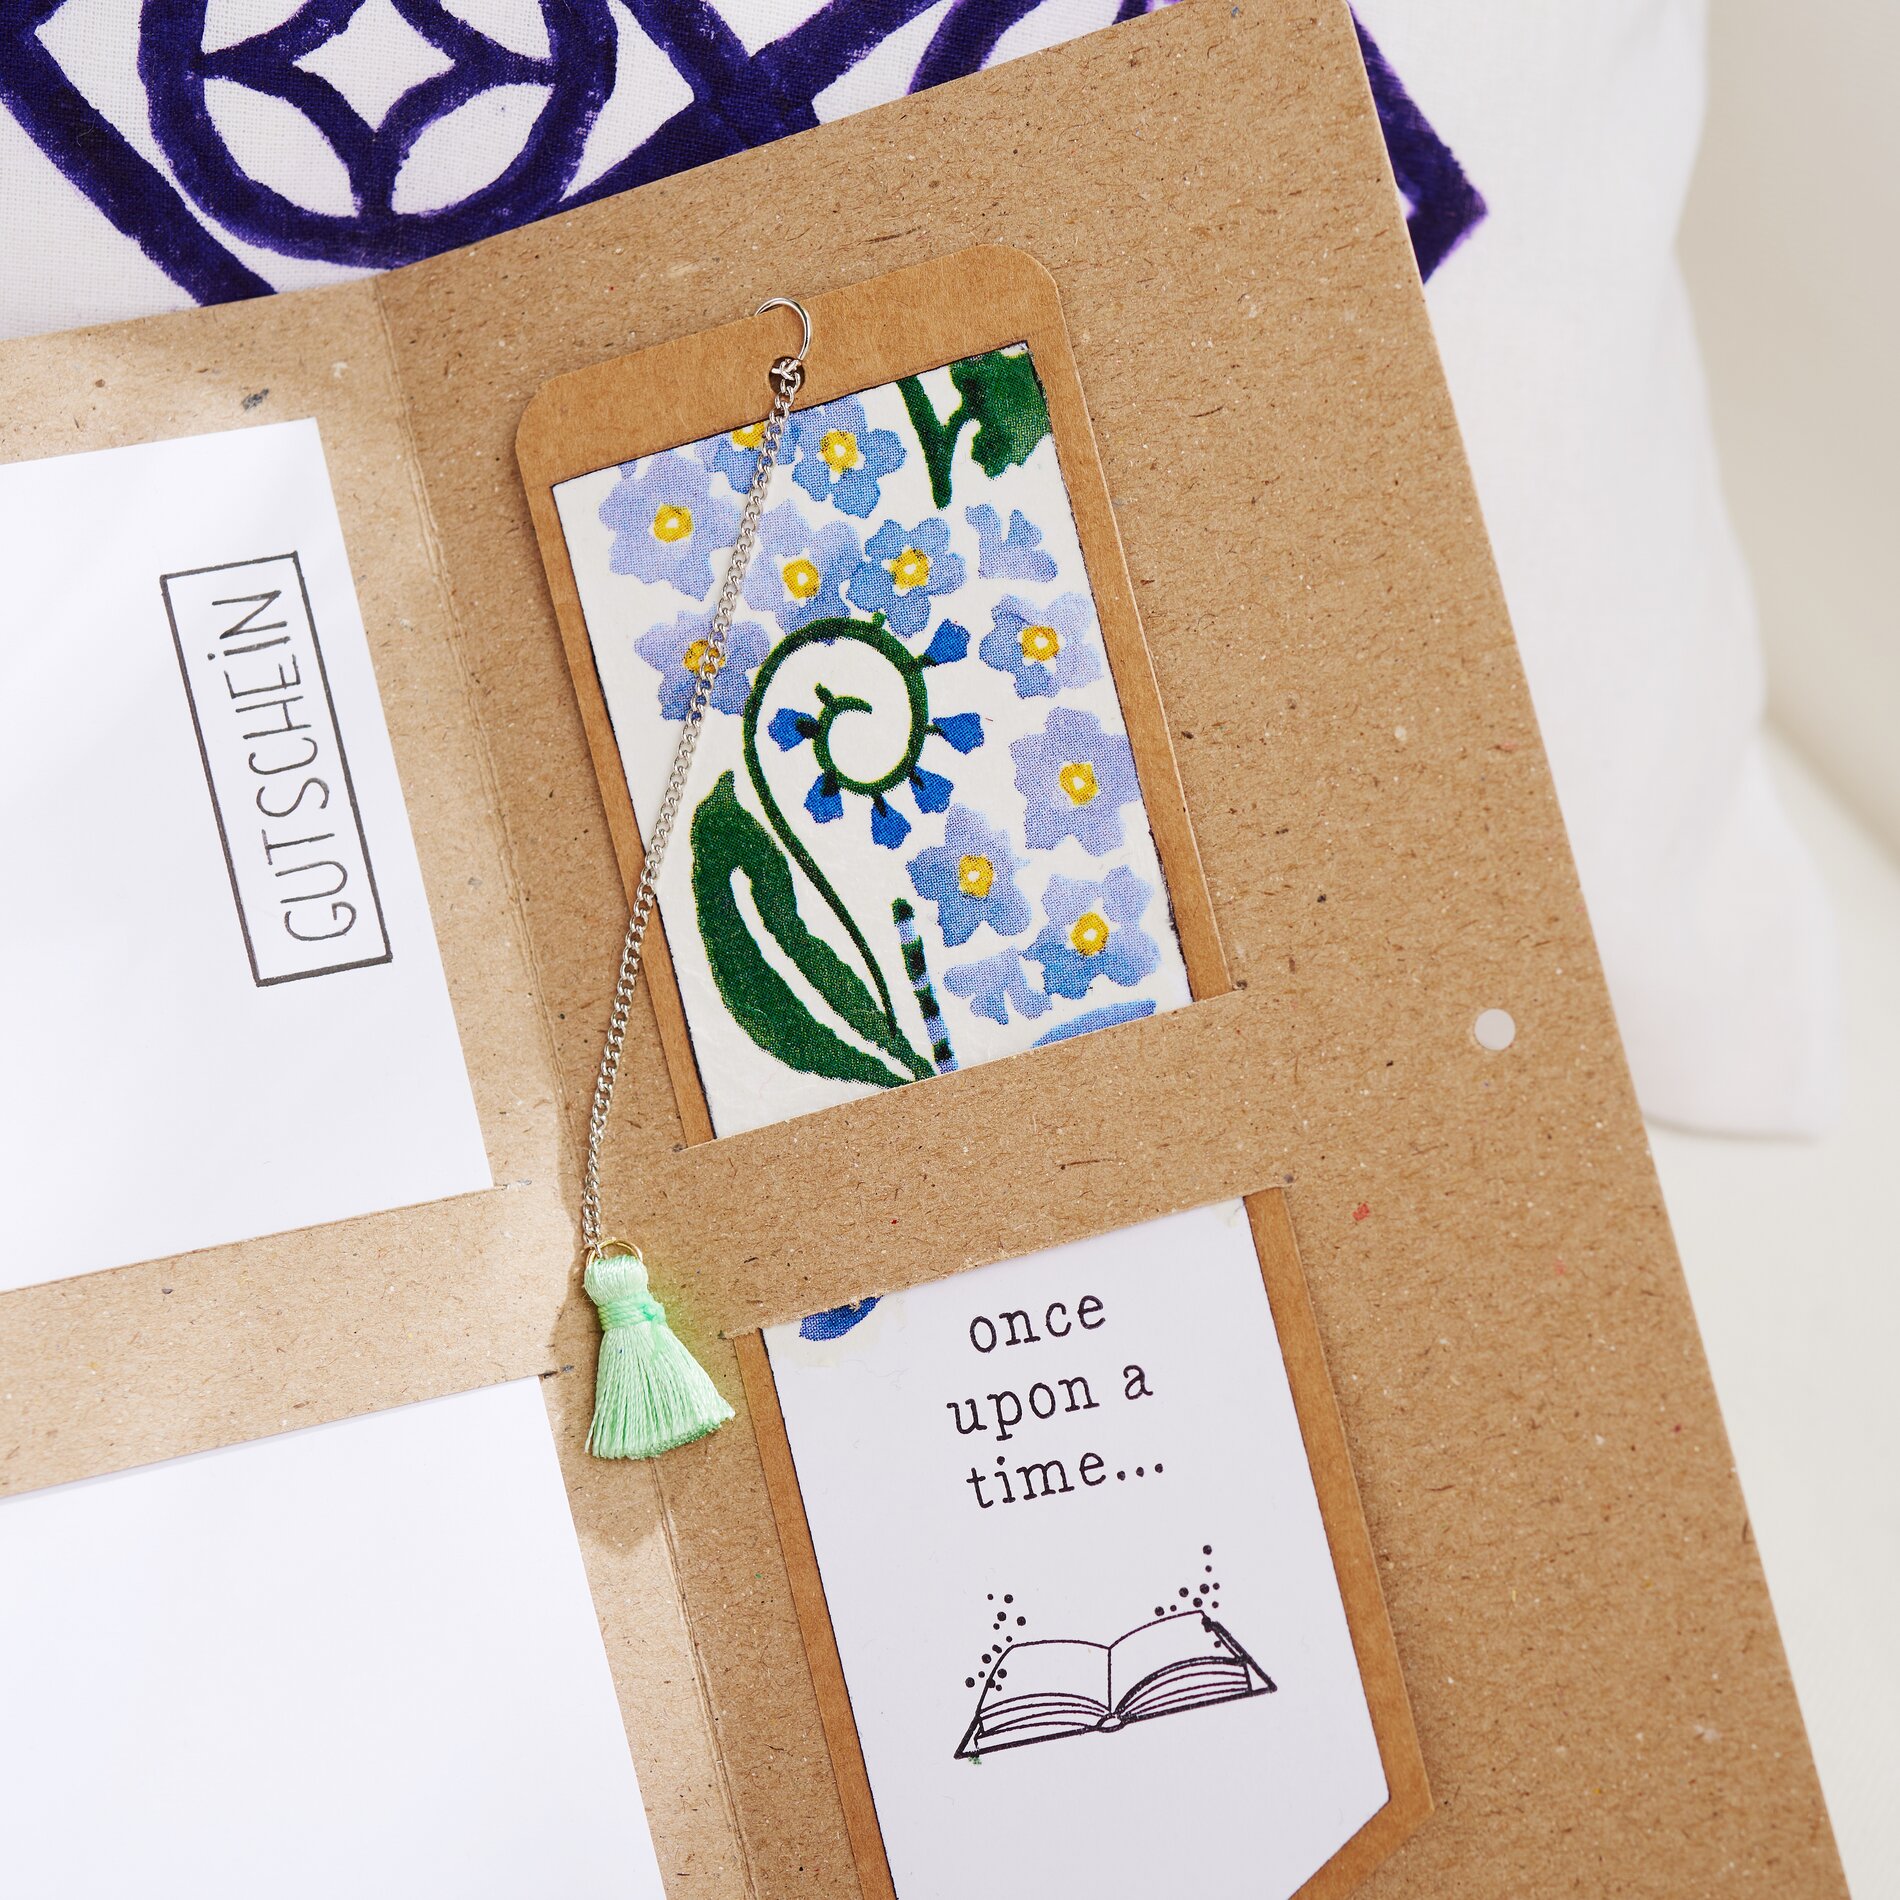
For the transparent bookmark, simply cut a piece kraft paper in the size of approx. 20 x 8 cm. Use a pencil to draw two parallel auxiliary lines on the kraft paper, each approx. 9.5 cm from the short edges and approx. 0.5 cm from the long edge. Make two slits here with the scalpel and pull the bookmark through them.
You can make a case out of kraft cardboard for the Voucher and the white bookmark. Cut a piece of kraft paper to the size of approx. 20 x 20 cm. Fold it in the middle and make two parallel slits on both sides approx. 1 cm from the outer edge and approx. 0.5 cm from the fold. Insert the Voucher, on one side and the bookmark on the other.
Drill a hole in the middle of the outer edge. The case can later be tied together with a ribbon through this hole. Cut another piece of white coloured paper for the front of this case and label it as you wish (here: for you). This will decoratively cover the slit in the cardboard.
Finally, you can decorate everything further by cutting the corners of your bookmarks and the gift box round.