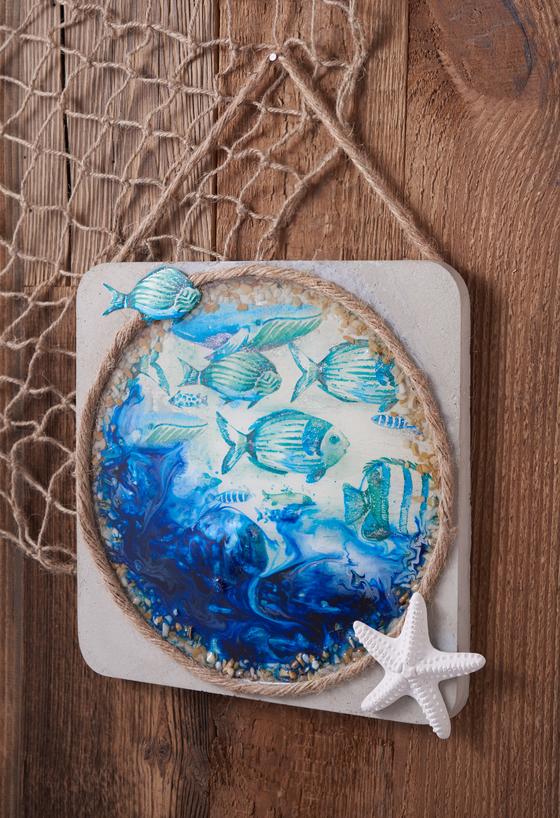
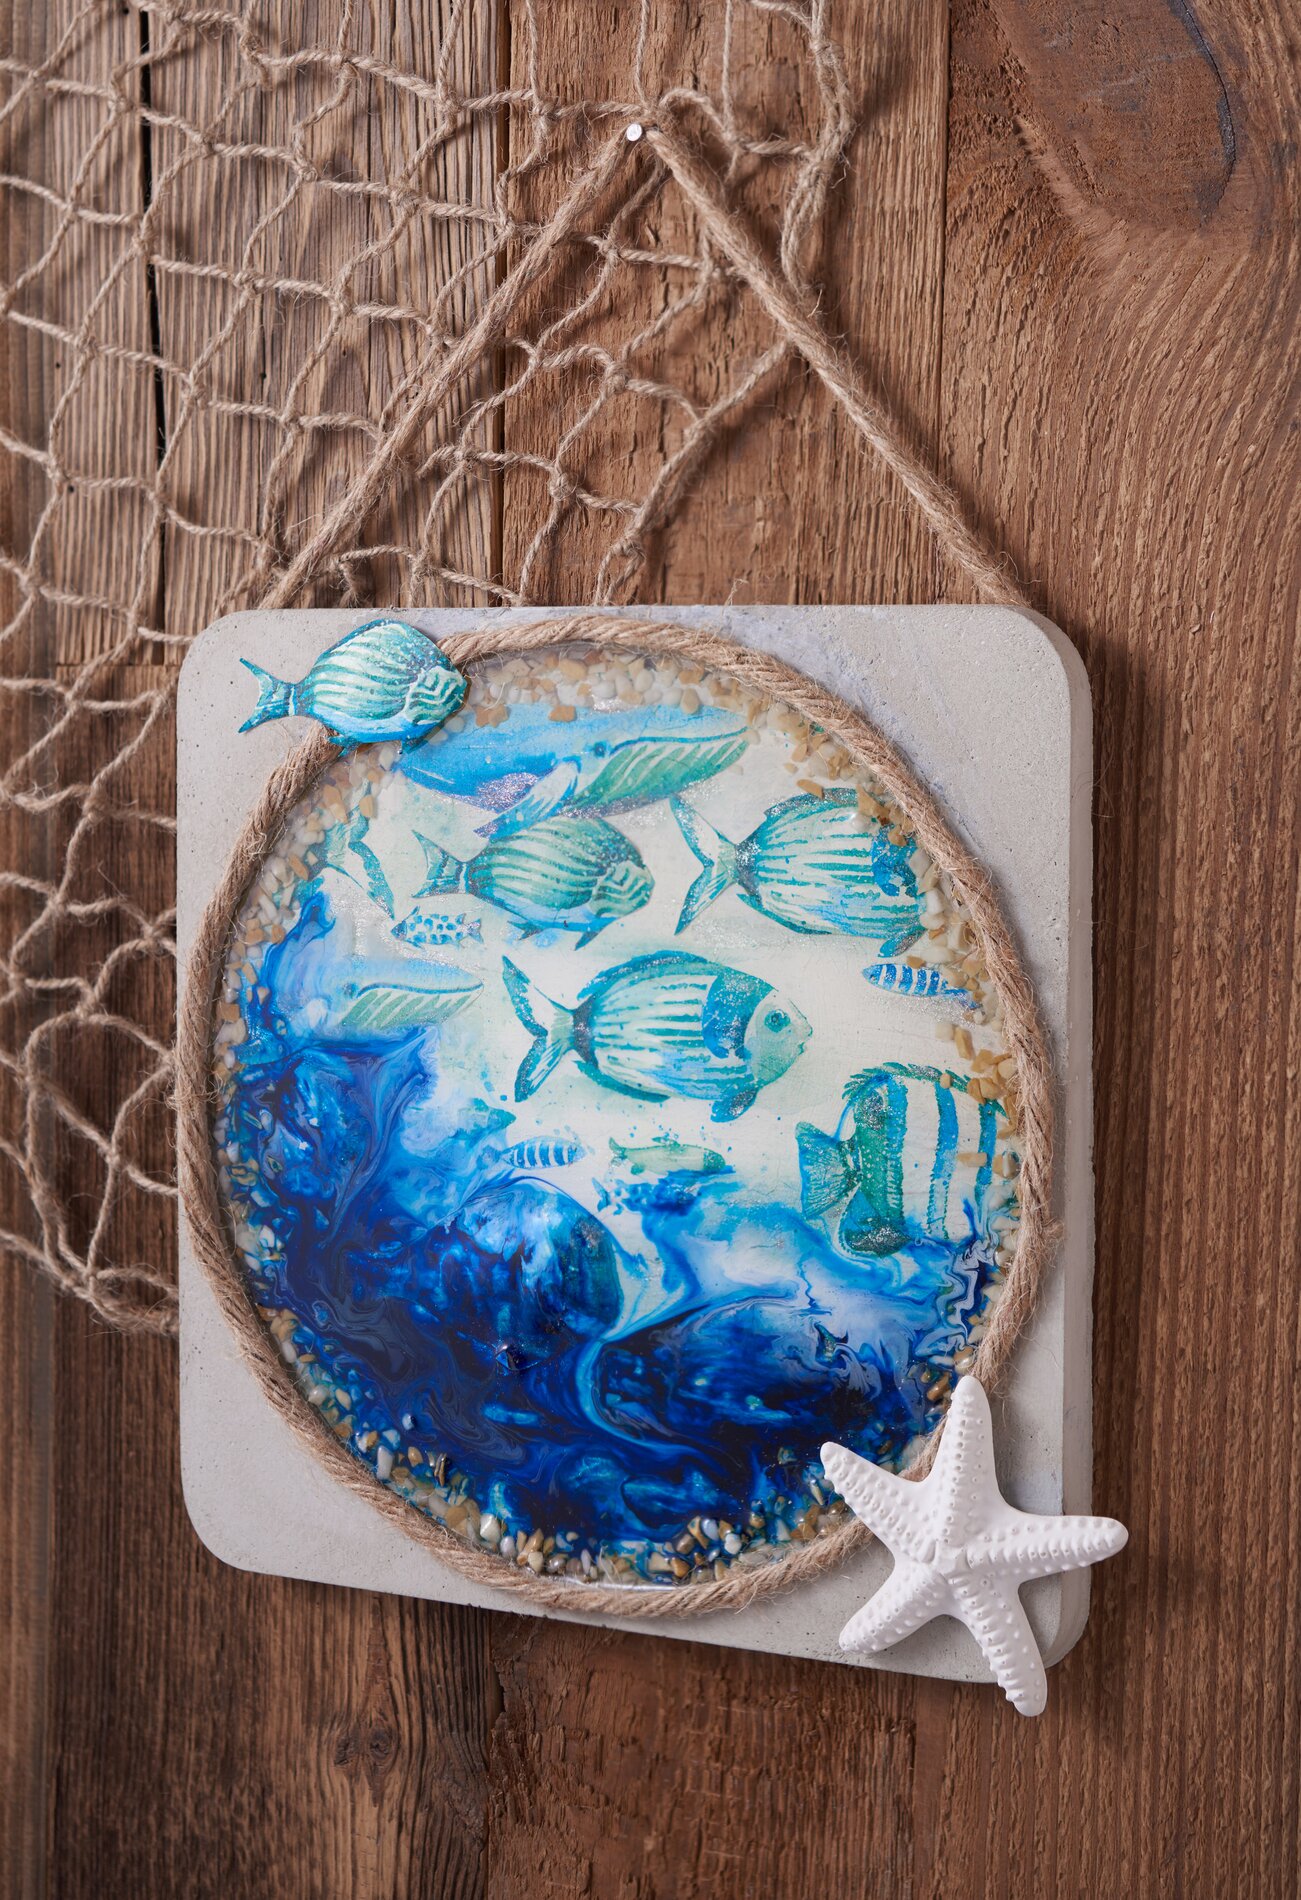
Casting design with creative concrete
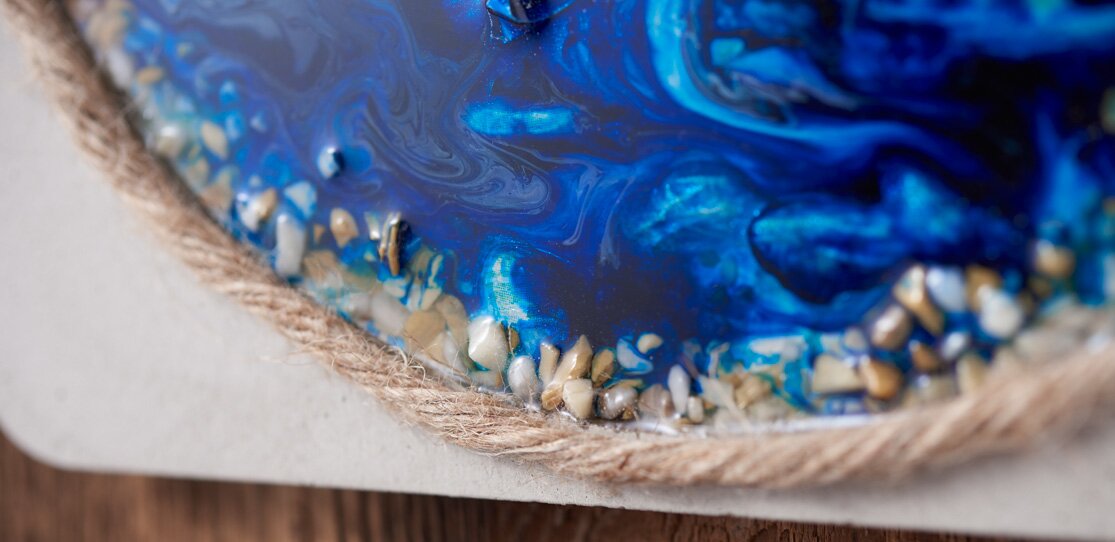
Mix about 18 tablespoons of creative concrete with water to a creamy mixture. Spray the moulds with release agent spray. Now pour the mass into the casting mould "Sea Shells", as well as into the decoration plate. Tap the filled moulds lightly on the substrate to allow any air bubbles trapped in the compound to rise.
After approx. 24 hours, the compound has dried sufficiently for the castings to be carefully removed from the mould. Process the edges with edges that are too smooth Sandpaper .
Napkin technique
To Napkin technique obtain a design area for the, glue two stamping foils (on the long edges) with VBS Handicraft glue together. After drying, prime this with white primer Handicraft paint. and at the same time apply another embossing foil to apply the "Aquawelt Wale Napkin " later on.
Take the whole, uppermost, printed layer of the Napkin "Aquawelt Fish" and stick it onto the Napkin varnish stamping foil.
Modelling 3D optics
After drying, press it carefully into the round shape of the deco plate: place the embossing foils with the glued side down on a soft padded base. Draw a circle with the help of the casting mould "plate decor" and model this surface with an embossing pencil to a 3D optic. The raised edges can now be easily cut off with scissors.
Tip: Since the modelled shape is now slightly curved, you should leave a minimal margin when cutting.