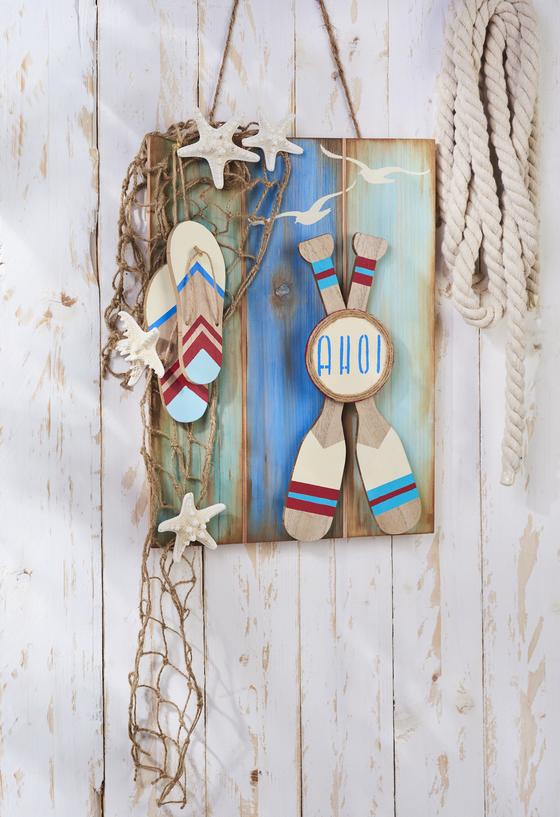
Designing a maritime mural
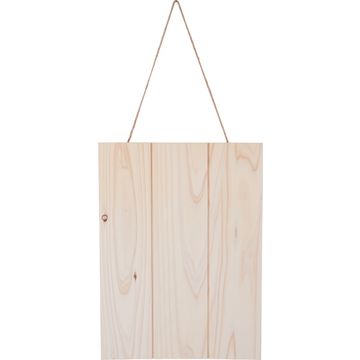
1. First design the wooden panel with craft paints in different shades of blue. If necessary, dilute the colours with a little water so that the wood grain still shimmers through.
2. As soon as the colours have dried, shade the edges of the wooden plate with an ink pad. To do this, place the ink pad at a slight angle on one edge of the board and wipe over it. This creates a rustic look.
3. Use the stencil and craft paint to paint maritime symbols such as seagulls onto the wooden panel. To do this, place the stencil on top, apply the paint with a stencilling brush and then remove and clean the stencil.
4. Paint all the other wooden decoration parts as you like with the craft paints. For clean lines, you can mask off certain areas with masking tape.
5. For the starfish, mix the casting powder with water to a creamy mixture and pour it into the mould. After approx. 8 hours, the castings can be removed from the mould. Allow the starfish to dry in the air for another 12 hours.
6. Arrange the wooden decorative pieces together with the starfish and the fishing net on the wooden board. Use hot glue to fix them in place.