Mini school bags: Make perfect gifts for guests yourself
Don't want to present only the big highlight of a school bag for your child's first day at school, but also want to give your guests a little treat? Then mini school bags are just the thing for you! In these instructions, we'll show you how to make creative mini school bags that are ideal as a small gift or small present . Let your creativity run wild and give your loved ones an unforgettable treat!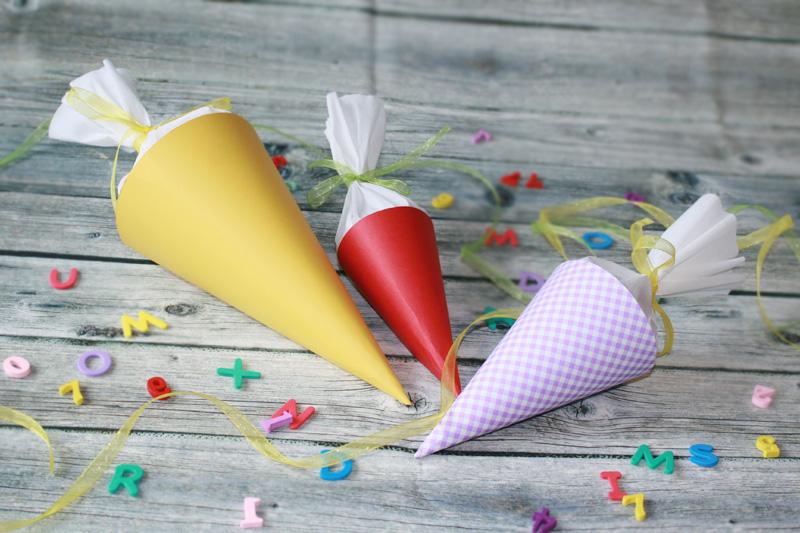
Prepare the school cone
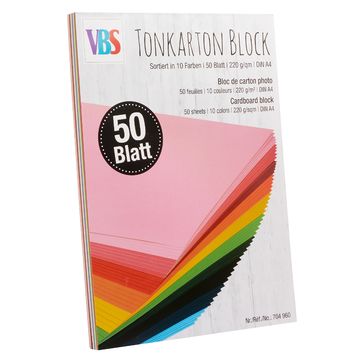
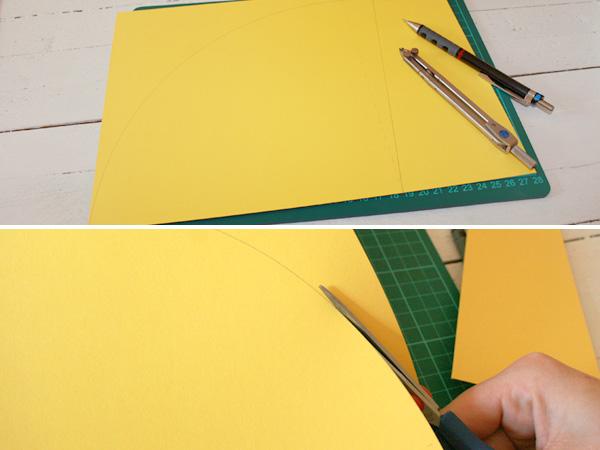
Take a piece of craft cardboard sheet and mark out the desired distance from around the edge. For the yellow mini school cone, we have taken a measurement of 20 cm. Connect the marked points with a line. Now set your compass to 20 cm and draw a circle segment that slightly overlaps the marking. The excess will provide enough space at the gluing point. Cut out the school cone.
* We chose 15 cm for the purple checked school cone and 12 cm for the red one.
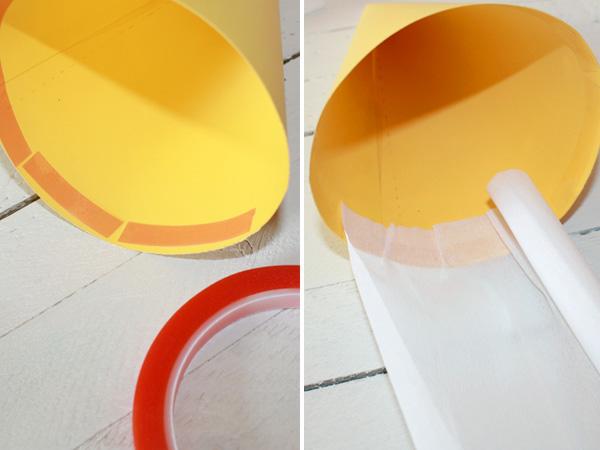
Glue the school cone together
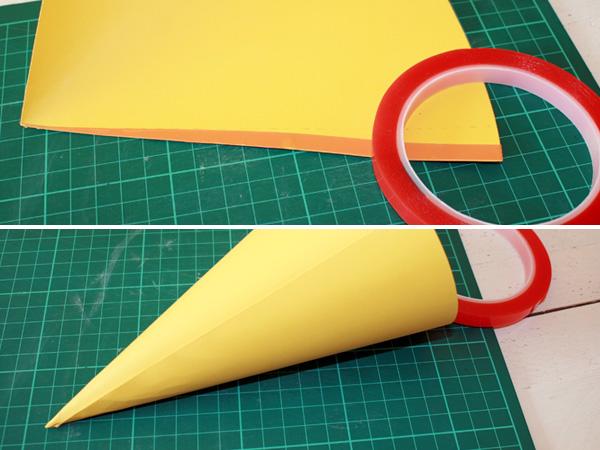
Before you glue the school cone together, roll it up once to test it. This helps to pre-shape the cardboard a little. Then apply double-sided adhesive tape along one edge on the inside or outside. Make sure that you taper the adhesive tape towards the tip to prevent it from peeking out.
Then remove the protective strip of adhesive tape and glue the school cone together. As cardboard can be stubborn, it sometimes takes several attempts. The top in particular can be tricky. Alternatively, you can also use handicraft glue . Straighten any uneven edges with scissors.
Decorate the school cone
To attach the crêpepaper , attach small sections of from double-sided adhesive tape to the inside below the edge. Cut a piece of crêpepaper to fit around the school cone and provide some extra wiggle room. Roll up the Paper and add it to the inside step by step, occasionally making a fold to follow the curve.
If you want to attach the crêpepaper on the outside, work as evenly as possible, as the edges are visible here.
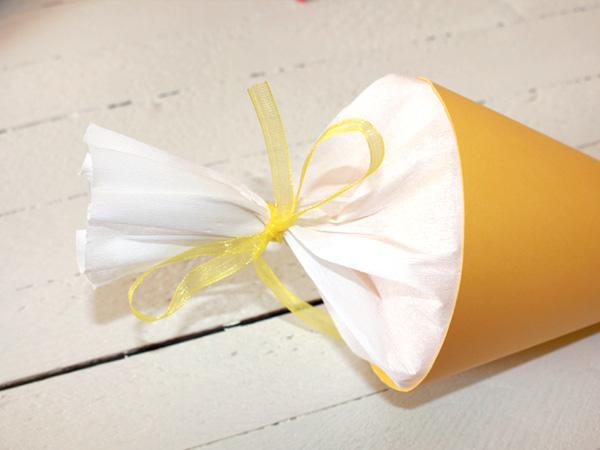
Once the Paper is attached and the school cone is filled, close it with a decorative ribbon.
Good luck with the copy!