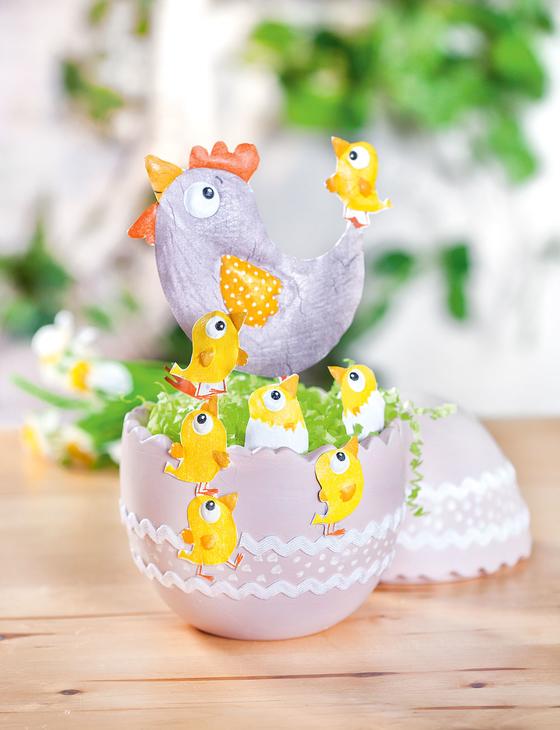
For this craft idea we use Napkin technique and metal embossing. The Easter nest is very easy to make and looks great. So the Easter eggs-search can already begin in the house.
And it is as simple as that:
What materials do I need for the ceramic egg as an Easter nest?In addition to the decorative ceramic egg and Napkin , you will need aluminium sheets, a soft base (for example a sponge rubber mat) and pressing tools for metal embossing. Also be prepared: Flower foam, a little wire, Easter grass or jungle moss, Napkin varnish, brushes, scissors, hot glue and Handicraft paint. Helpful other crafting utensils are serrated tape, a side cutter and tape Ribbon.
How can I make the ceramic egg easily, quickly and well?First, prime the ceramic egg with Handicraft paint in beige. Then glue the Napkin with Napkin varnish on an aluminium sheet. As soon as the Napkin is dry, cut out the individual napkin motifs and carefully model them on the soft mat using the press tool. Depending on your taste, details such as wings, eyes or cockscomb can be embossed with the embossing pen with fine contours or worked out over a large area. Now the ceramic egg is decorated with the help of double-sided Adhesive tape and serrated strands. You can also use white Handicraft paint to dot dots between the individual serrated lines.
Take some floral wire, form the top end into a loop and stick it behind the individual chicks and the chicken with hot glue. This is how you get small Decorative plug. As soon as something Flower arrangement foam has been pressed into the egg, you can easily stick it into the plugging compound. Finally, cover the flowers Flower arrangement foam with Easter grass or similar material