A homemade picture frame gives every picture a personal touch and adapts flexibly to the circumstances - be it the season or a special event. Discover the creative ways in which you can conjure up a unique picture frame from simple materials that perfectly showcases your photos. With these instructions, you can quickly and effortlessly create an eye-catcher that not only only makes the perfect gift, but also beautifies your home.
<img src="/tn.php?id=213424&width=900&height=600&templang=en" alt="gift idea: Make your own picture frame. Great gift idea for children" width="815" height="543" align="" hspace="" vspace="" class="">
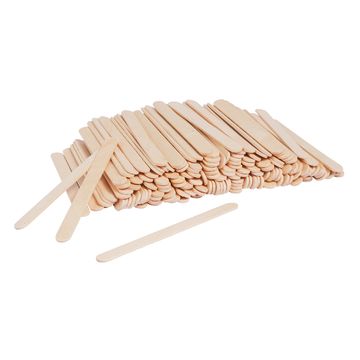
1. Building the basic frames
There are countless ways to design picture frames. In our example, we show you two variants: a simple one and a more complex one that even offers several possible uses.
Variant 1:
Place the wooden sticks on top of each other as shown and connect the contact points with the handicraft glue.
<img src="/tn.php?id=213416&width=600&height=450&templang=en" alt="gift idea: DIY picture frame with wooden sticks" data-mid="213416" title="gift idea: Picture frame_wooden sticks" width="600" height="450">
Variant 2:
Glue the sticks together as shown. You can decide how big the picture window should be. Tip: Instead of staggered, the sticks can also be glued directly on top of each other.
<img src="/tn.php?id=213417&width=600&height=450&templang=en" alt="gift idea: Make your own picture frame with free instructions" data-mid="213417" title="gift idea: Picture frame template" width="600" height="450">
Once you have finished one frame, you can use it as a template for others to ensure a uniform size. Alternatively, draw a basic framework on Paper, which serves as a template.
2. Decorate the picture frames
As soon as the glue has dried, you can decorate the picture frames with napkin technique . Either the entire surface or only parts of it. Tip: You can do without a primer, as the white napkin parts will be almost invisible after painting.
Separate the printed layer from the other two, place the napkin on the wood and paint the napkin varnish with a brush from the center outwards. Carefully tear off the excess and smooth the edges.
<img src="/tn.php?id=213418&width=600&height=450&templang=en" alt="gift idea: DIY picture frame with wooden sticks with napkin technique " data-mid="213418" title="gift idea: picture_frame_napkins" width="600" height="450">
Leave the varnish to dry and apply the decorative snow to the desired areas. A wooden stick is an excellent tool for applying the paint.
<img src="/tn.php?id=213419&width=600&height=450&templang=en" alt="gift idea: Picture frame with decorative snow to make yourself. Great gift idea for Christmas" data-mid="213419" title="gift idea: picture_frame_deco_snow" width="600" height="450">
3. Attach the ribbon
Now you need a ribbon, to hang up the picture frames. Cut a sufficiently long piece of cord , allowing for gaps between the frames. Start at a lower end and fix it with hot glue. Align the frames so that all distances are the same and glue the cord from bottom to top.
<img src="/tn.php?id=213420&width=600&height=450&templang=en" alt="gift idea: DIY picture frames with free crafting instructions" data-mid="213420" title="gift idea: Picture_frame_ribbons" width="600" height="450">
Cut pictures to fit the frames and stick them on from the back. With the second variant, you can also insert the pictures from the side without gluing them.
4. Base for picture frame
For the second variant, you can make a base to stand on if you want to place a picture on a cupboard, for example.
Place three wooden sticks next to each other, glue two on top with a little space between them and finally insert another stick upright in the gap.
<img src="/tn.php?id=213422&width=600&height=450&templang=en" alt="gift idea: Easy to make your own picture frame" data-mid="213422" title="gift idea: Picture frame_stand" width="600" height="450">
The picture frame can then simply be attached. That's it!
<img src="/tn.php?id=213423&width=600&height=450&templang=en" data-mid="213423" title="gift idea: Bilderrahmen_aufstellen" alt="" width="600" height="450">
Have fun making your own! If you need the materials for this inspiring DIY-Picture frame, visit our online store for an extensive range of creative and craft items.