- Secure order
- Easy return shipment
- Service-Hotline +31 20 809 5778
Instructions No. 3161
Difficulty: Beginner
Working time: 4 Hours

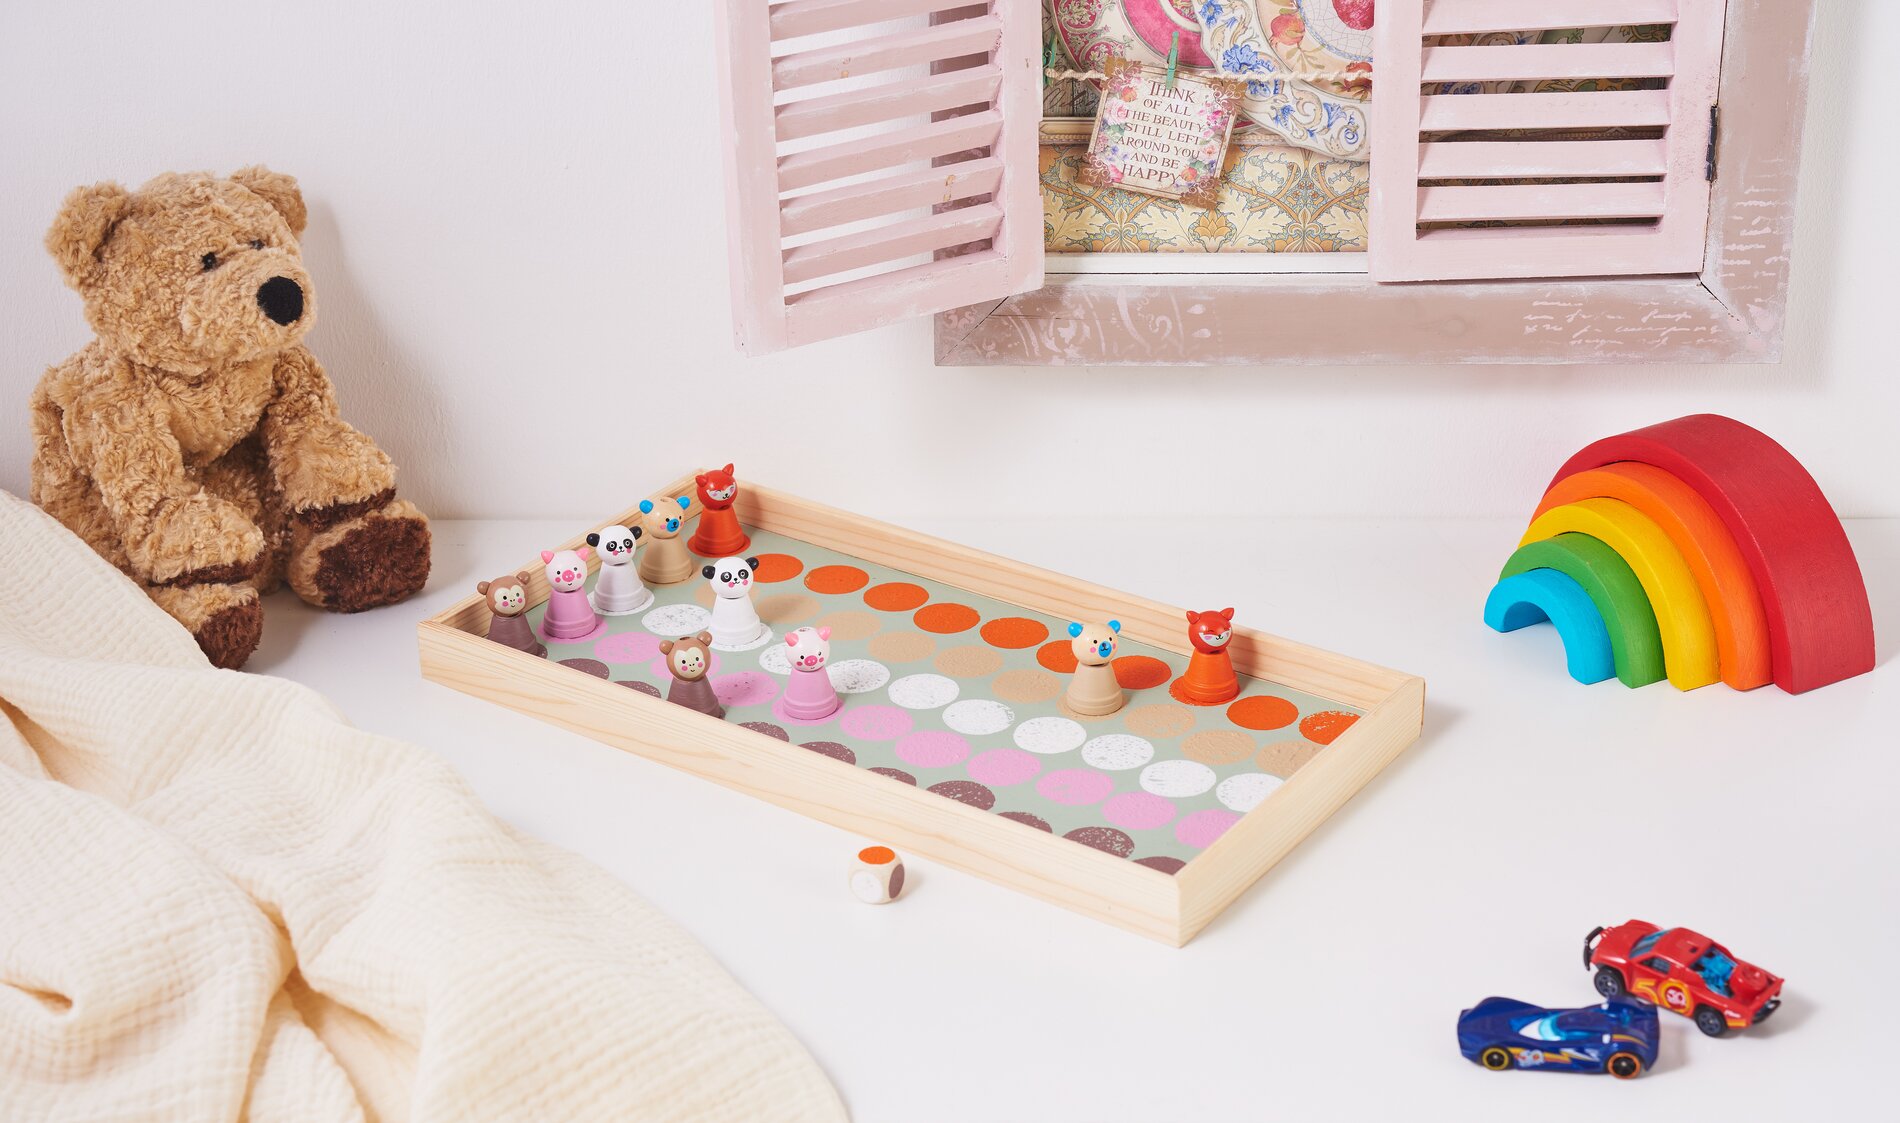
Step 1: Painting terracotta-pots and tray bowl
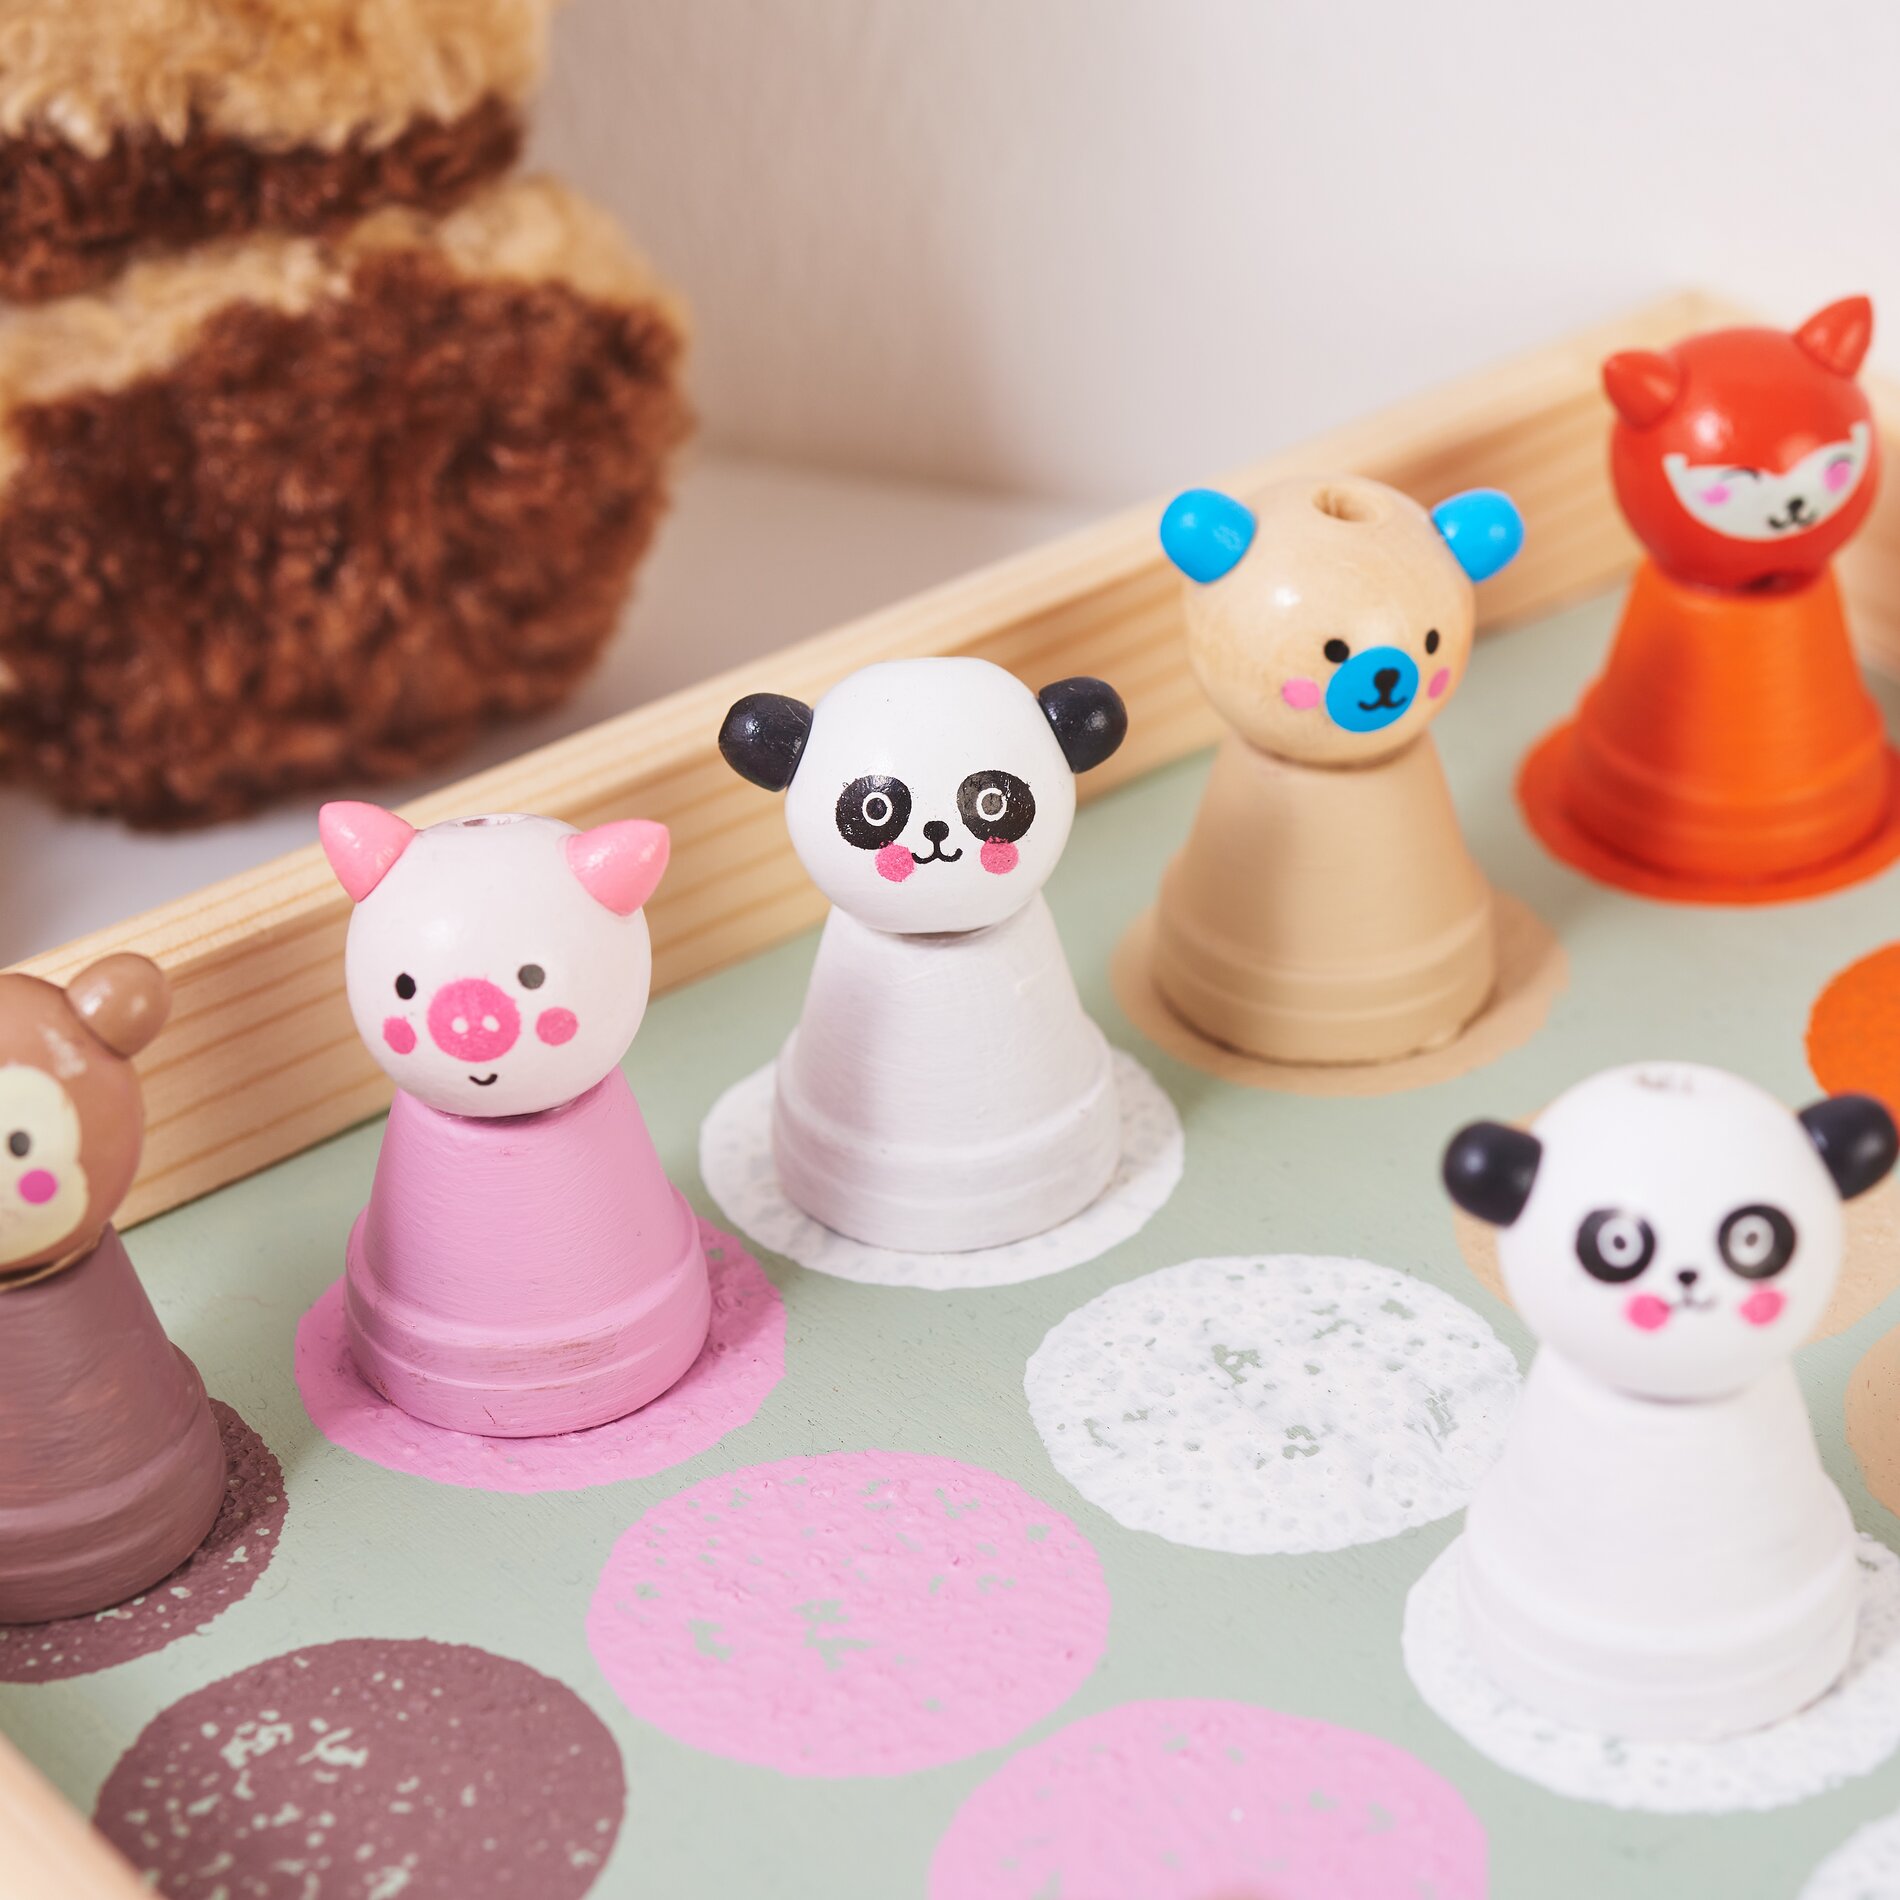
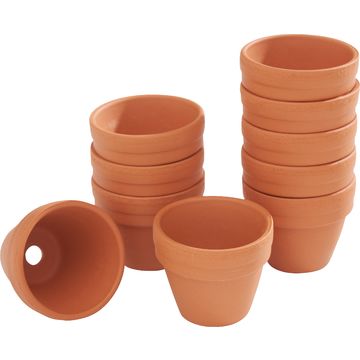
Start your crafting journey by painting the terracotta-pots and the tray bowl. Use colorful craft paints for this. Let your creativity run wild! Paint the pots and the tray to your taste. Make sure that the colors cover well and let the painted parts dry completely before you continue.
Step 2: Glue on the wooden heads
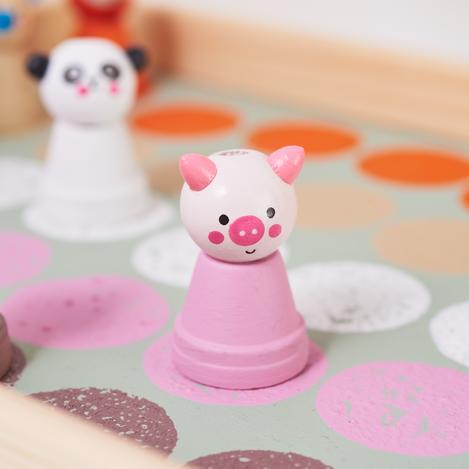
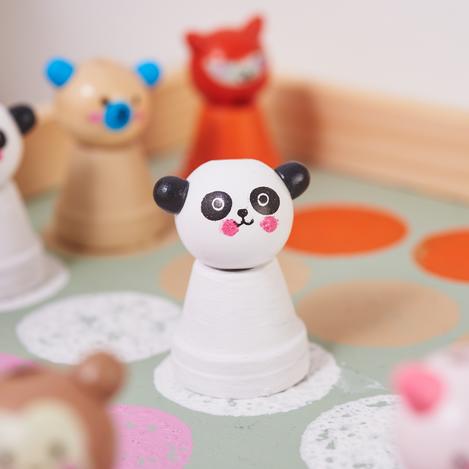
Once the paint has dried, glue the wooden heads onto the painted terracotta-pots using handicraft glue . The wooden heads serve as game pieces and give your game a special touch. Press the heads firmly onto the pots and allow the glue to dry completely.
Step 3: Design the playing field
Now it's time to design your playing field. Use dabbing brushes and different colors to dab dots or squares onto the tray. These will later represent the paths for your game pieces . Design the playing field as you wish - whether colorful and lively or in a specific order. Again, make sure the paint dries well.
Step 4: Paint the cube
Now take the cube. Paint each side of the cube with different colors. The cube will later determine how far your game pieces can progress. To make the cube even more individual, you can also paint on numbers or dots. Leave the cube to dry thoroughly.
Step 5: Seal with acrylic varnish
To make your artwork durable and resistant, paint both the playing field and the cube with acrylic varnish. The acrylic varnish protects the colors from wear and tear and gives your game a beautiful shine. Let the varnish dry well before you start playing.
Step 6: Set the rules of the game
Now comes the fun part - playing! Together with your children or fellow players, come up with individual rules for the game. Here's a simple suggestion: Each player has a maximum of two game pieces. If a player rolls "their" color, they can advance one space. The first player to reach the end of the playing field wins the game!