- Secure order
- Easy return shipment
- Service-Hotline +31 20 809 5778
Instructions No. 4100
Difficulty: Beginner
Working time: 30 Minutes
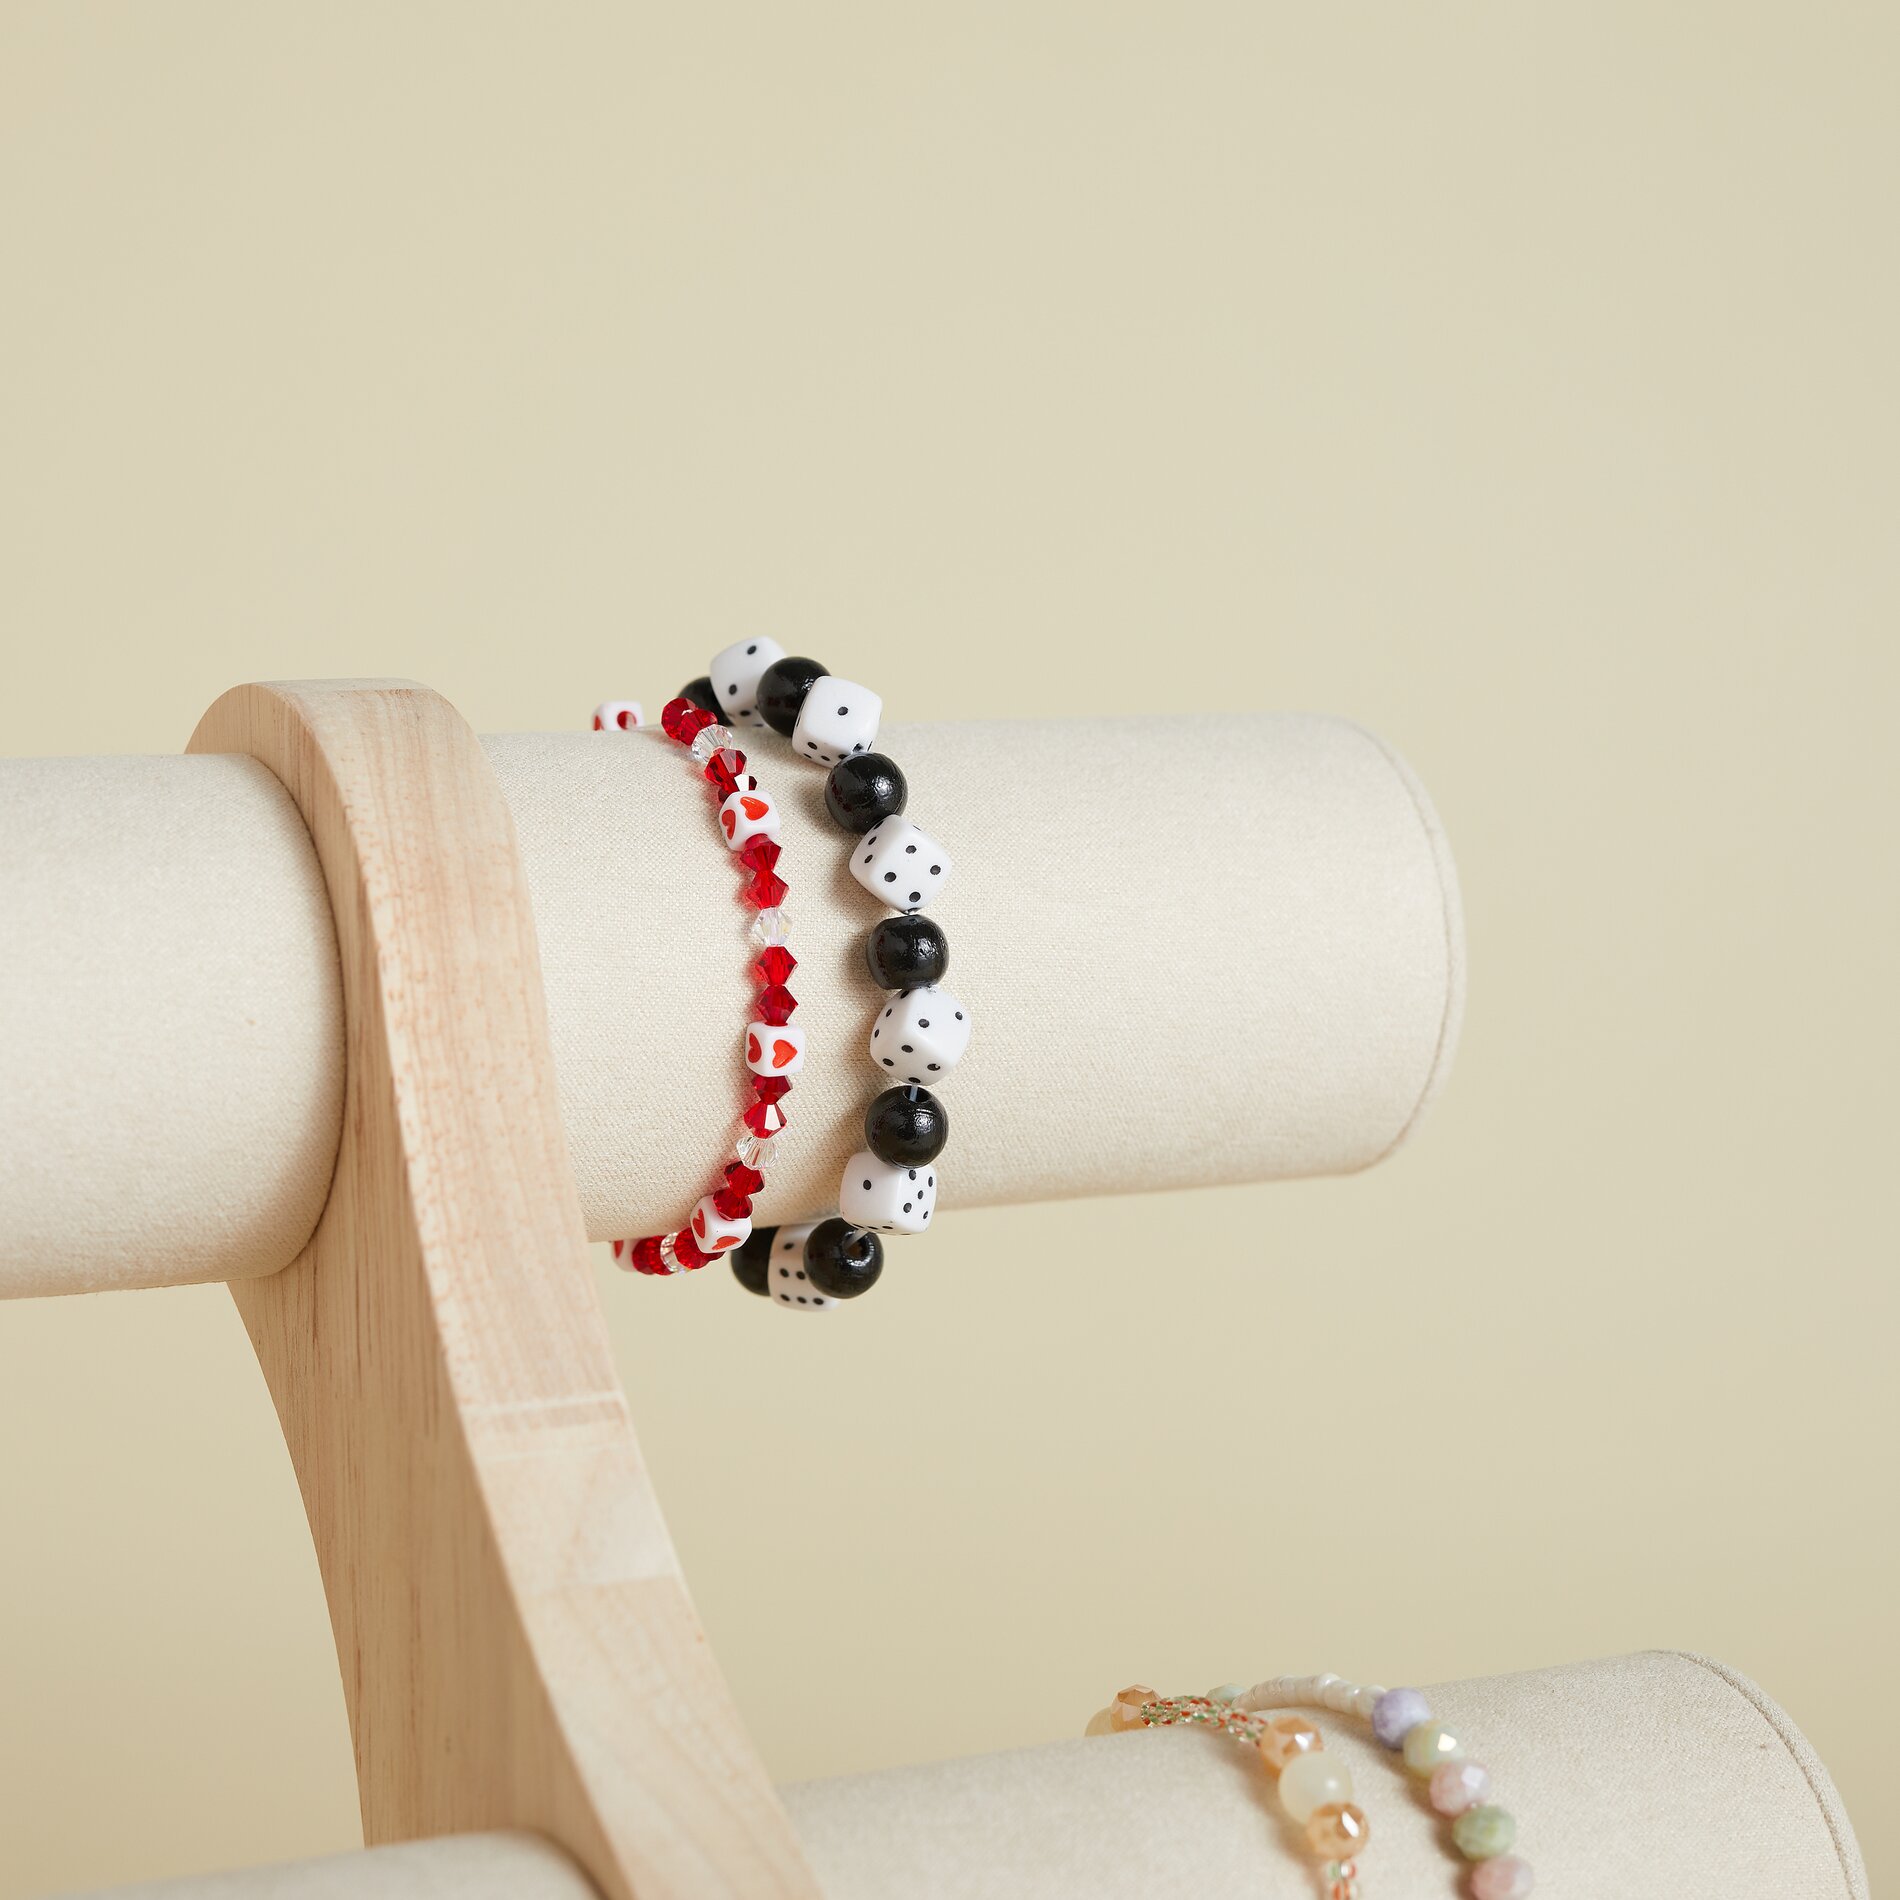
bracelet Thread the beads onto elastic cord
Start by cutting the elastic cord to size: This way, you can determine right away how comfortably your beaded bracelet will fit later. Measure your wrist with a string or a measuring tape. If you prefer to wear your bracelet a little looser, add about 2 cm. Cut the elastic cord to this length and clamp it into a beading needle. The beading needle holds the cord steady so you can thread small beads more quickly and keep the pattern neat.
Planning and Stringing the Bead Pattern
Lay out the beads and pendants in front of you and decide on an order. This helps you intentionally add color accents, for example with individual statement beads or a small pendant as an eye-catcher. Then thread the beads onto the elastic cord one by one. Pull everything tight every so often to prevent gaps and ensure the bracelet looks even. If you want a symmetrical design, work from the center: Start with a special pearl or a pendant, then alternate threading to the left and right.
bracelet Finishing: Tie a secure knot and finish neatly
Once you’ve reached the desired length, remove the cord from the beading needle and tie both ends together tightly. The knot is the most important safety step to ensure your piece of jewelry doesn’t come undone while you’re wearing it. Pull it tight and check that it holds. Then trim off any excess ends close to the knot. Your elastic beaded bracelet is now finished and ready to wear.
Making Pearl Earrings with a Bead Pin
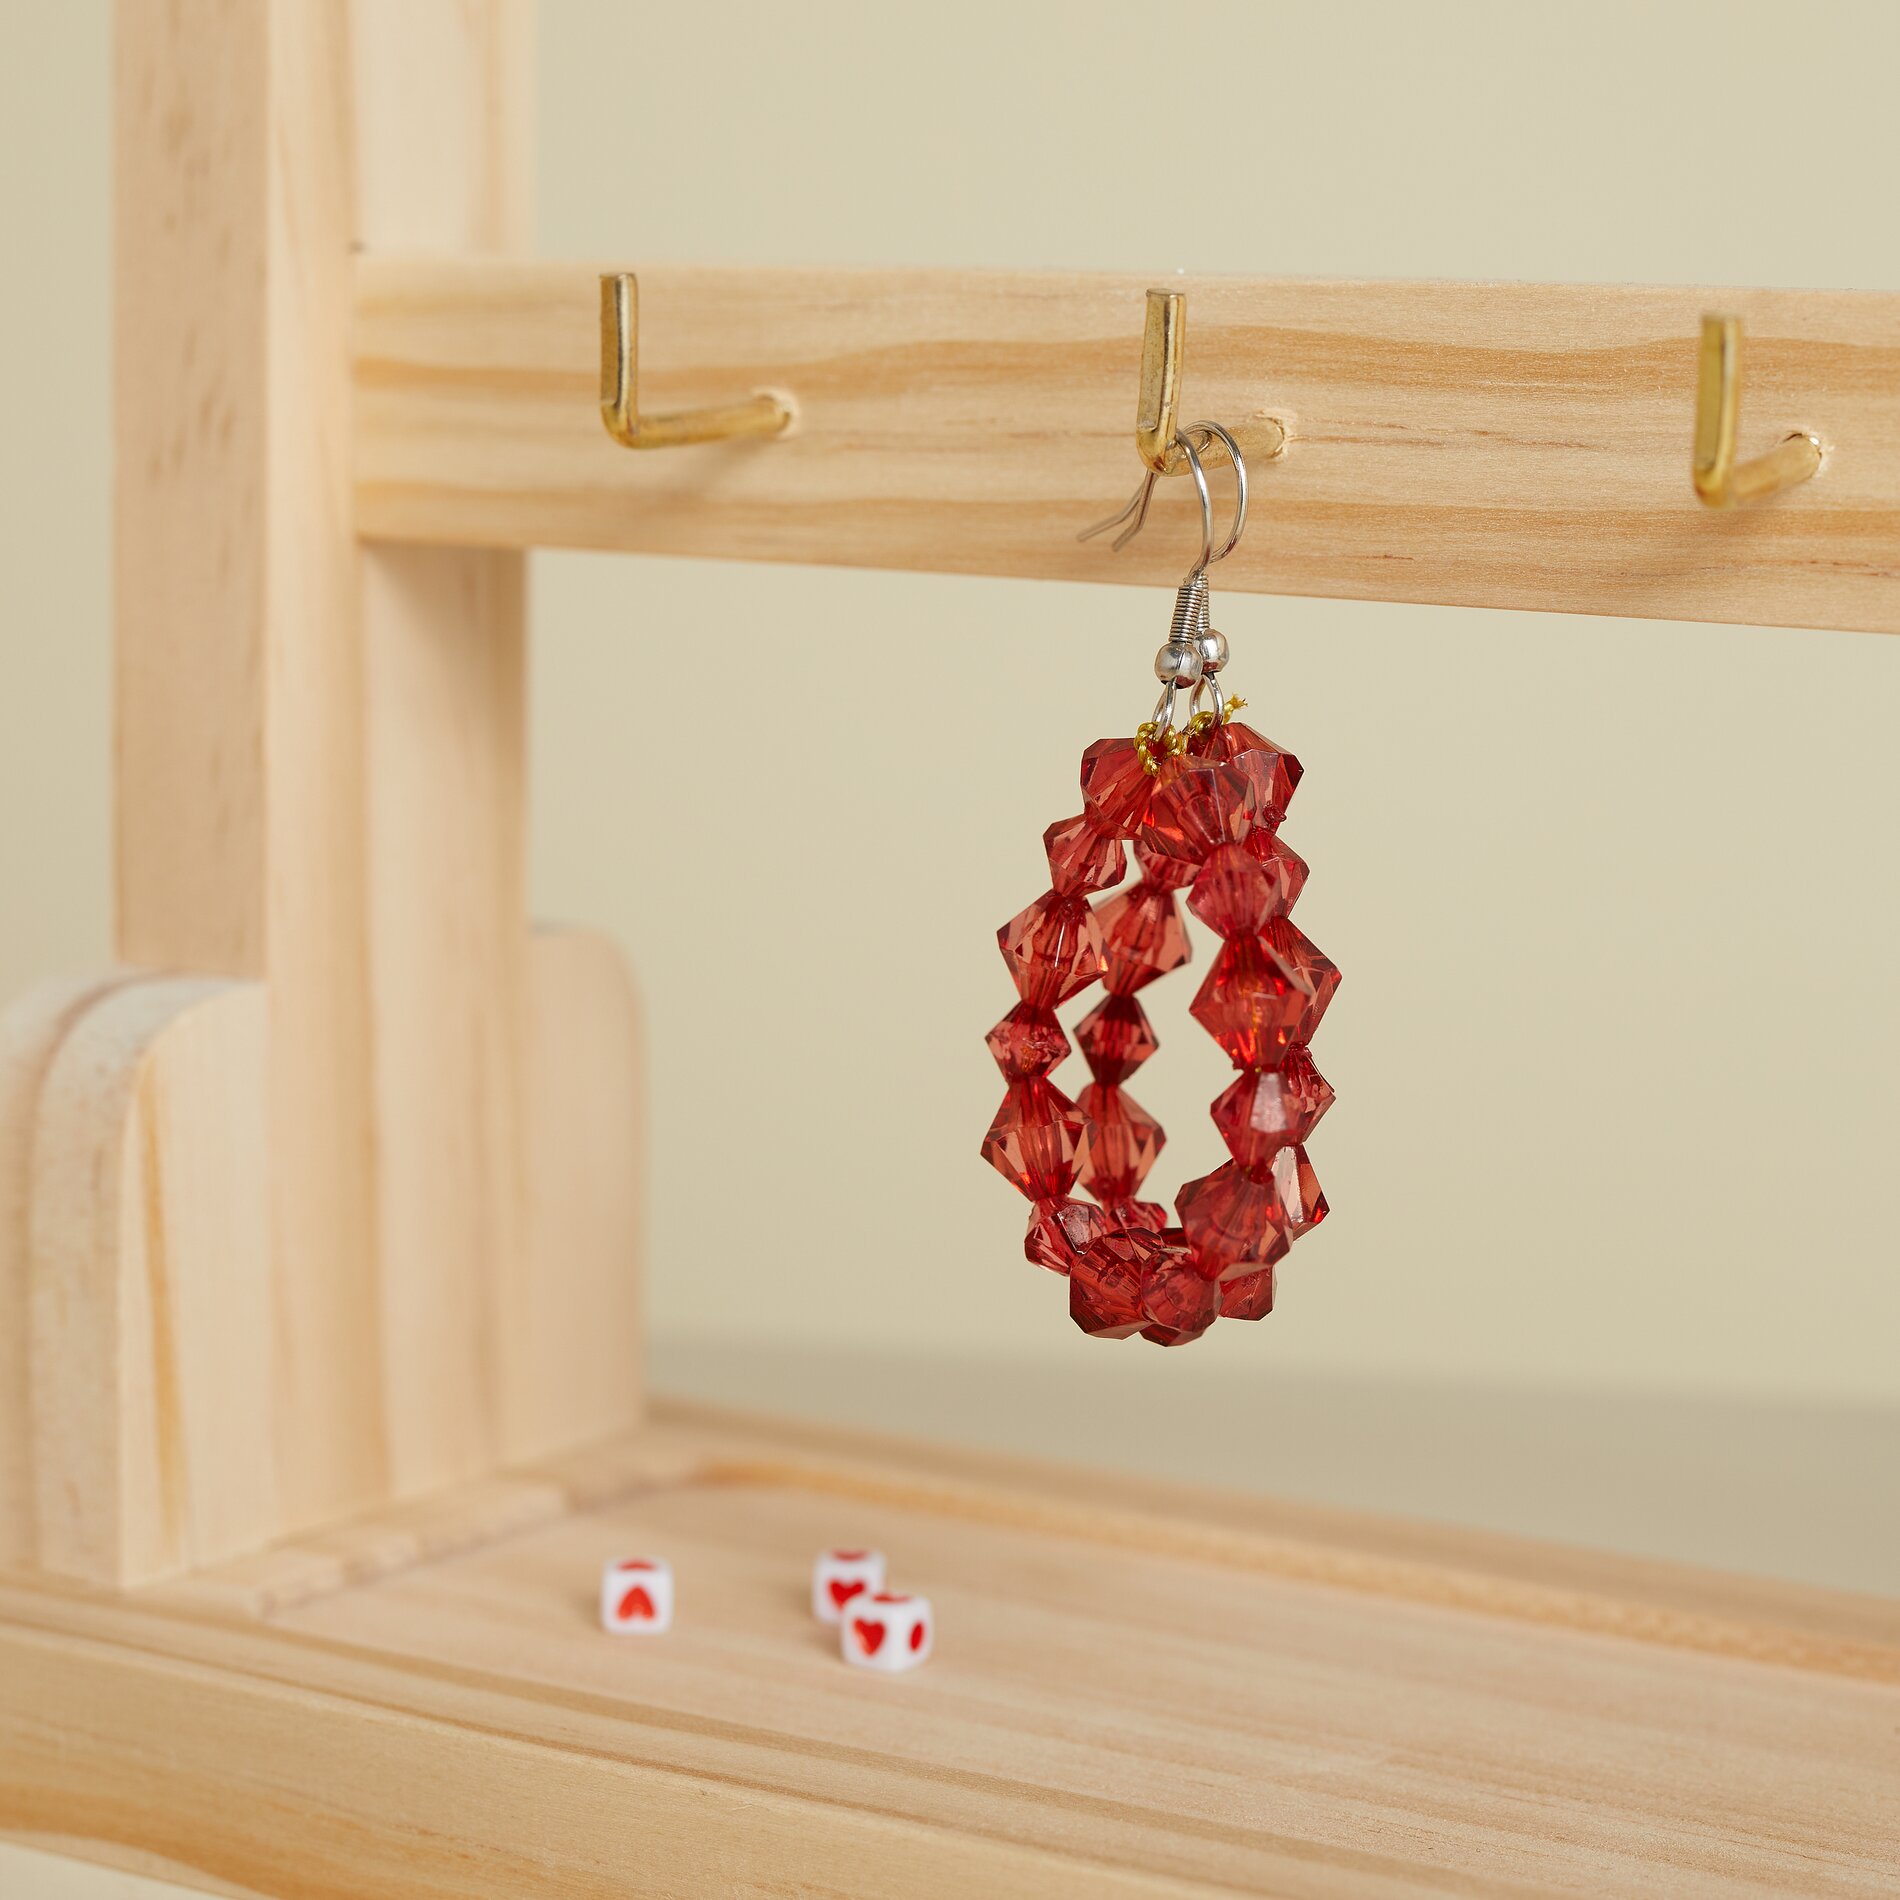
For beaded earrings, first thread the beads onto a jump ring. A jump ring is a metal ring with a small stopper at the end to prevent the beads from slipping off. Use side cutters to trim the jump ring to a length that suits your design. Then bend the top end into an eyelet. An eyelet is a small loop of wire to which you attach the ear hole hooks . Make sure to close the eyelet securely so nothing can slip out. Then attach the ear hole hooks —and your homemade beaded earrings are ready.
Alternative: Quickly stringing beads onto hoop earrings
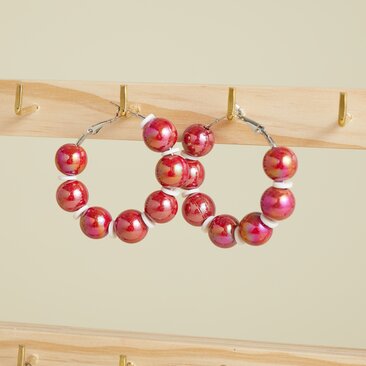
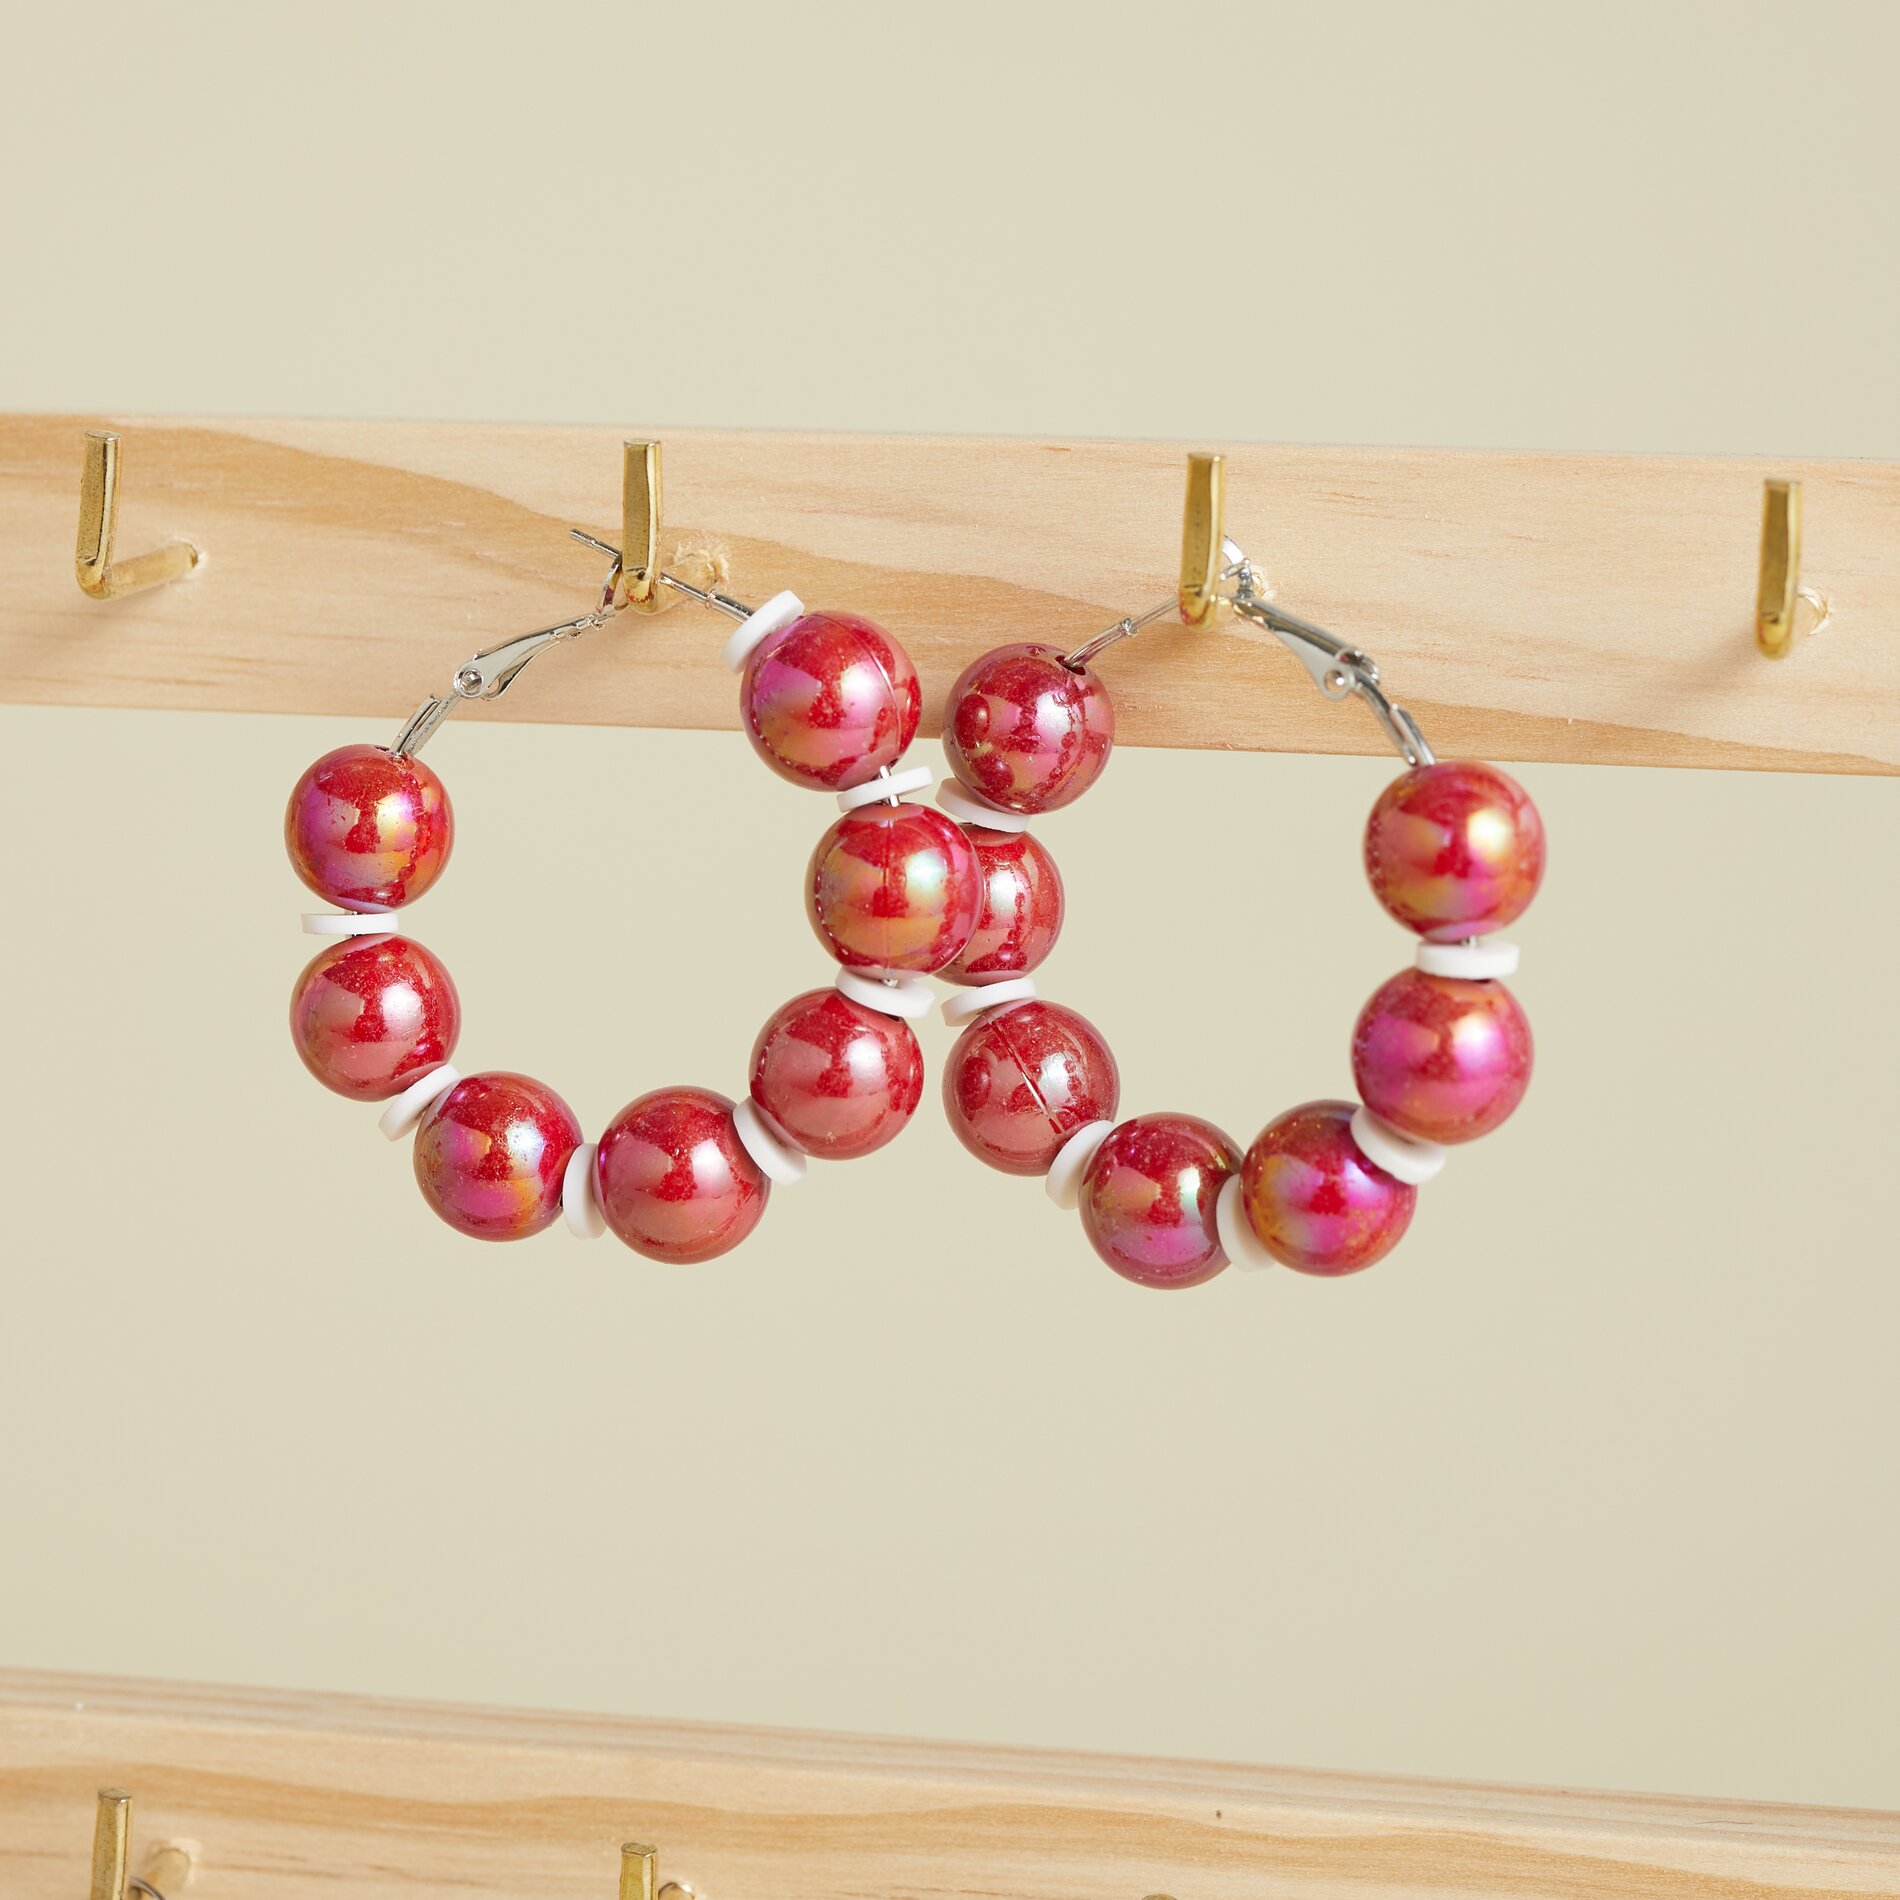
For creoles , you can thread beads directly onto the creoles . This lets you create unique creoles, in no time at all, where the beads form a small ring-like wreath. When threading, be sure to distribute the colors evenly so the result looks harmonious.
Store and Combine Jewelry in Style
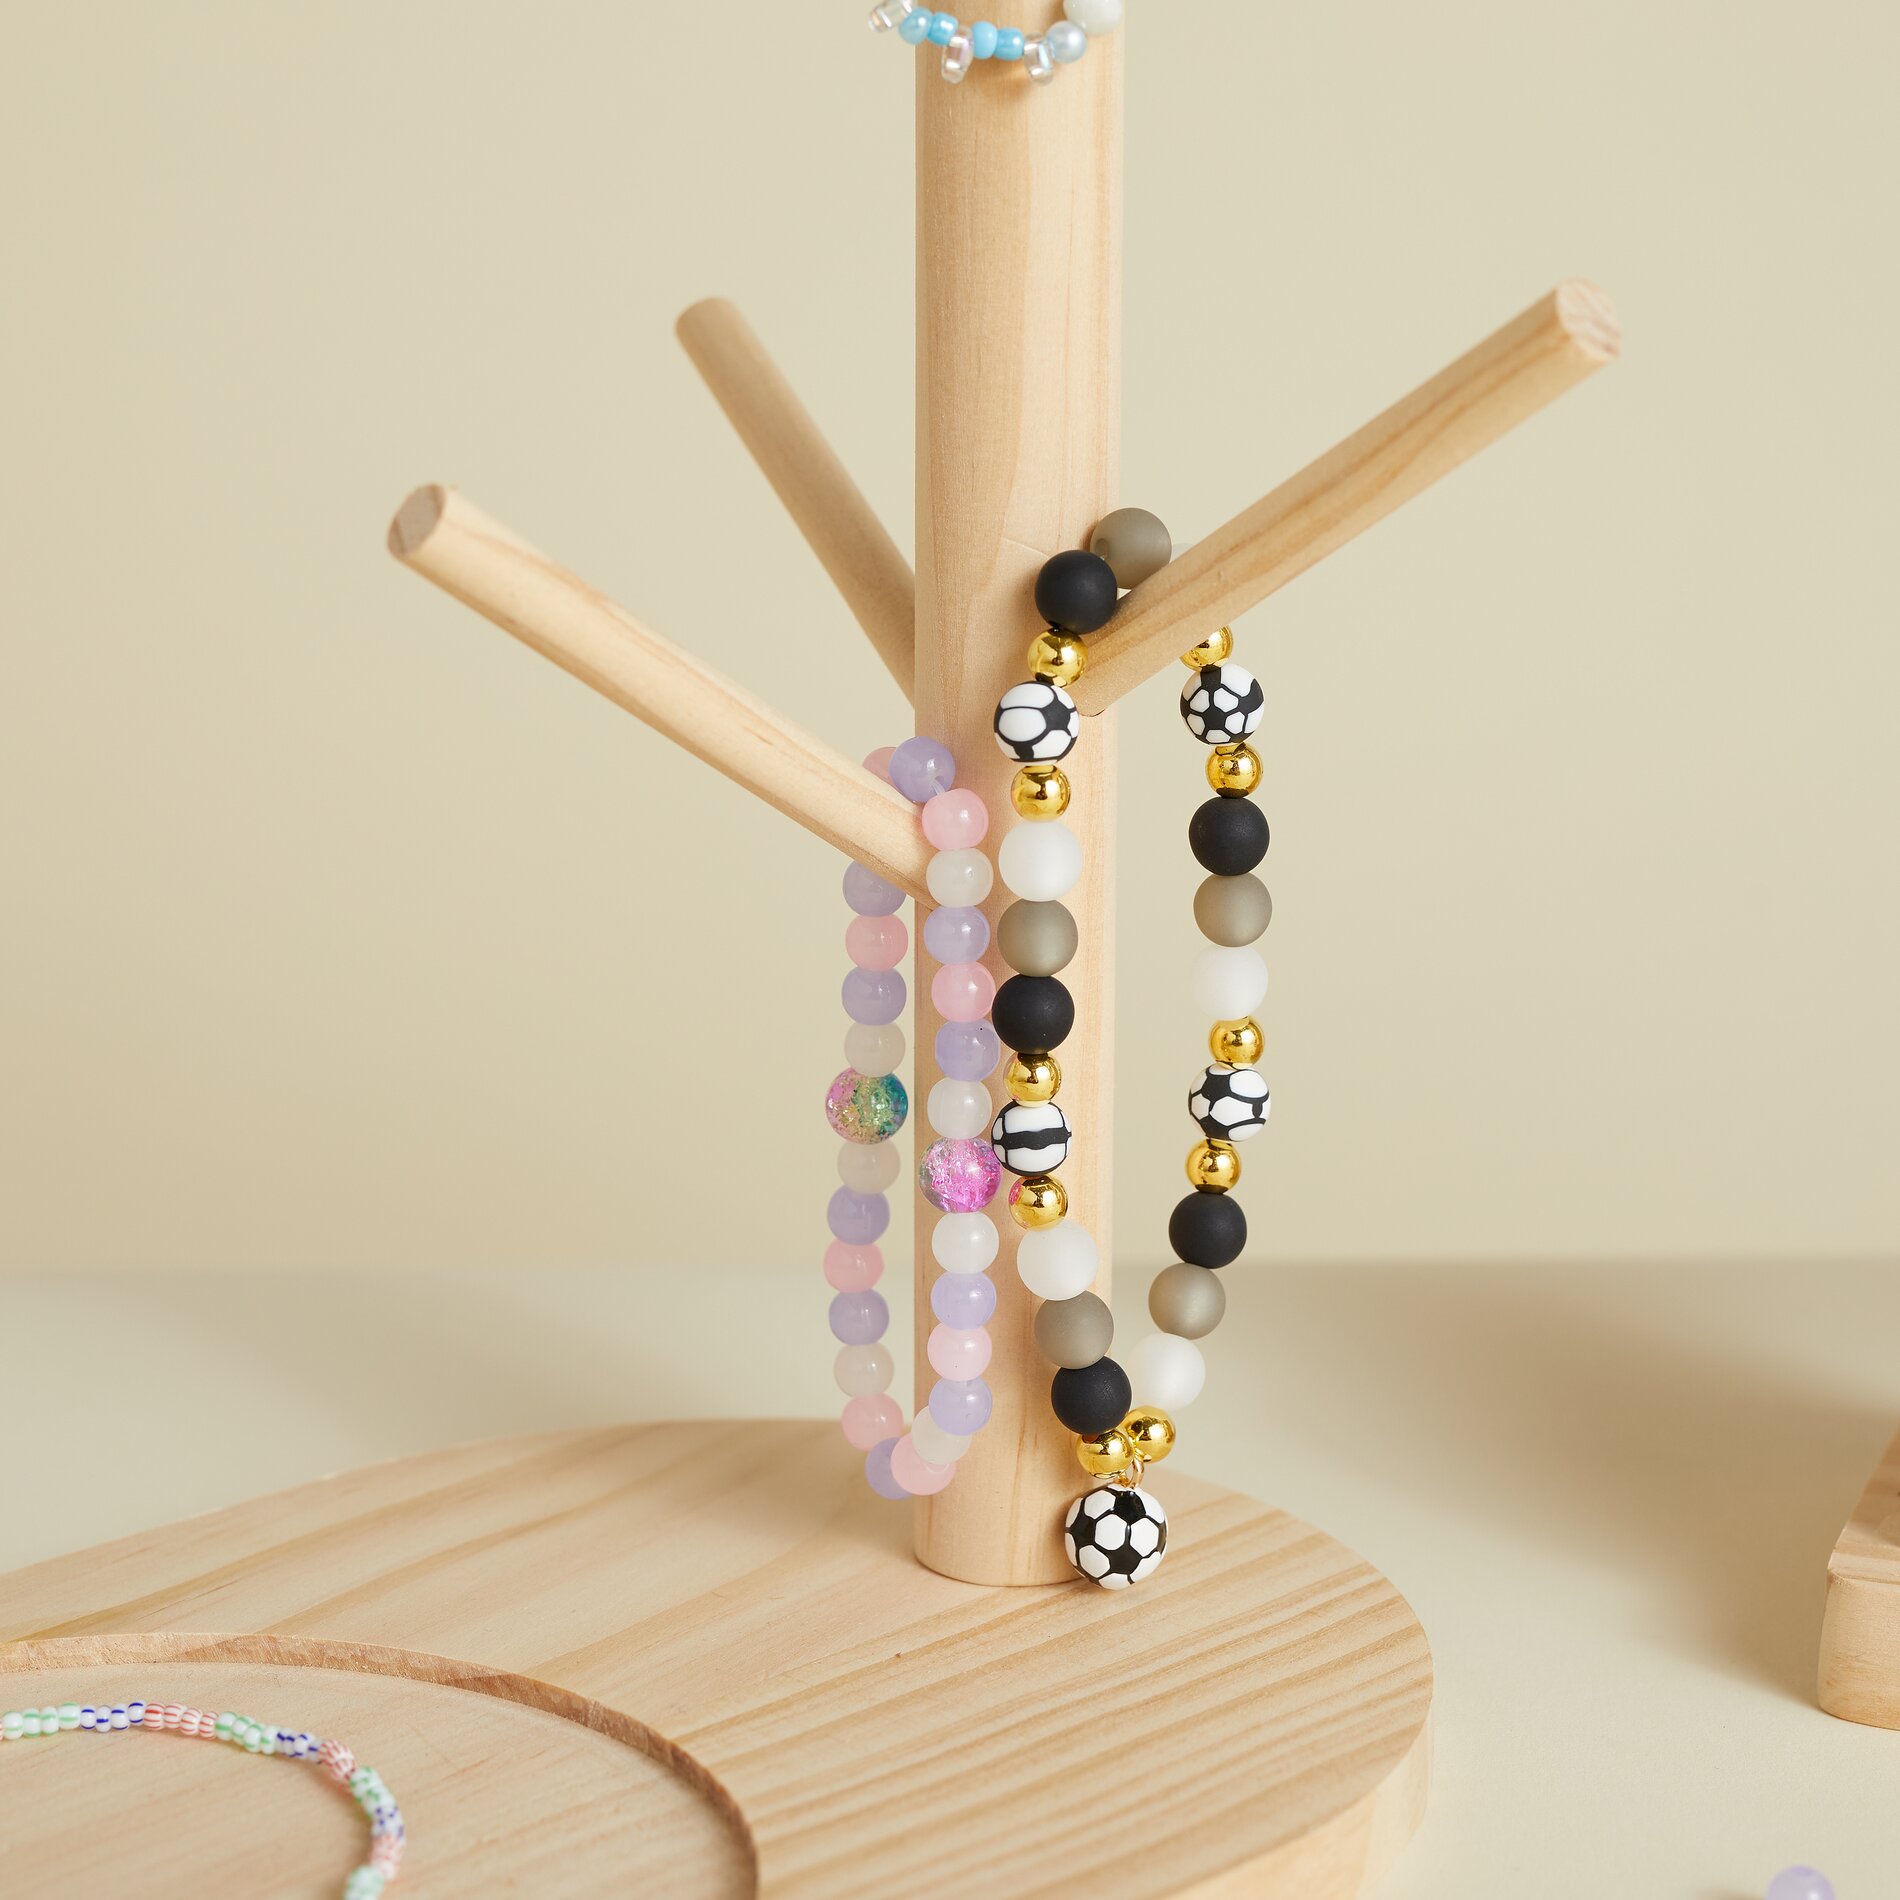
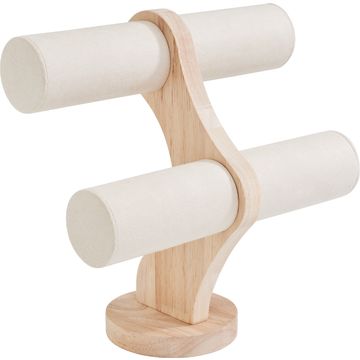
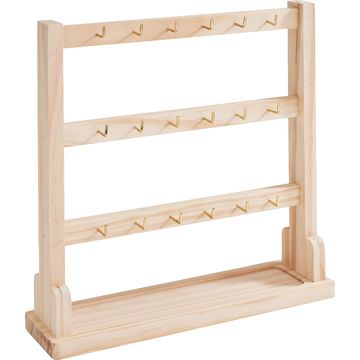
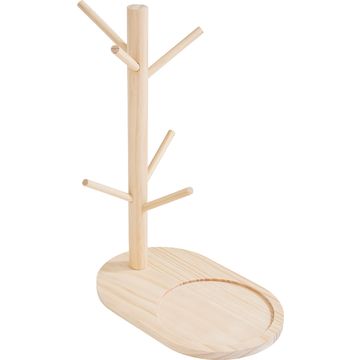
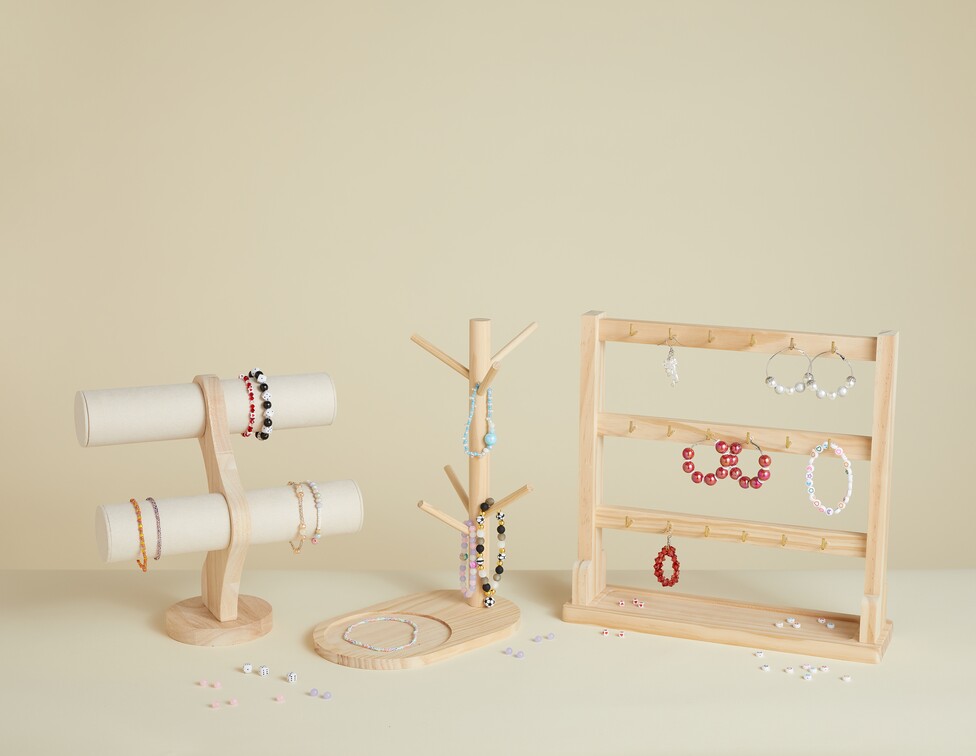
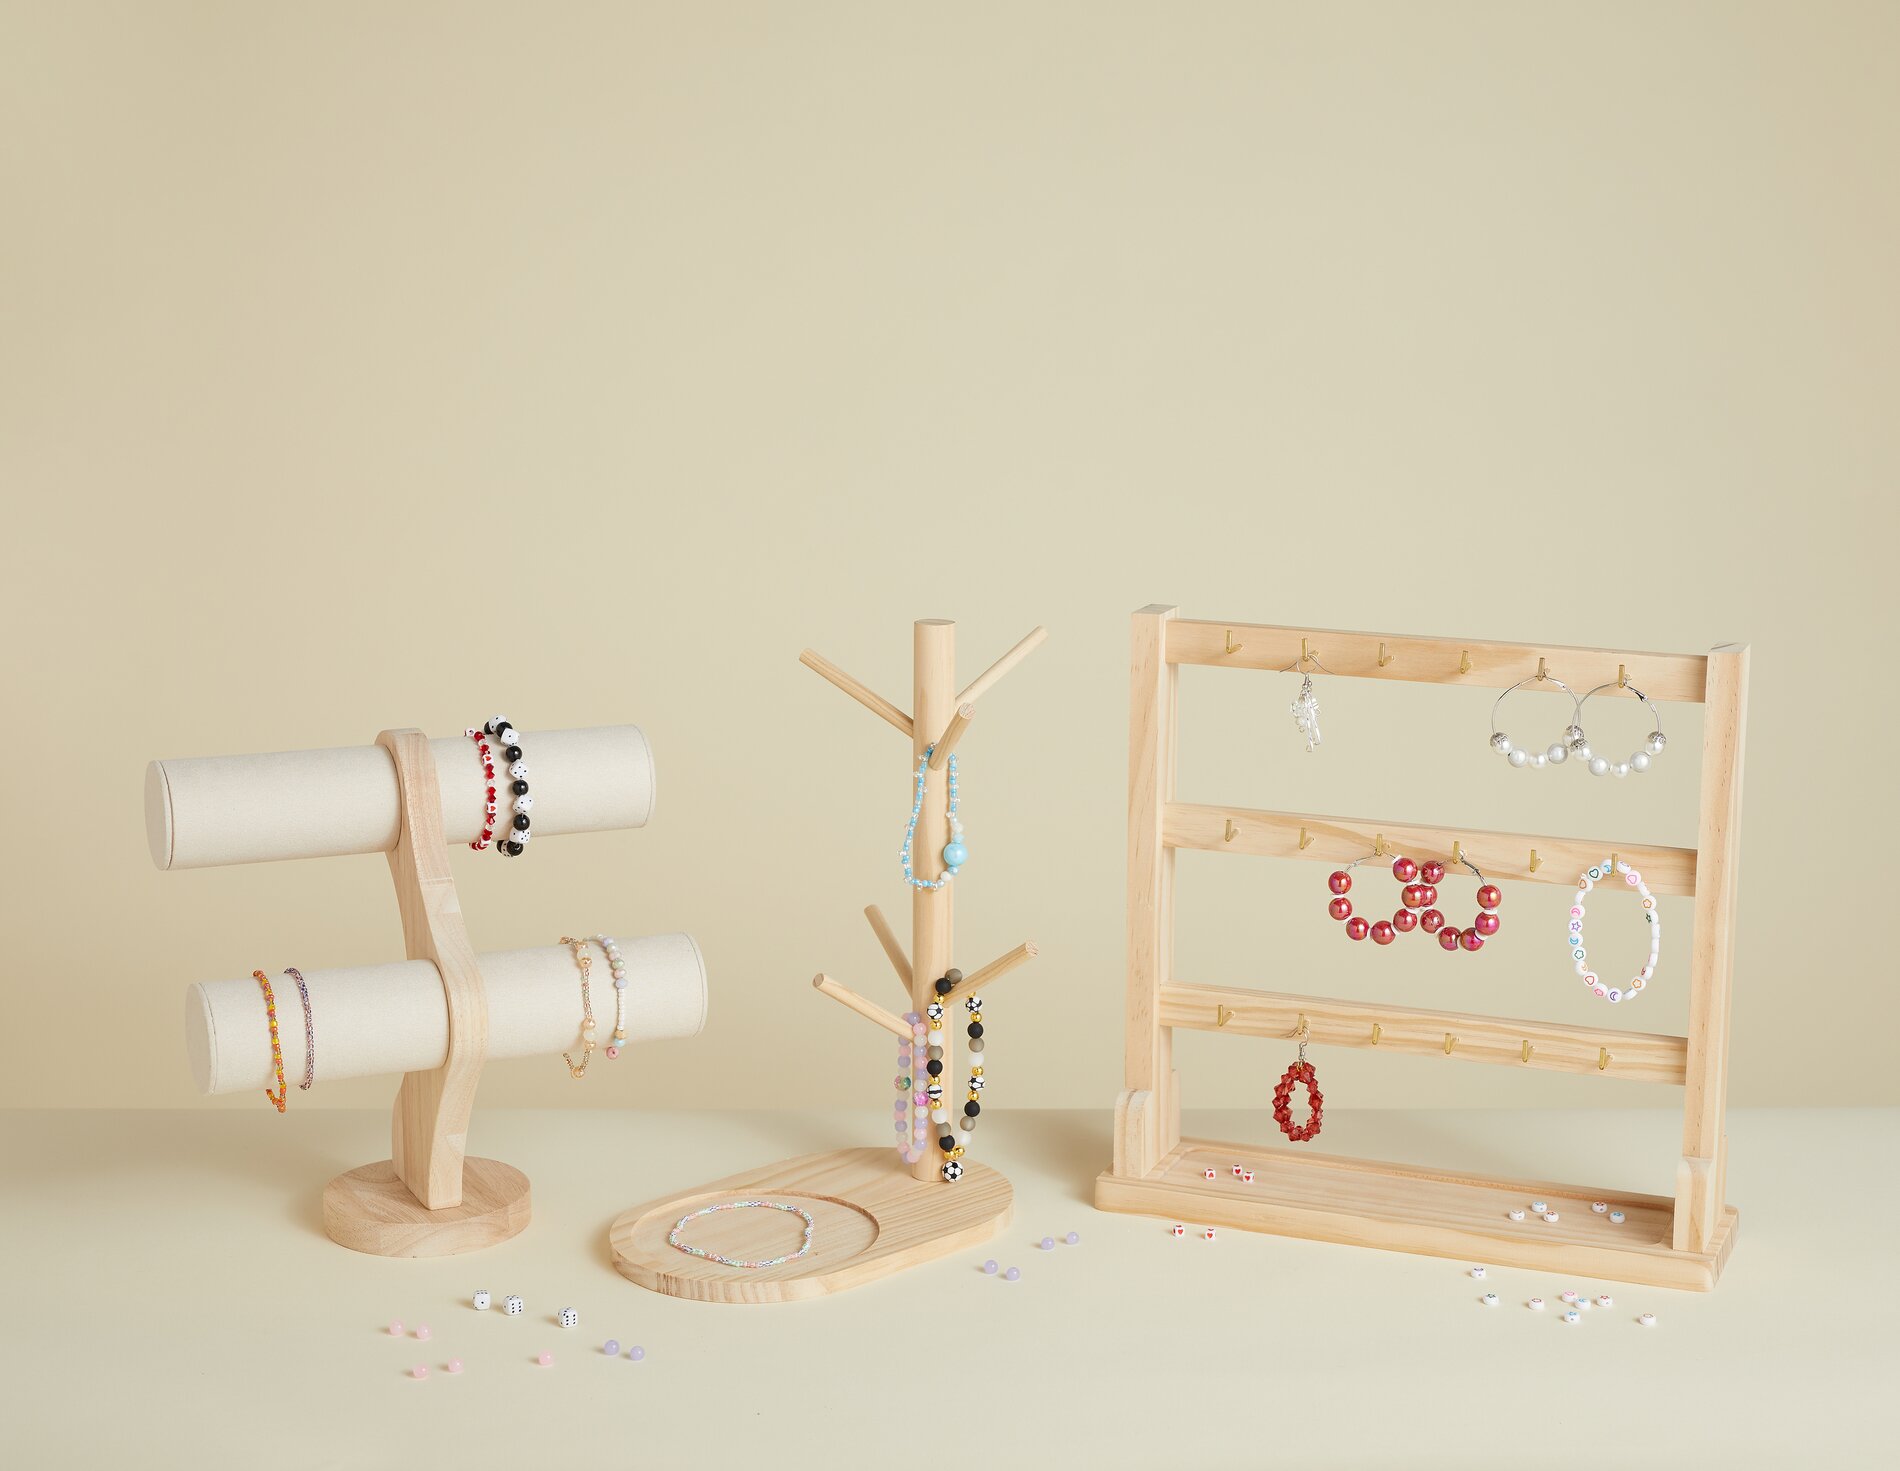
To prevent your bracelets and earrings from getting tangled or scratched, it’s best to store them neatly on a jewelry stand. This way, you can quickly find your favorite pieces, hang new color combinations right next to existing designs, and find immediate inspiration for your next jewellery tinkering . The jewelry stand offers clear storage for your jewelry and effectively showcases your jewelry accessories on your vanity, in your studio, or in your bedroom.
Now it’s your turn
Put together a few beads in your favorite colors, string bracelet , or earrings in your preferred style, and expand your collection step by step. You’ll find matching beads, pendants, and accessories for jewellery tinkering in the online shop—so you can get started right away on your next set.