- Secure order
- Easy return shipment
- Service-Hotline +31 20 809 5778
Instructions No. 3664
Difficulty: Beginner
Working time: 4 Hours

Step 1: Paint the eggs
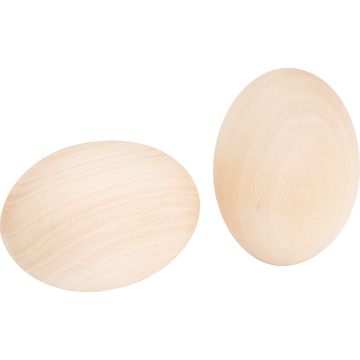
First, paint the lower part of the eggs with handicraft paint. Choose spring-like colors such as pastel yellow or mint green to create the right Easter mood. After you have applied the paint, patience is required - allow the paint to dry completely so that the end result is perfect.

Step 2: Design the ears
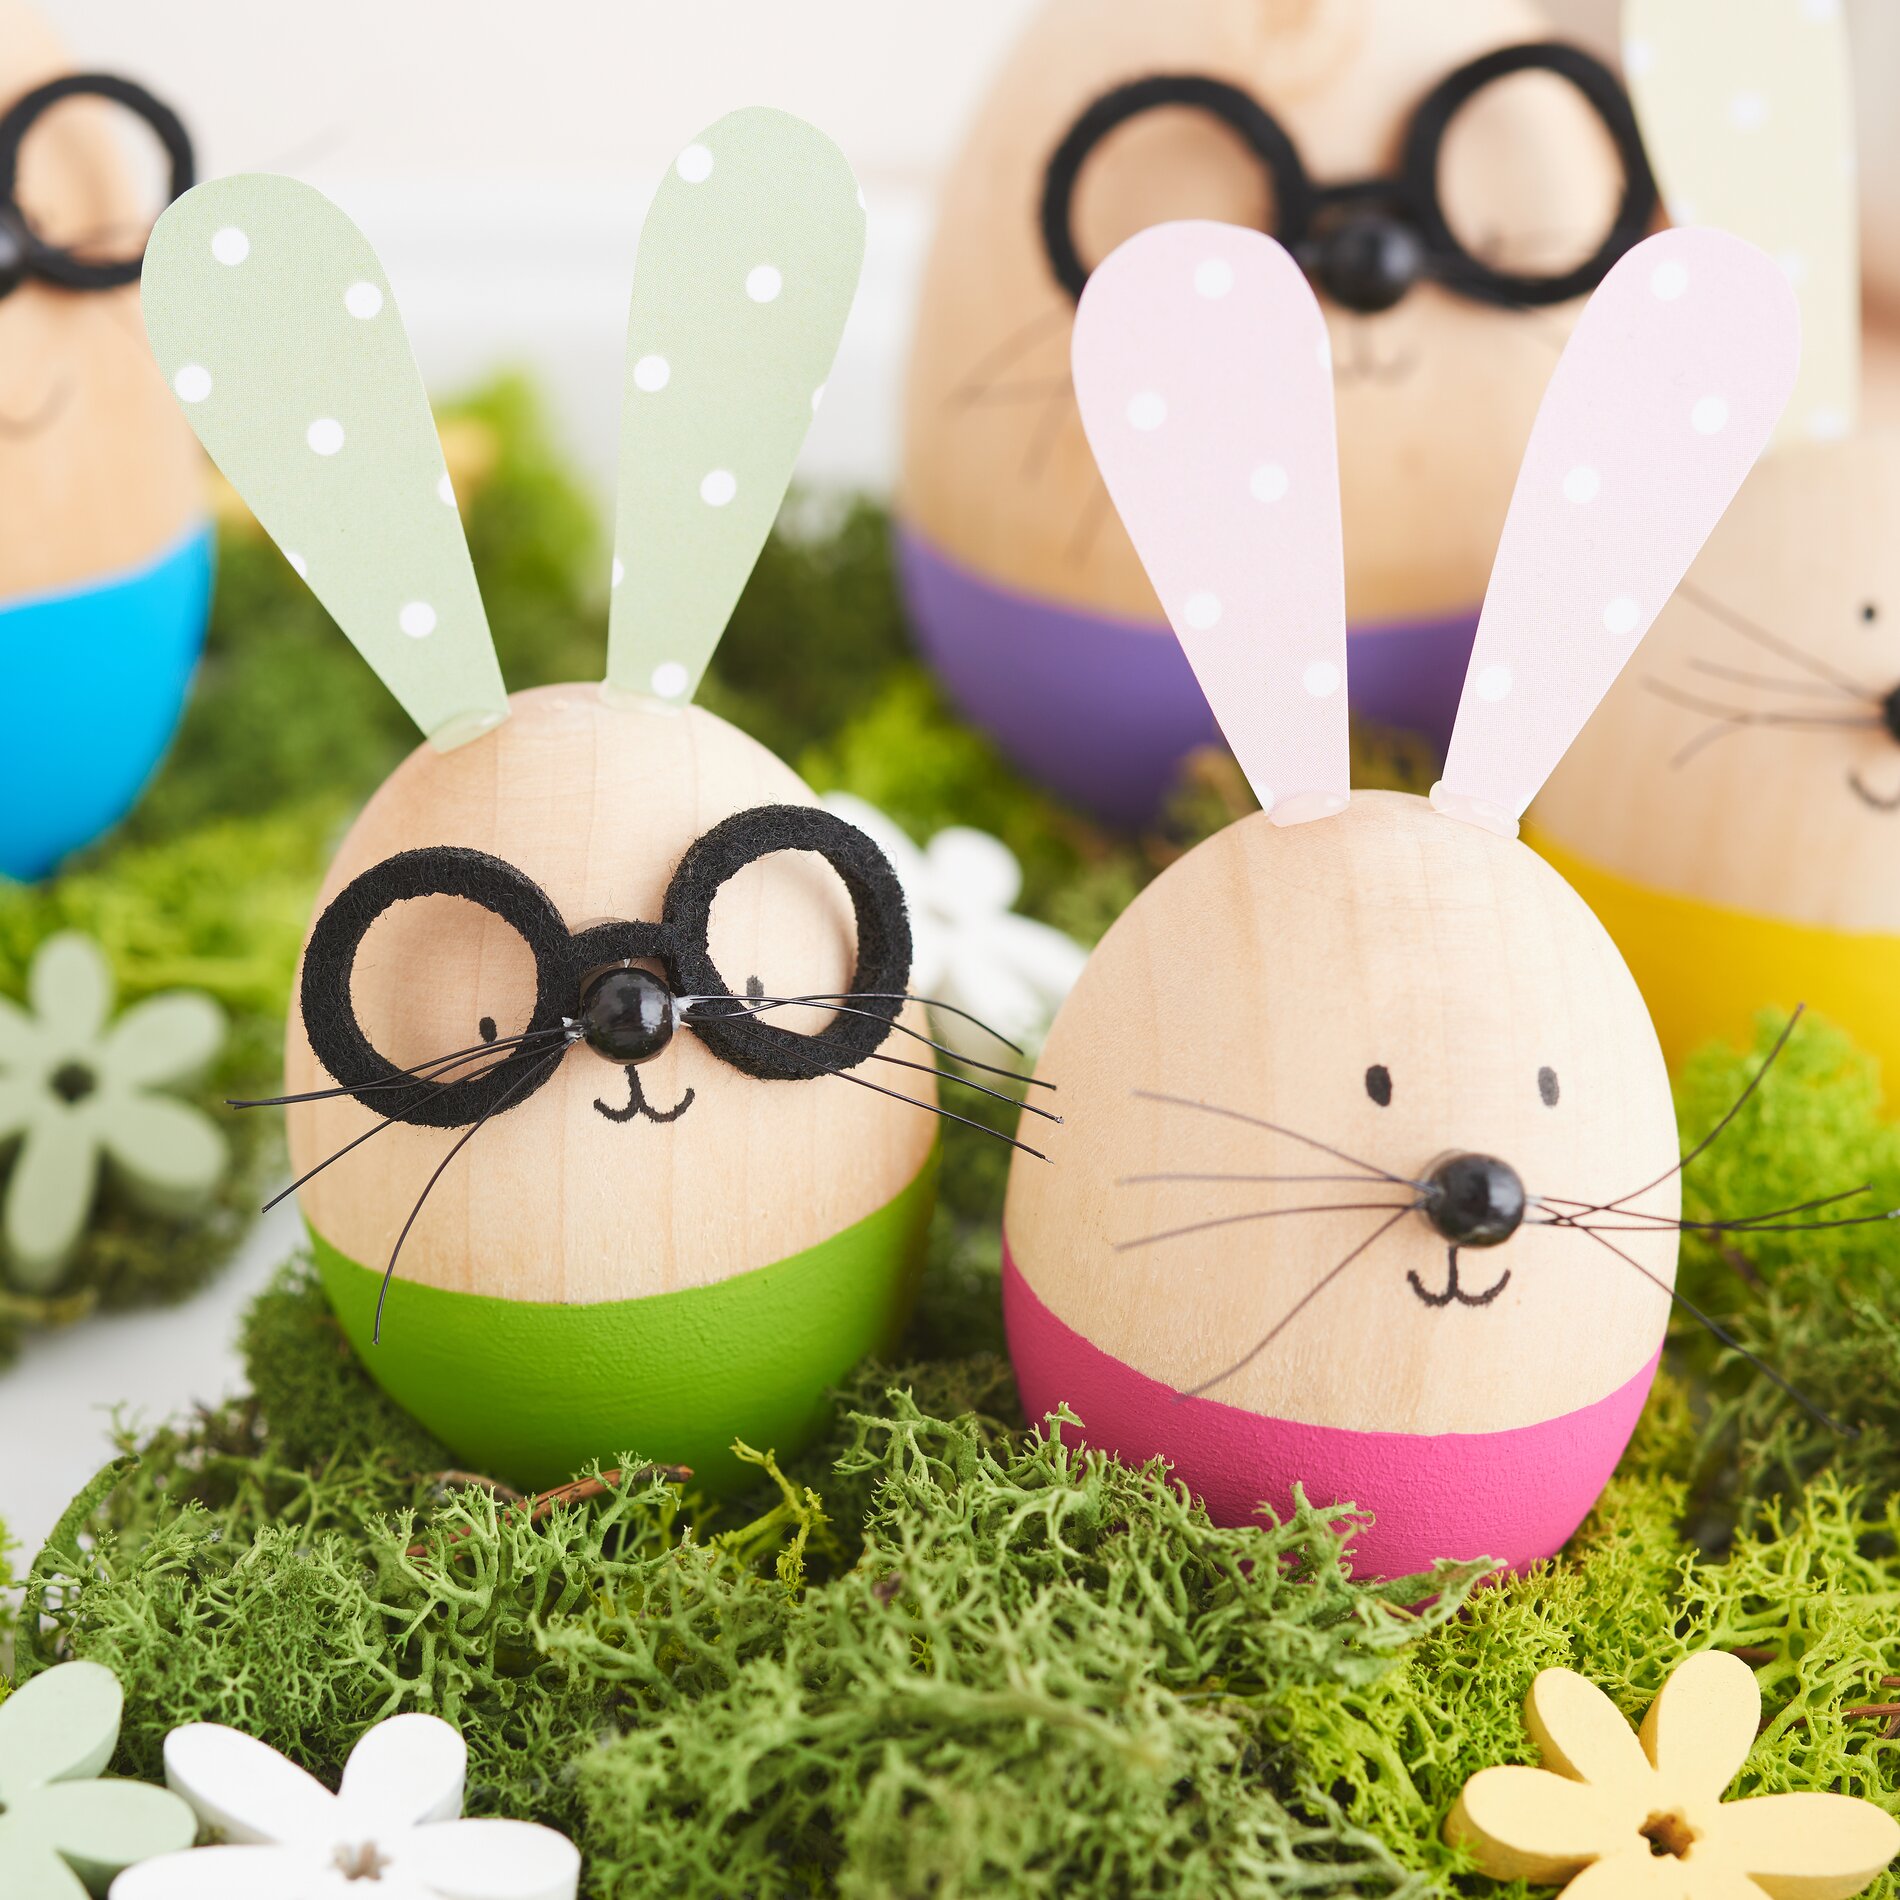
Print out the bunny ears template that you can download in this idea and cut it out carefully. Place the stencil on your dot paper and transfer the shape of the ears. Cut out a total of six pairs of ears. Make sure that the pairs of ears are even so that your bunny team looks uniform.
Step 3: Make the whiskers
Take the wire and use a side cutter to cut narrow lengthwise pieces. You will need a total of four pieces for the rabbit's whiskers. Thread the pieces of wire through a small pearl and secure them from the inside with handicraft glue. Leave to dry completely. If the whiskers seem too long, you can carefully shorten them after gluing them in place.
Step 4: Assemble the bunnies
Now it's getting exciting! Take your hot glue and glue the previously prepared ears to the egg. Then add the glasses and nose using the same method. Once you have fixed everything in place, draw the eyes and mouth on the bunny's face using a micron pen. Let your imagination run wild here!
Step 5: Decorate
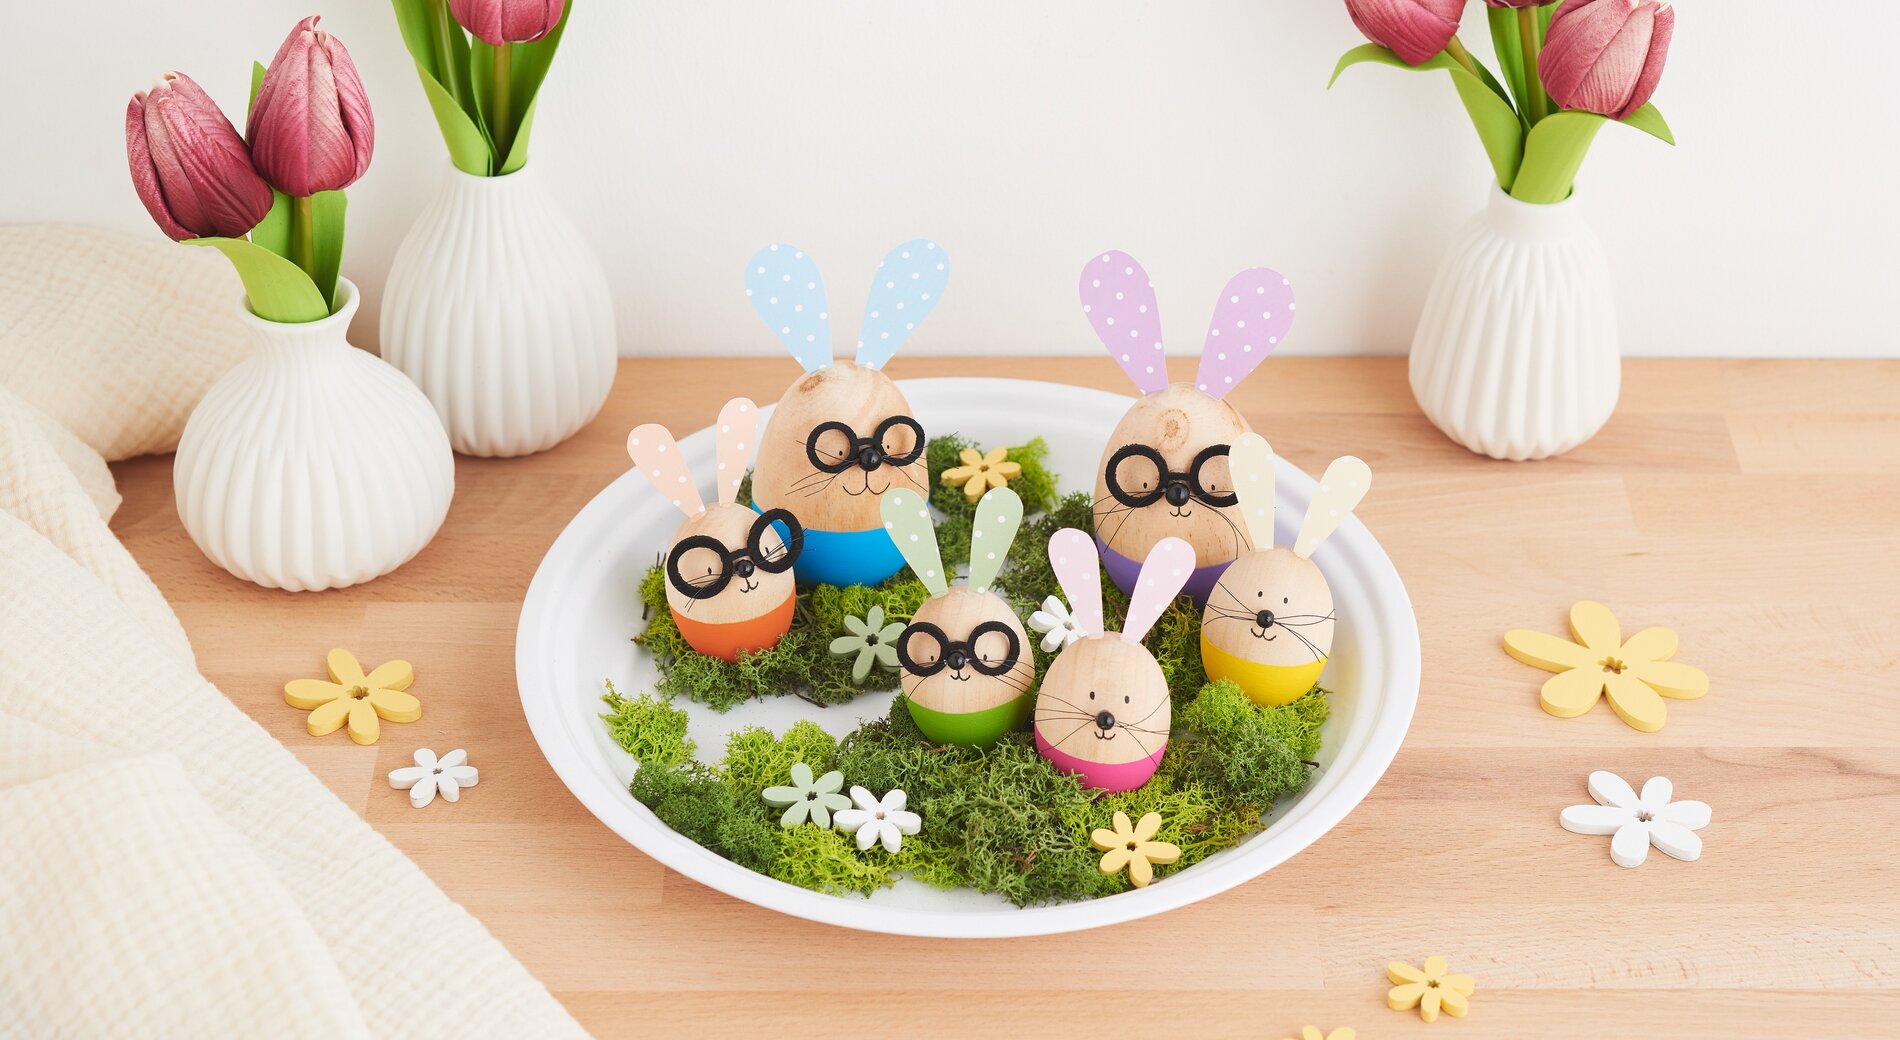
To create the perfect setting for your creative egg bunnies, take a zinc plate and decorate it with Iceland moss. Place the bunnies on the moss and arrange a few colorful flowers to give the whole thing a lively and fresh look.
Give your Easter that certain something!
Now you know how to create your own charming egg bunnies with glasses step by step. Whether as table decorations or gifts - these little Easter friends will spread joy everywhere. Visit our online store to discover all the materials and templates you need. Let's transform your Easter decorations into an unforgettable experience together!