- Secure order
- Easy return shipment
- Service-Hotline +31 20 809 5778
Instructions No. 3568
Difficulty: Beginner
Working time: 3 Hours

Preparing the material and mixing the casting powder
To get started, start by mixing about three tablespoons of casting powder with water to form a creamy mixture. Make sure that the consistency is neither too liquid nor too thick to achieve optimum results.
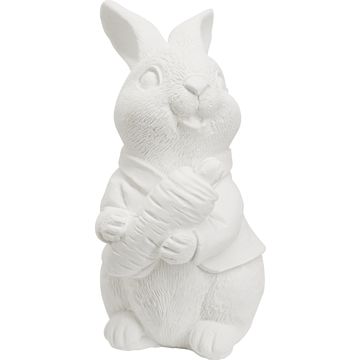
Casting the bunny figure
Once you have prepared the mixture, carefully pour it into the bunny mold. Tap lightly against the mold to remove any trapped air bubbles. This technique helps to create a smooth surface for your bunny. Leave the molded figure to dry for about 45 minutes.
Remove the figure from the mold and refine it
After the drying time has passed, you can carefully remove the bunny from the mold. Refine the edges with sandpaper, to obtain a smooth and clean figure. Be particularly careful not to damage the structure of the bunny. The bunny should then be left to dry completely for a further 12 hours.
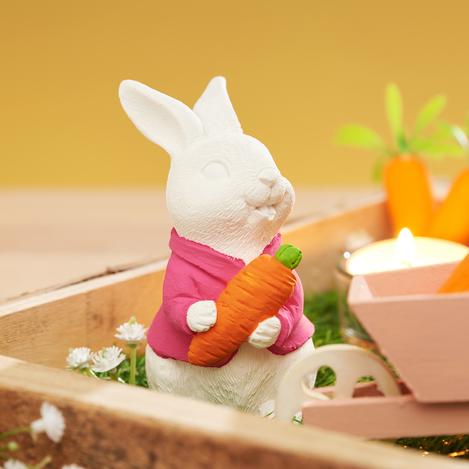
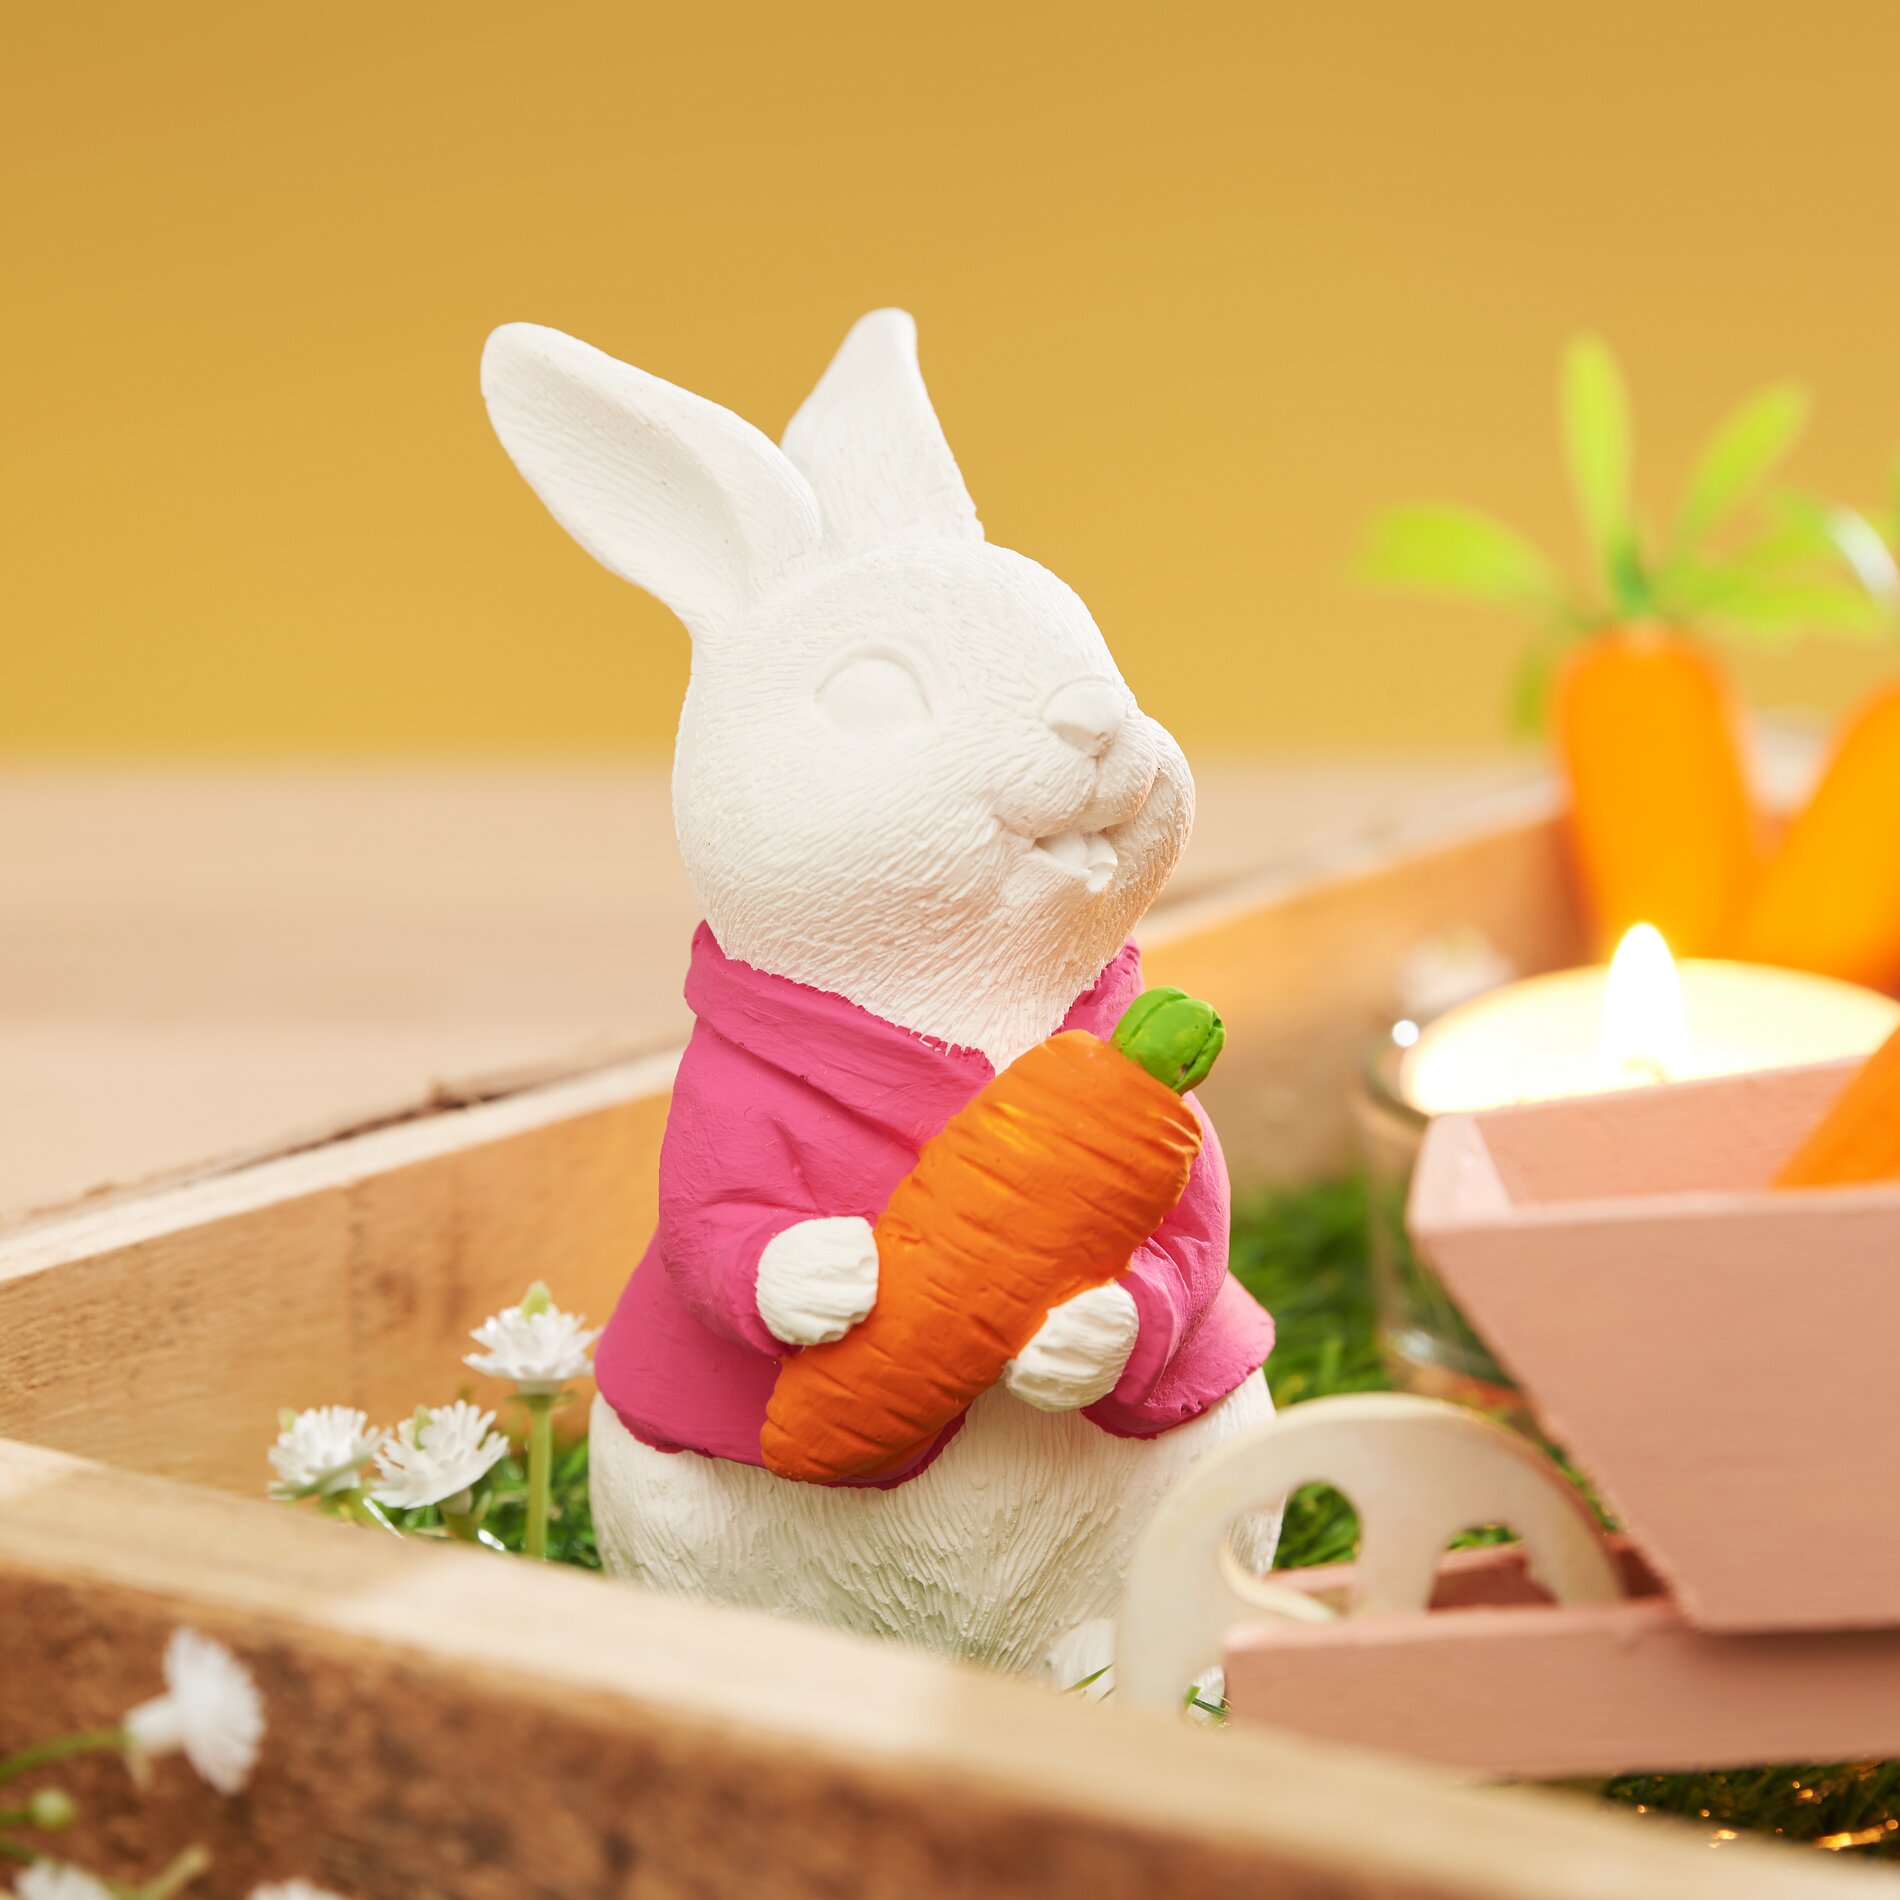
Painting the decorative elements
Now it's time to add some color! Paint your bunny and the wheelbarrow with craft paints as you wish. Use contrasting colors to highlight details or achieve a uniform look.
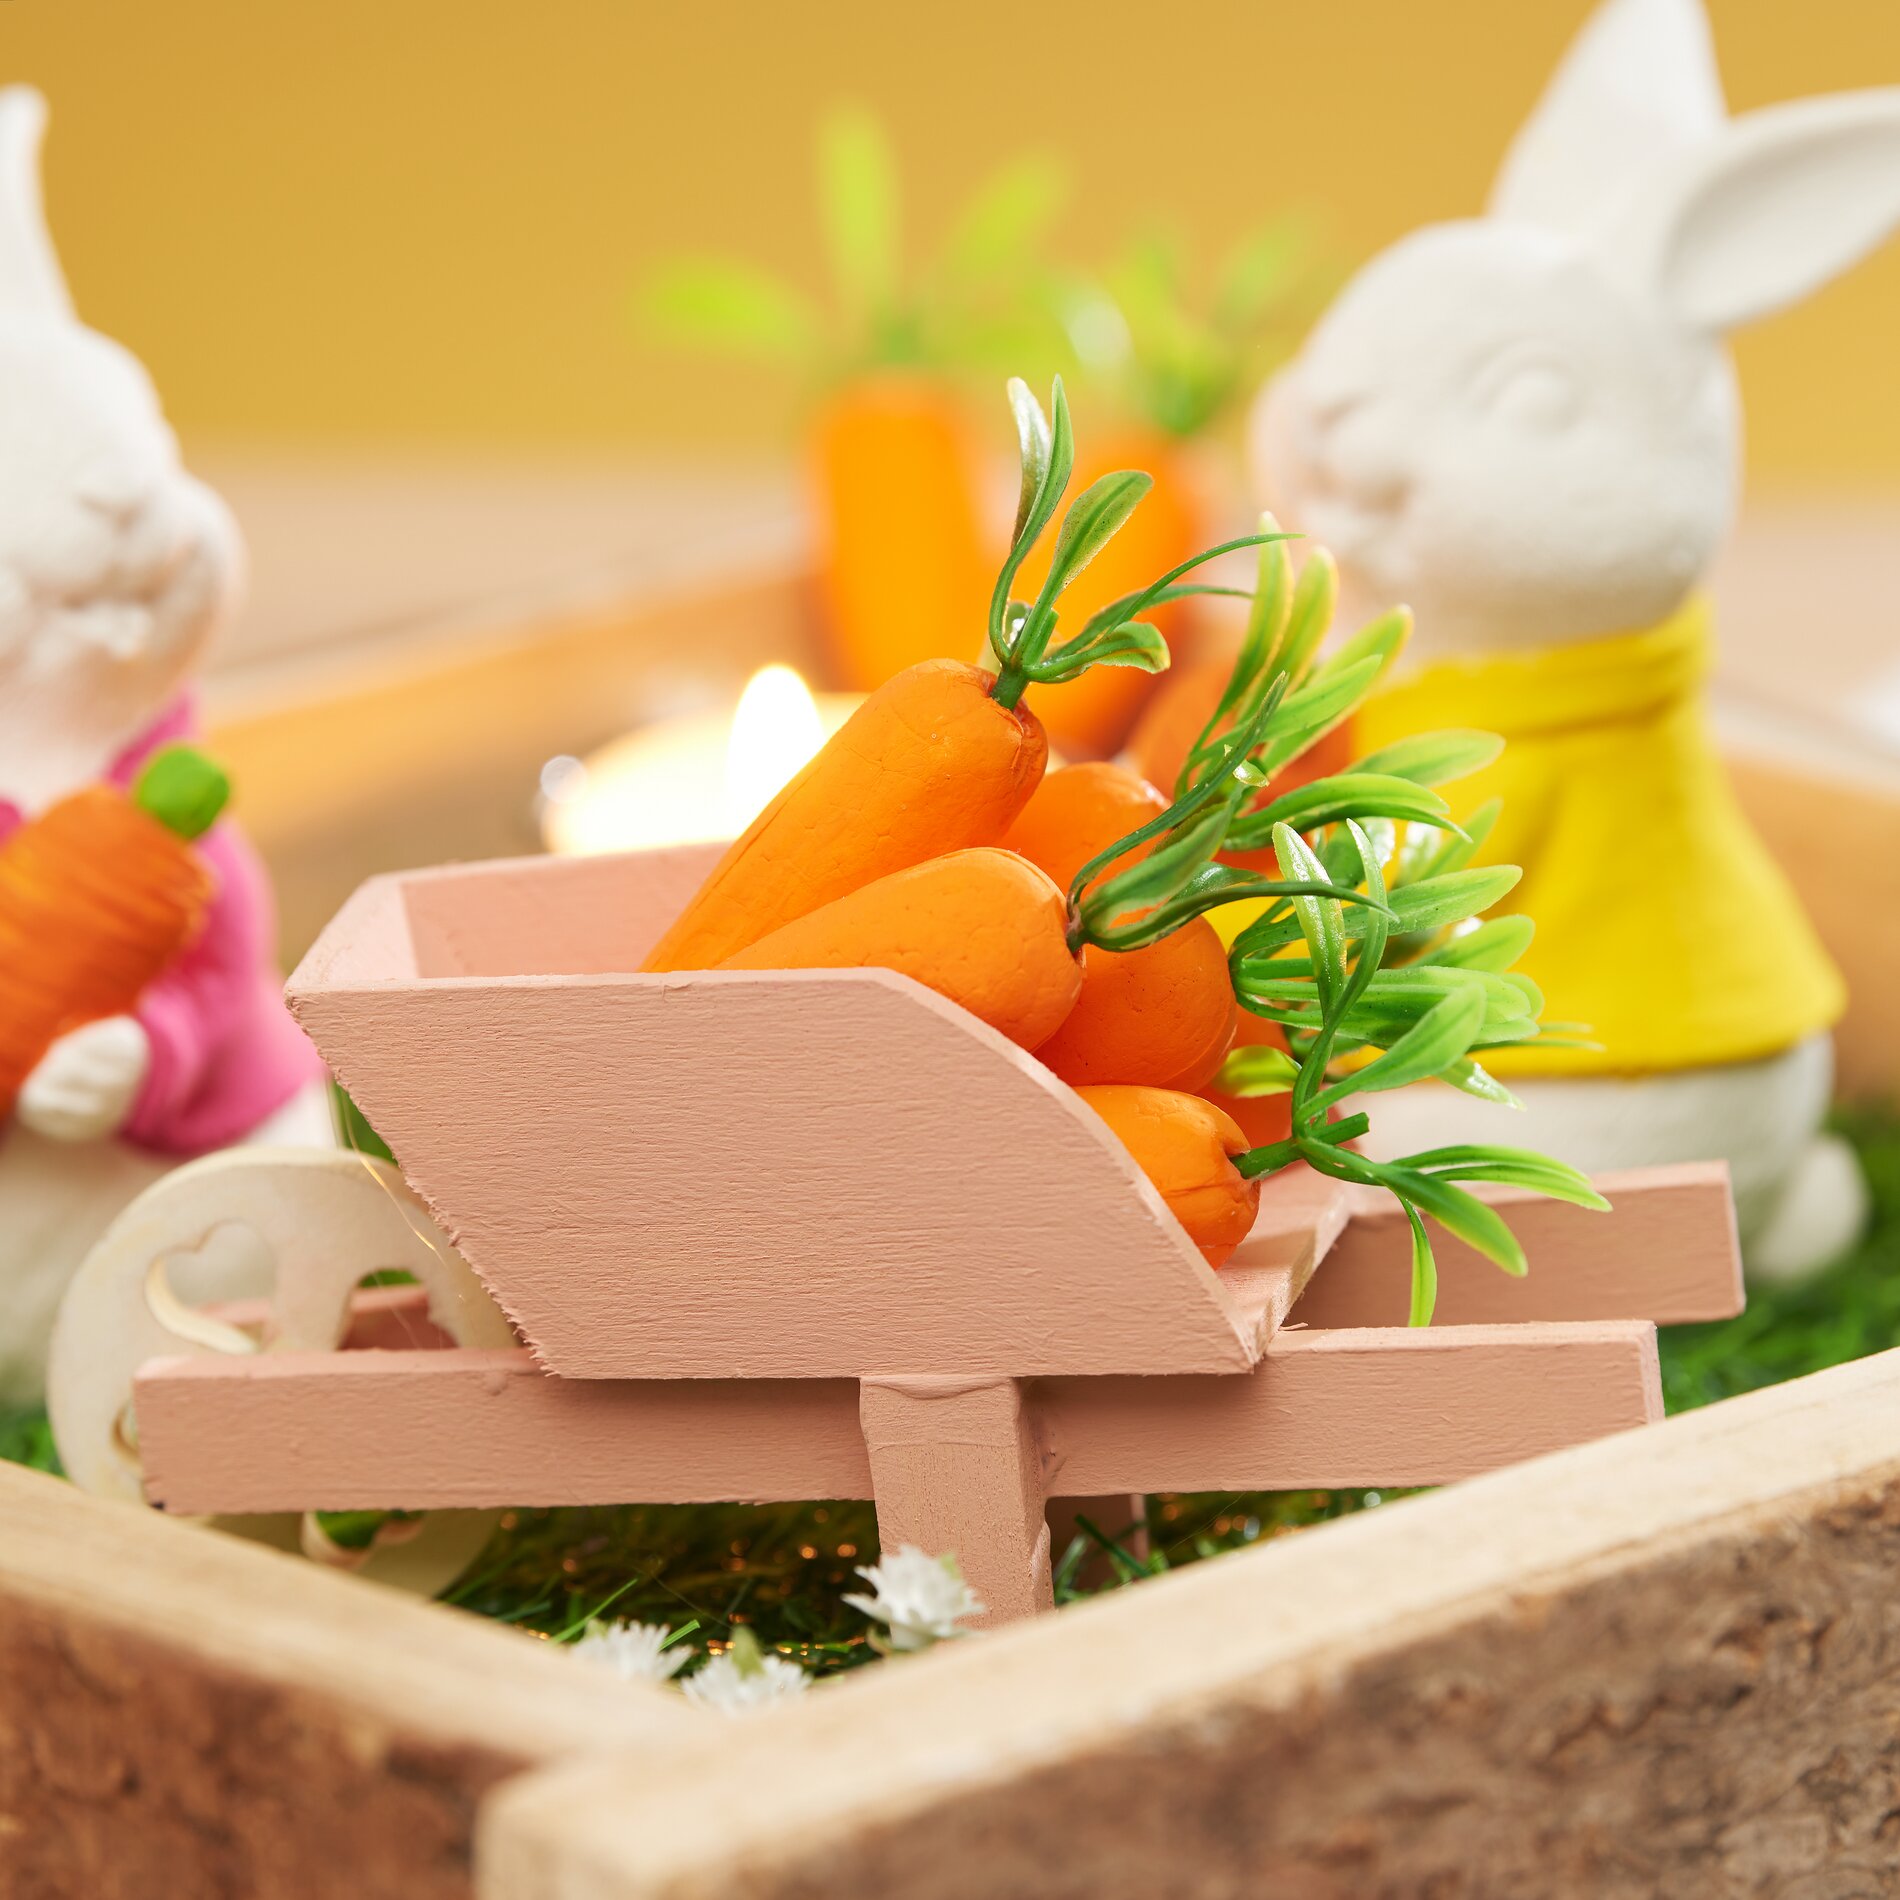
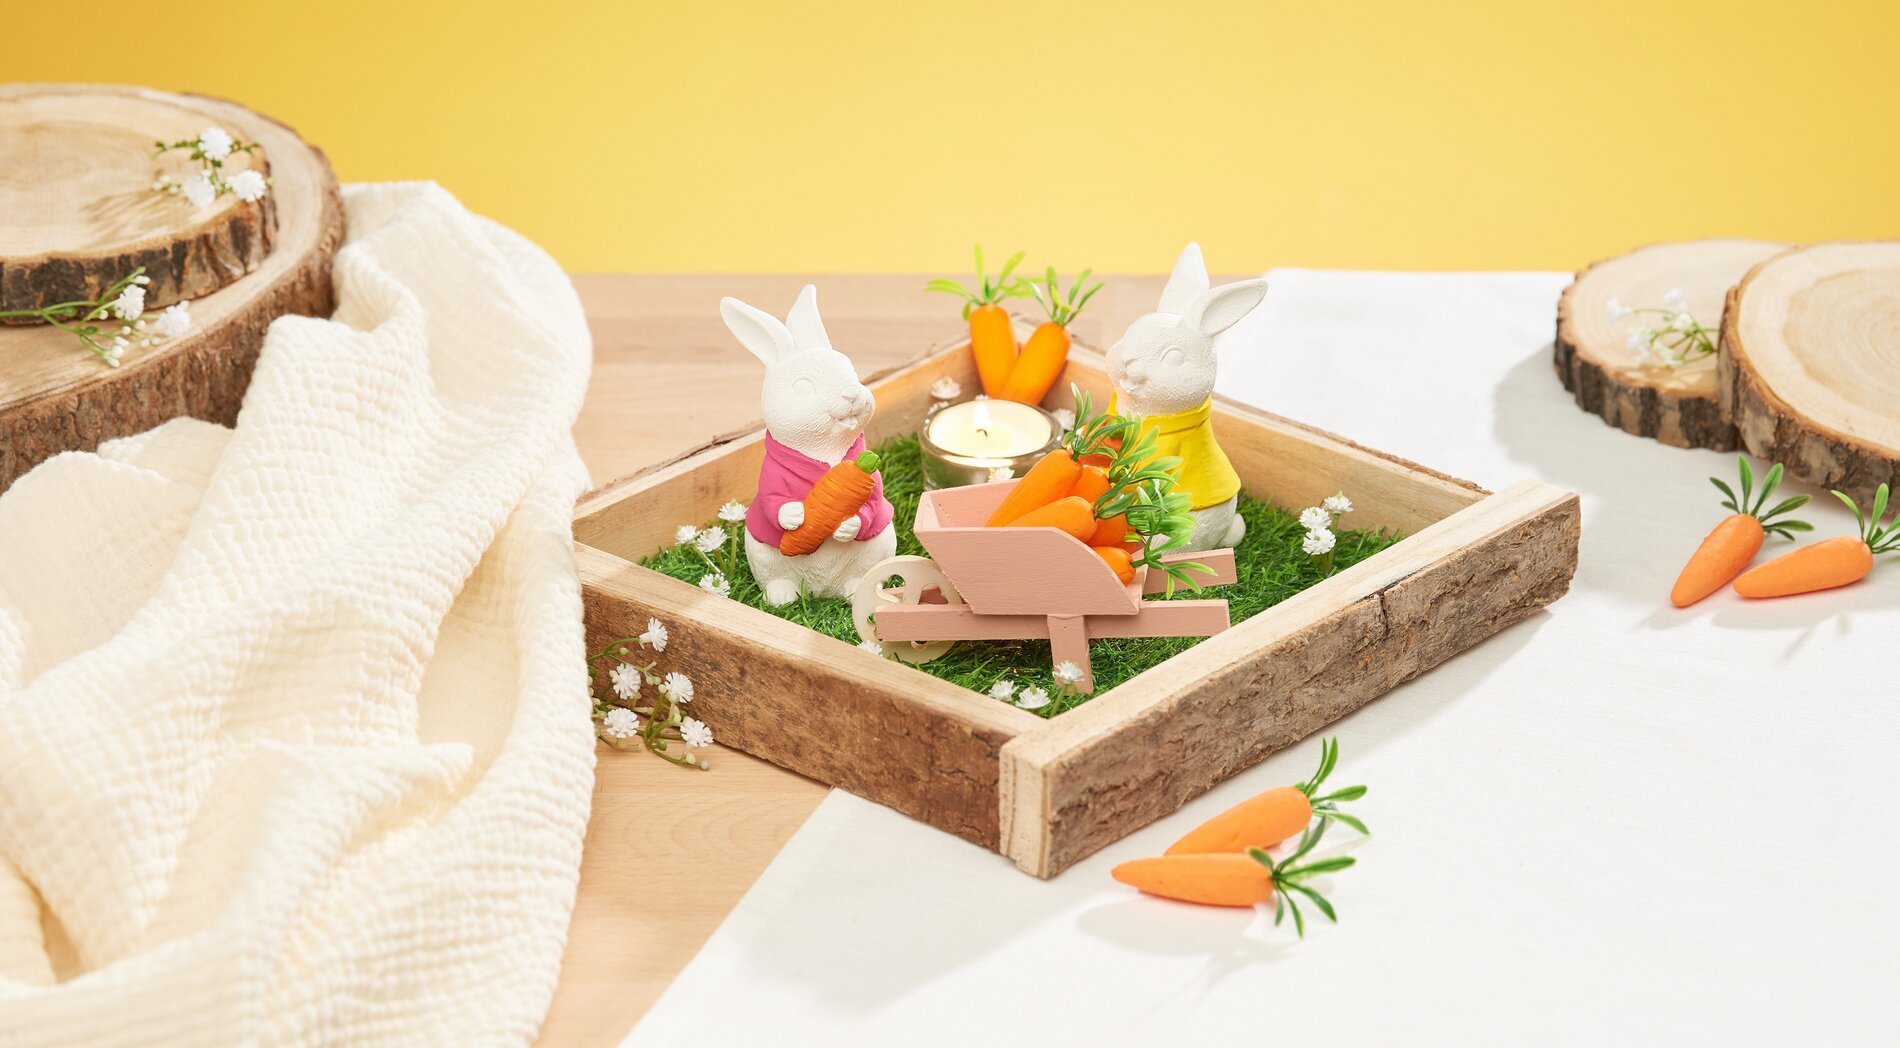
Arrange the miniature landscape
Cut the grass mat to the size of the decorative tray and place it inside. The simulated grass forms the basis of your miniature landscape. Now you can either place some polystyrene tubes loosely in the wheelbarrow or glue them in place. This detail adds a charming touch to your arrangement.
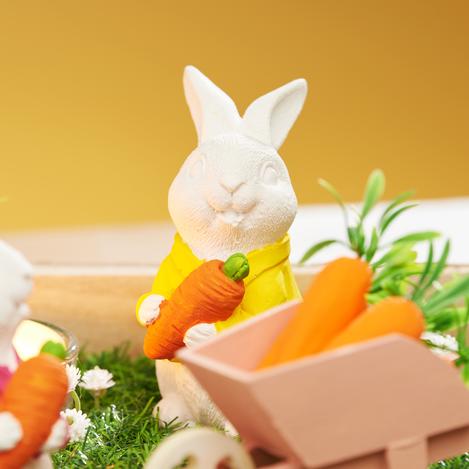
Assemble the finished ensemble
Carefully place the painted bunnies, the wheelbarrow and a glass for tea lights with a candle on the grass mat. This combination creates a balanced and harmonious picture.
Add floral details
Cut a few flowers from the gypsophila and attach them to the grass mat with hot glue. These delicate details create a fresh and lively look.
With these simple steps, you have created an enchanting miniature landscape that not only serves as an eye-catcher but also makes a wonderful gift. Visit our online store now and discover the high-quality materials you need for your projects DIY-Projects. Let yourself be inspired and get creative!