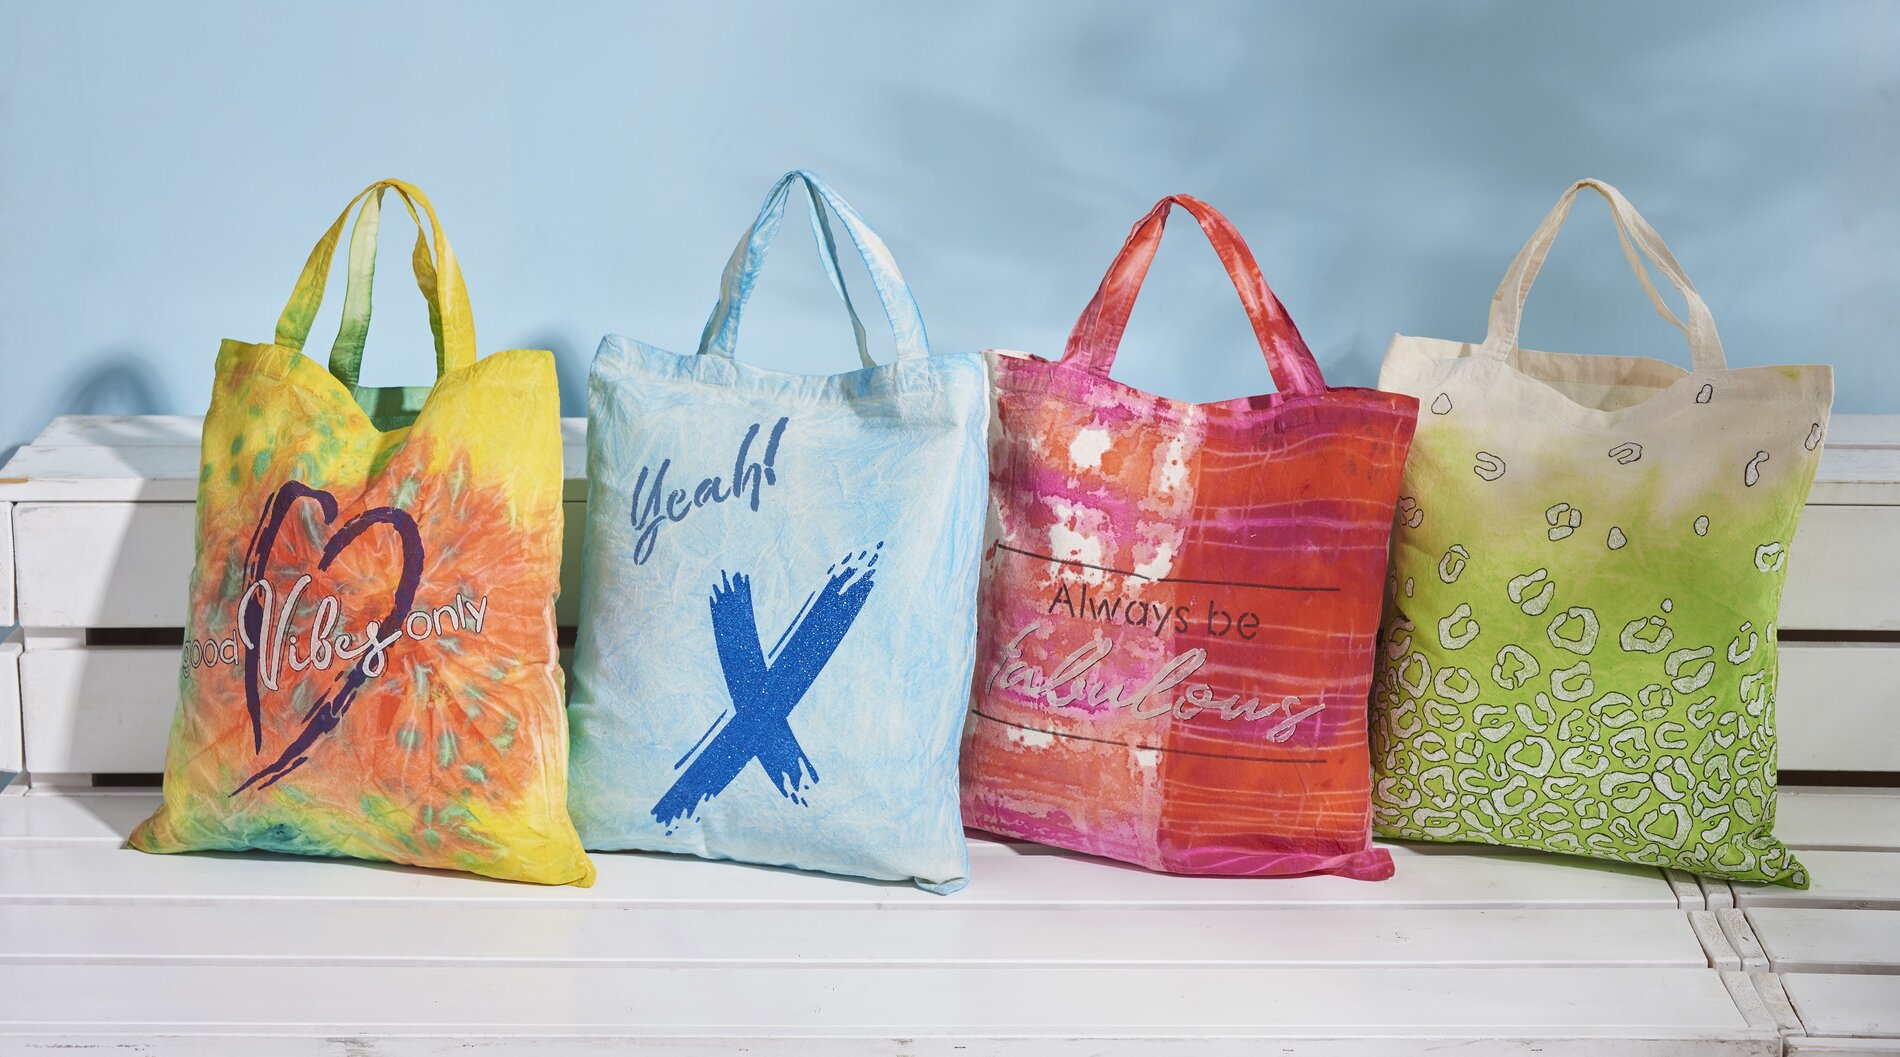
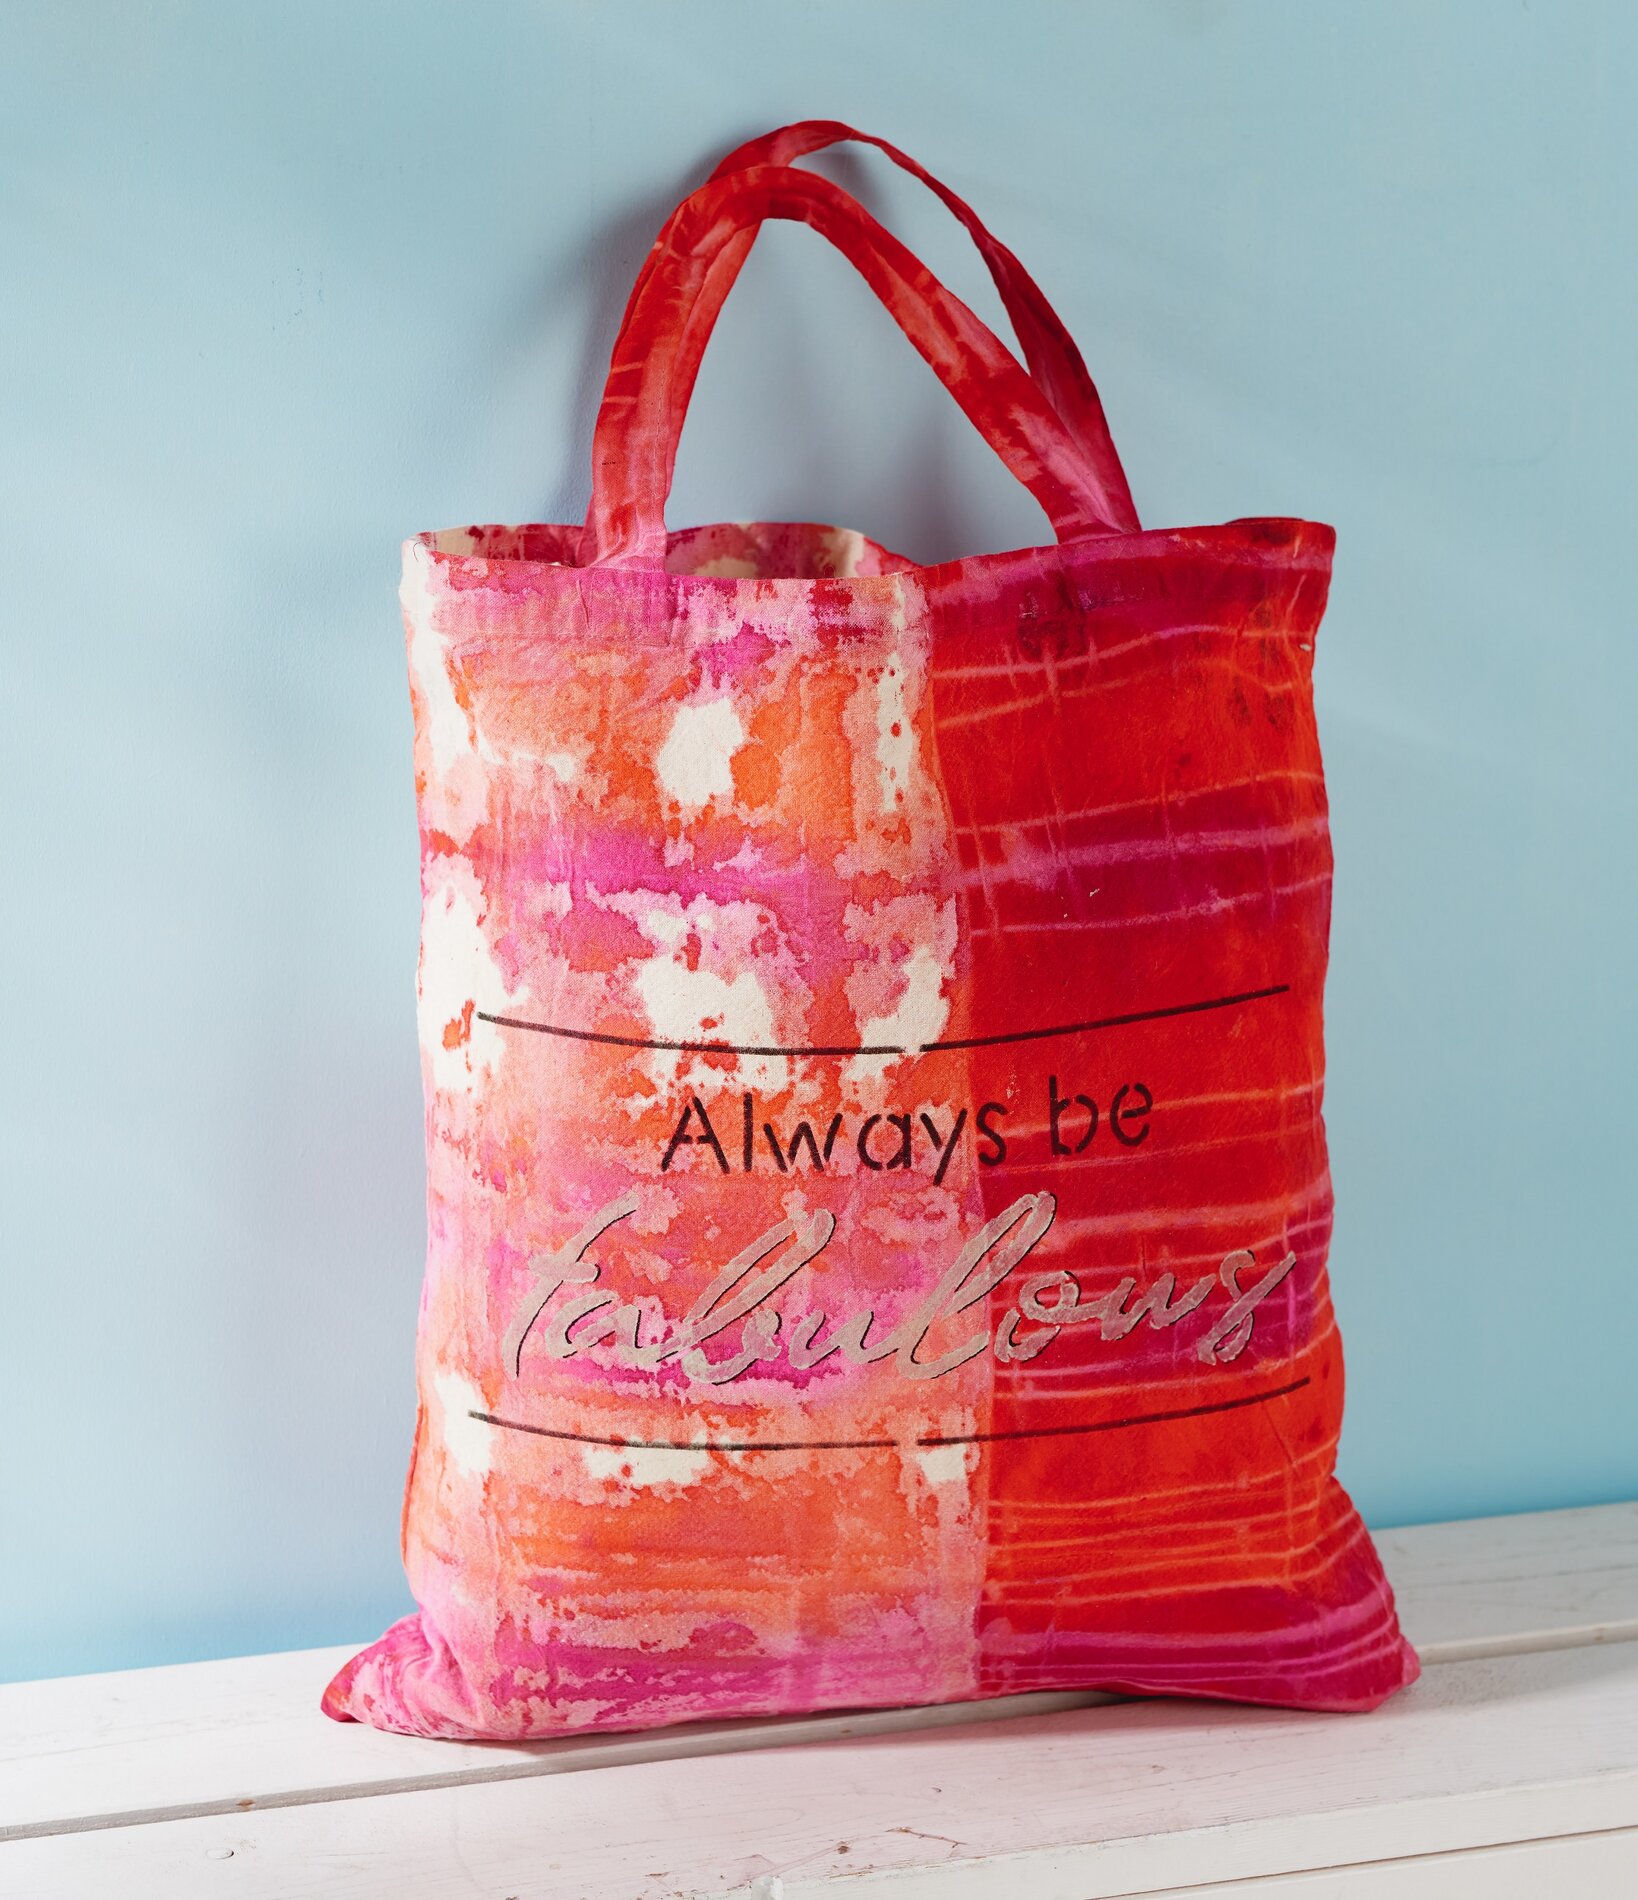
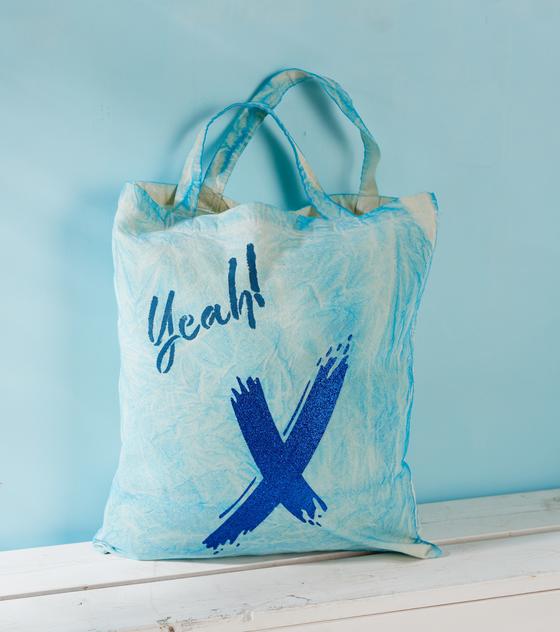
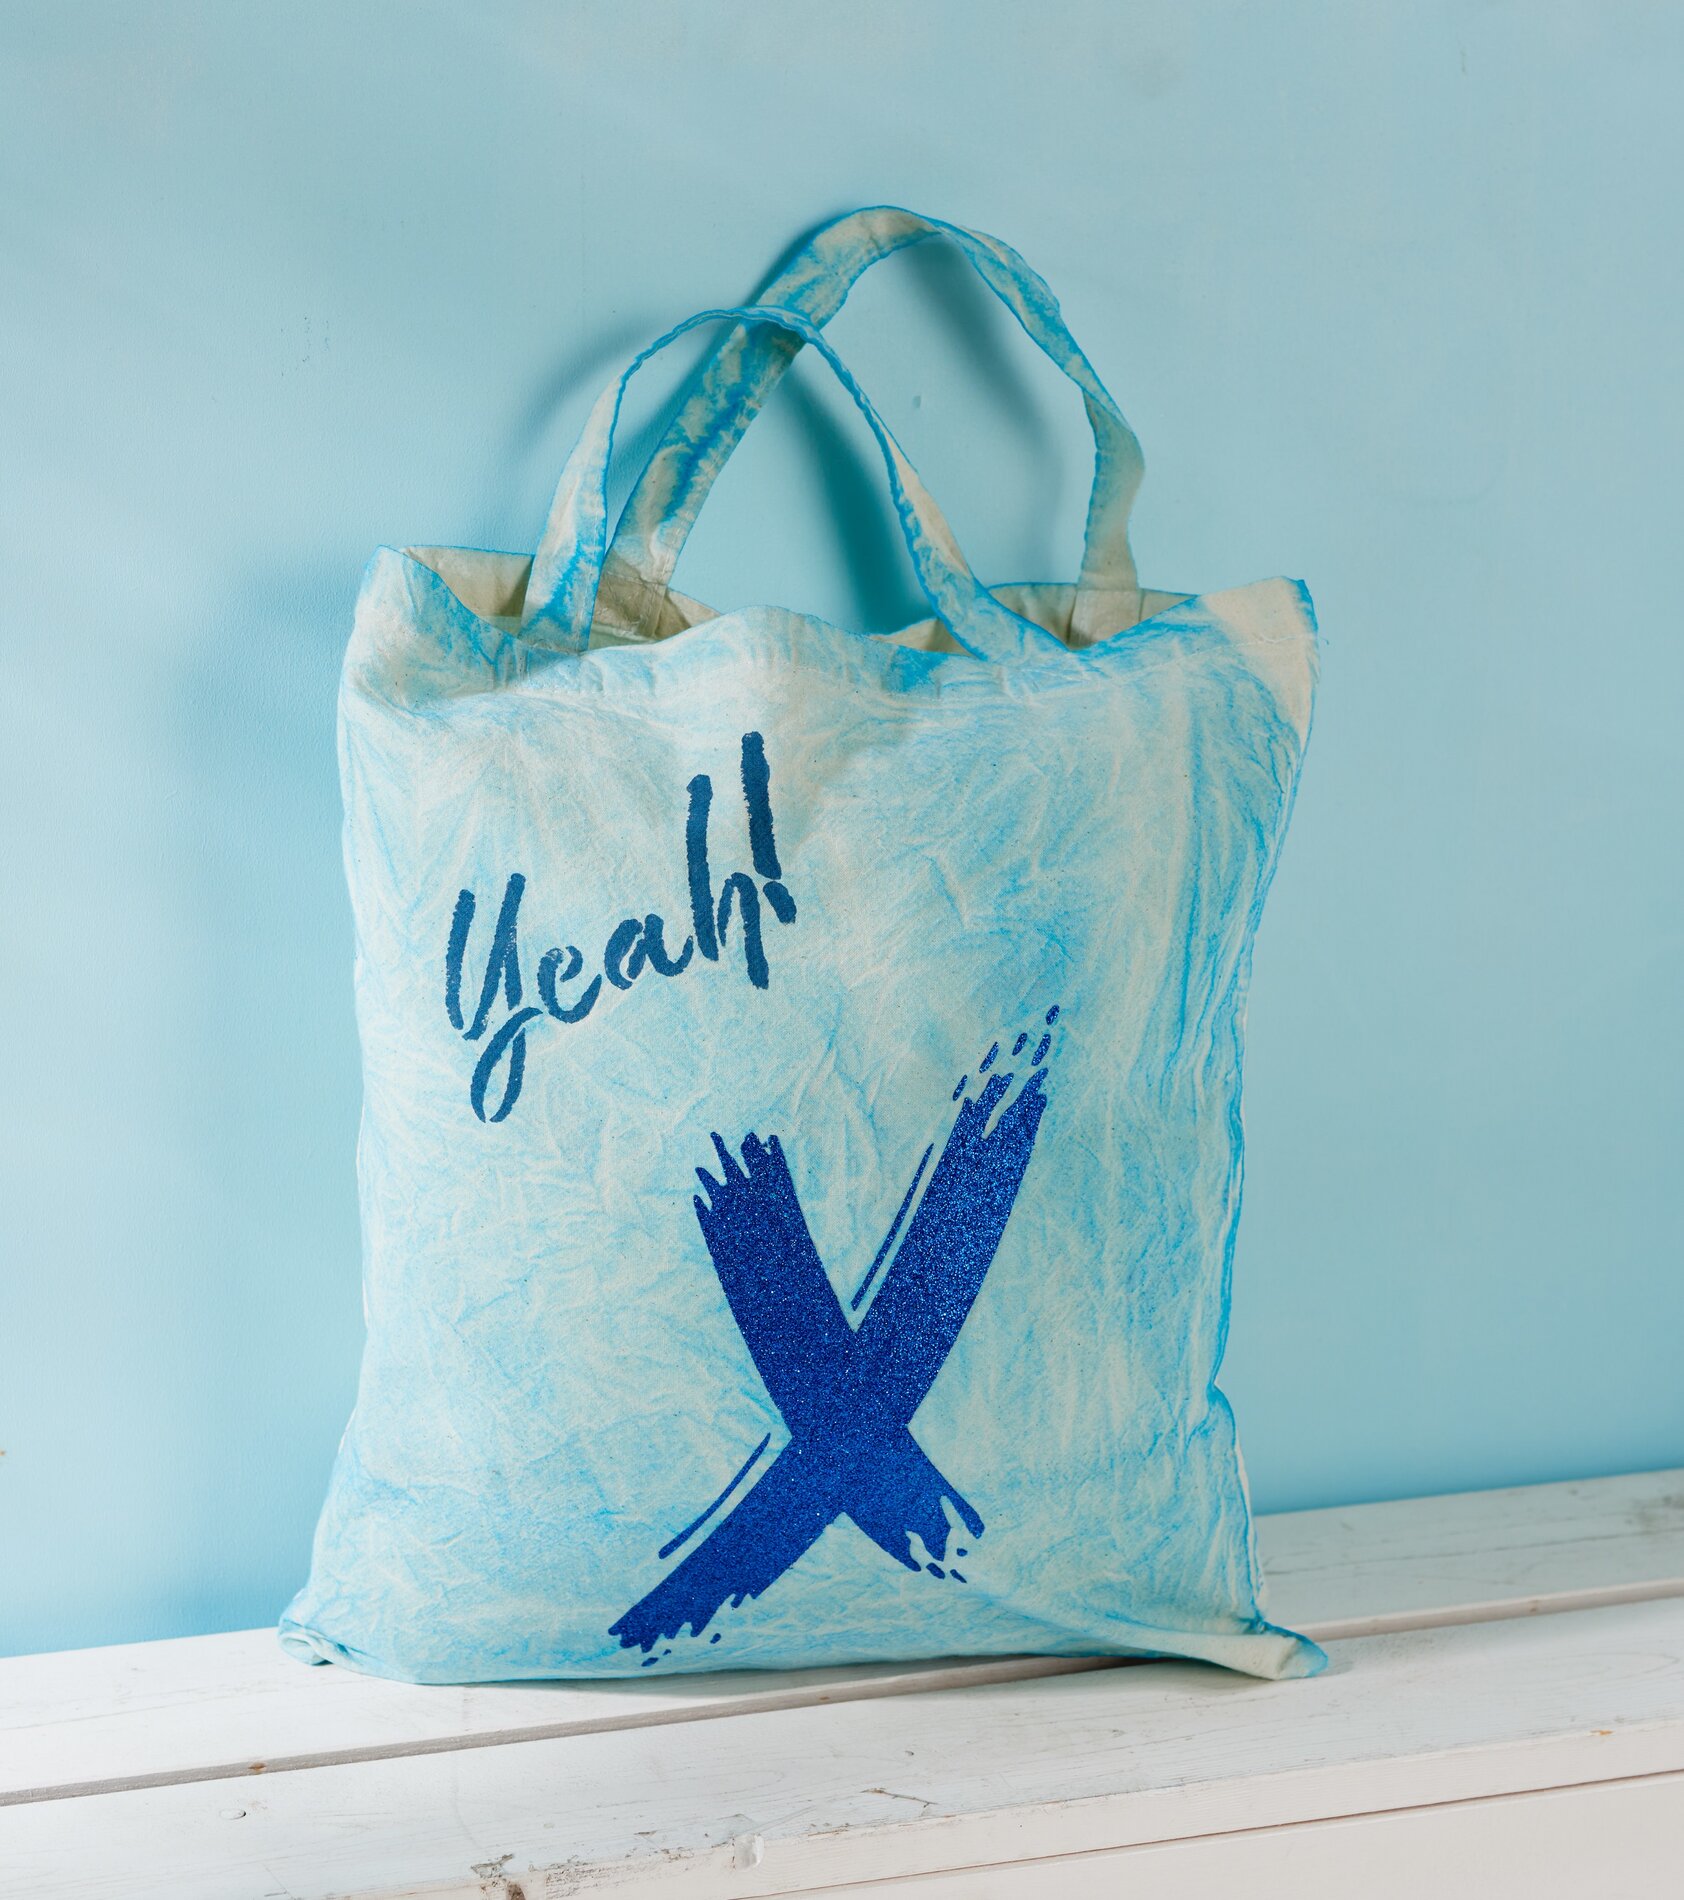
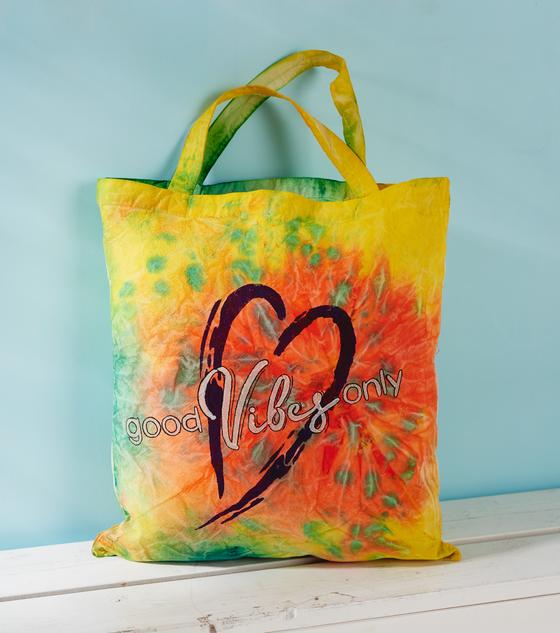
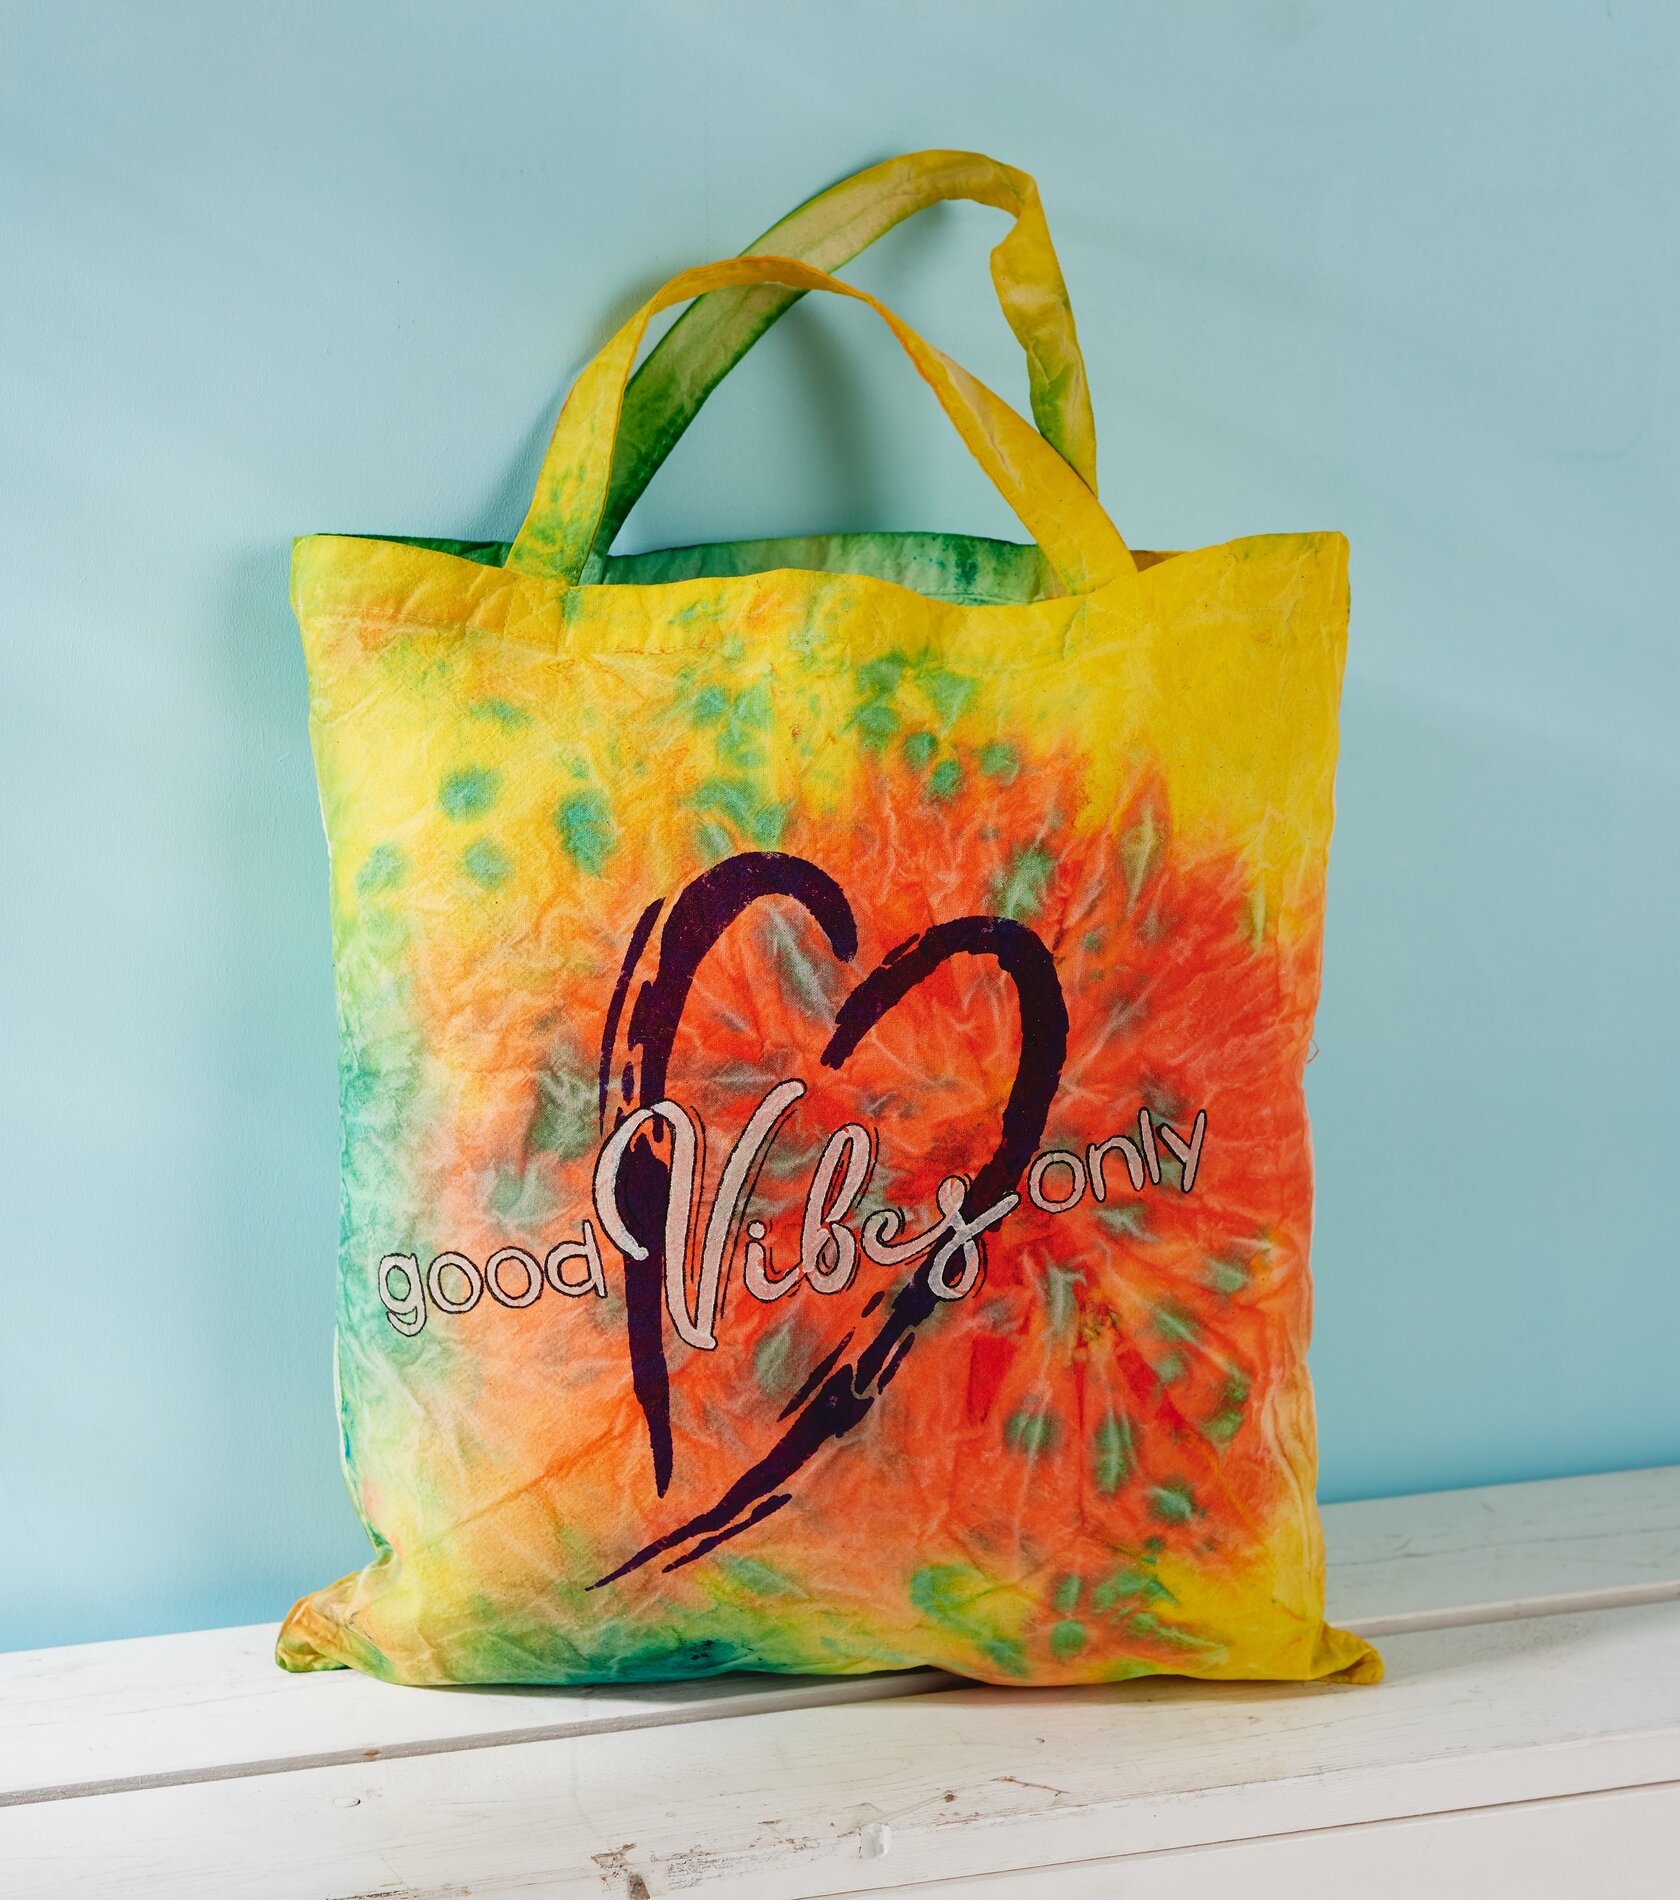
Batik bags
Anleitung No. 2417It's back, the popular batik technique. Due to the many different dyeing techniques you get absolutely original and always new designs on your textiles.
Batik bags are creative fun for young and old and are, for example, a great idea for a birthday or an afternoon of crafts together.
Important in advance:
Protect your workplace with a waterproof pad. Also wear disposable gloves when batik.Wash the fabric you want to dye beforehand without fabric softener.
The different techniques:
Shibori
In shibori, various patterns such as circles, squares and lines are created on the fabric by folding, tying, knotting and wrapping. Depending on the type of folding and tying, as well as the strength of the squeezing, the colour does not get into the fabric at these points.In our example, we taped cardboard rolls together on the long sides, placed the long roll on the dry cotton bag, rolled it up and knotted various ribbons around it.
Then dip the entire bag into water, wring it out and place it in a bowl or tub. Now shake the textile dye well and apply it to the fabric. After drying, cut the ribbons and roll out the bag. Allow to dry again if necessary. Then iron to fix.
Cold-Dye / Vintage Effect
For a light dyeing, mix approx. 2 caps of textile dye, for an intensive dyeing, mix 90 ml textile dye well in 1 litre of cold water.Simply place the dry textile piece in the dye bath, knead briefly, wring out and leave to dry hanging. Iron to fix.
Tie-Dye
For the tie-dye technique, tie off some parts of the cotton bag with cotton cords.Wet the bag, place it in an old tub/jar and pour any colours over it. Iron after drying.
Dip-Dye
For the dip-dye technique, pour 1 litre of cold water into an old tub/vessel. Shake the desired textile dye vigorously and add two full capfuls of the dye to the water. Mix everything well.Now put half of the wet cotton bag into the dye bath. Now the dyed water will slowly soak into the textile fibres from below and move upwards. This creates a beautiful colour gradient.
As soon as the desired colour intensity is reached, remove the bag from the water bath and let it dry. Then iron it.
Design
Afterwards, you can design the coloured cotton bags with stencils and textile paints.To do this, place a craft mat or a thick piece of cardboard in the bag so that no paint is pressed through. The desired stencil is simply sprayed with some adhesive spray and placed on the bag. The textile paint can now be applied with a dabbing brush or use textile pens to create. Allow the paint to dry well afterwards. Iron to fix.