Winter village made of screw glasses
Instructions No. 2065This snow-covered winter village is the ideal decoration on a chest of drawers, windowsill or a small side table in the wintertime. Thanks to the lighting, the enchanting little houses radiate a pleasant and cosy atmosphere in the cold and dark season.
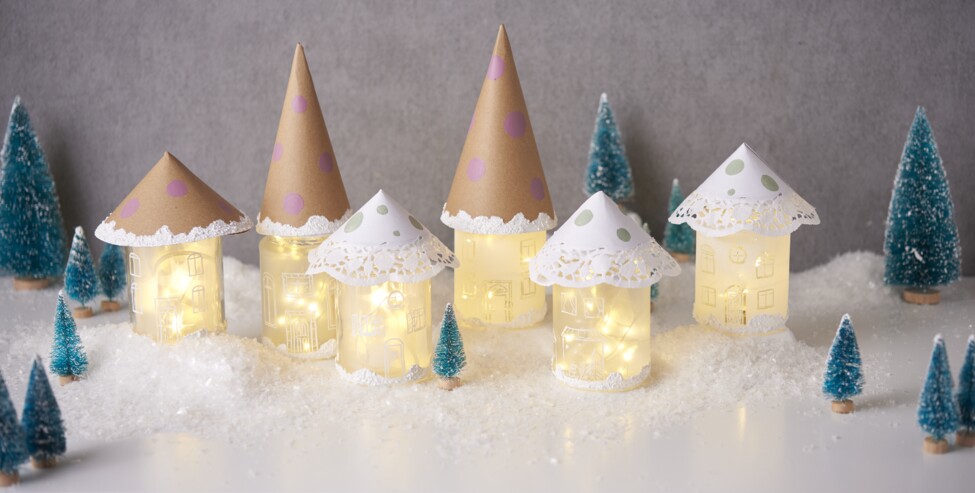
The houses were designed in different ways:
For two glasses, cut two rectangles measuring 19 x 7.5 cm out of star foil and stick them into the glasses. These glasses are dabbedFrost effect with paint. Painting sponges are ideally suited for this. After drying, paint with a Marker open the windows and doors. If necessary, please use our free motif template.
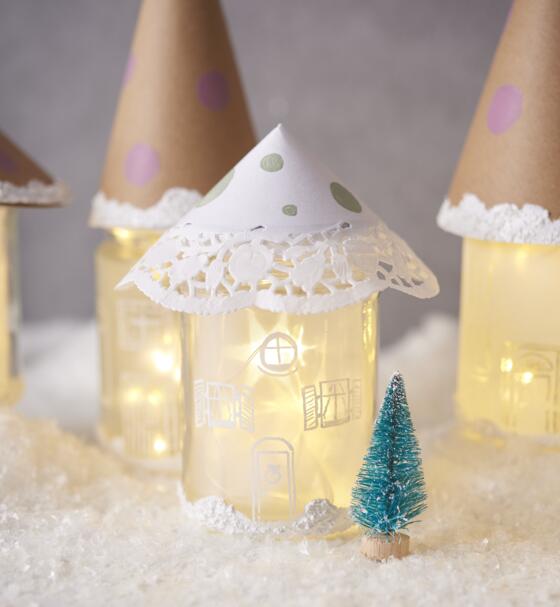
The other glasses are dabbed a thin layer of Chalky Color. Use a painting sponge for this purpose as well. Once the paint has dried, carve the doors, windows and other small details with a bamboo skewer. Again, you can use the template to help you.
For the white roofs you need - and the circlesLace doily youPaper need to cut to size using the template made of white photo cardboard for strengthening. Glue the reinforcement in the middle of the lace doily and cut out a small triangular piece so you can shape it into your roof. Also fix it with double Adhesive tapesided
The roofs are glued to the covers with hot glue. Place fairy lights or LED tea lights in the glasses and screw the lids on. Arrange the illuminated winter village additionally with small miniature fir trees, if necessary with some diamond snow and set some accents with Decorative snow.