- Secure order
- Easy return shipment
- Service-Hotline +31 20 809 5778
Instructions No. 3689
Difficulty: Beginner
Working time: 30 Minutes
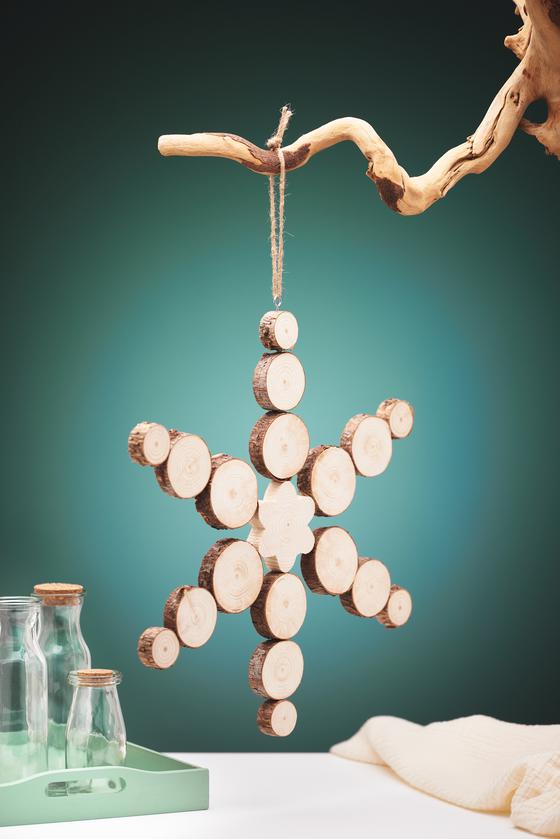
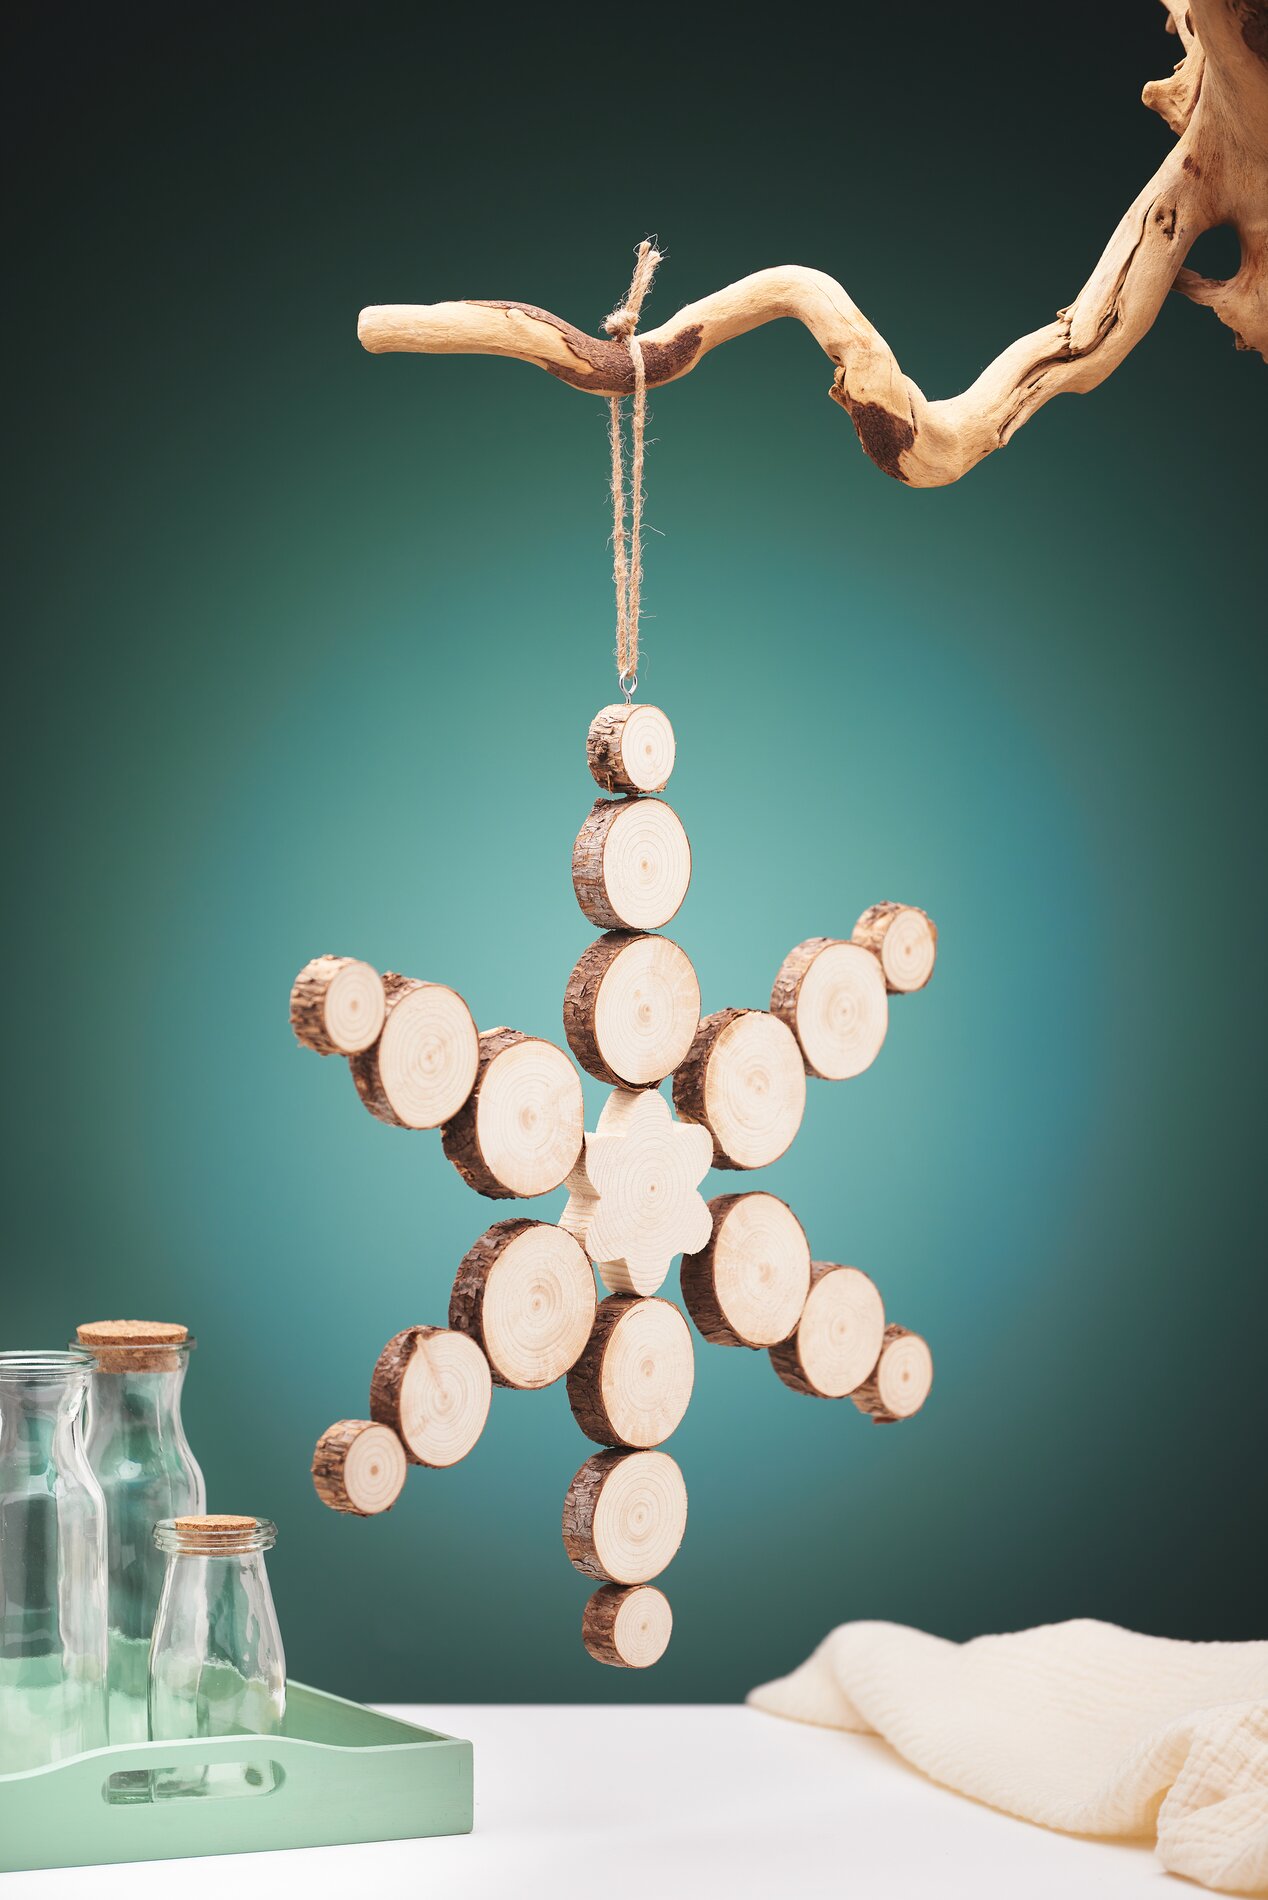
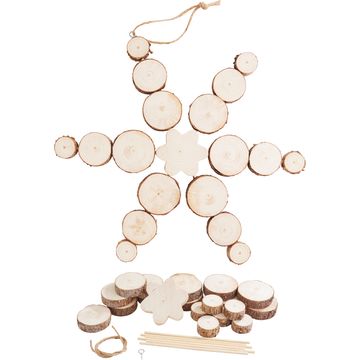
First, set up your workspace and sort all the wooden discs by size. This way, you’ll always have the right pieces on hand as you continue, and you can work neatly and quickly. Next, take one of the smallest tree discs and pour some handicraft glue into the opening provided. Now take a round wooden rod and slide the small disc onto one end. Next, slide the medium-sized disc onto the same rod, followed by the large wooden disc. Repeat this step with the remaining five wooden rods until you have a total of six evenly assembled rods with wooden discs .
In the next step, apply “ handicraft glue ” to all the openings of the wooden star. Place the star flat on a level surface, such as a table, and carefully insert the prepared sticks into the designated holes. Make sure all the sticks are straight. Then let the piece dry completely so it becomes sturdy.
Finally, screw the metal eyelet into the center of the edge of one of the smallest “ wooden discs .” Make sure it’s straight and secure. Now thread the “ jute ribbon ” through the eyelet and carefully tie the ends together. Your wooden disc star is now complete and ready to be hung.
Creative Design Idea
If you like, you can further customize the wooden disc star, for example with wooden burning or with handicraft paint. This creates a truly unique, personalized piece.