Self-cast Easter eggs
Instructions No. 1550This idea shows you how versatile the new creative casting compounds can be used for the ceramic look!
To ensure that this is as easy as possible, you should prepare your workstation before filling it so that the Acrylic forms is hung over a protective film.
For 3 small Acrylic-eggs of 8 cm each you need approx. 1 kg of the casting compound. This is mixed a little more liquid than indicated on the product package, so that it can be filled more easily into the closed moulds.
After approx. 30 minutes the casting compound has hardened to such an extent that it can be released from the Acrylic-eggs.
Let the white Easter eggs dry out a little longer. After about 2 hours the cast objects further can be designed.
Decoration with Napkin technique
Carefully cut or tear out the feather motifs and fonts from the Napkin . Spread the cast eggs with Napkin varnish and stick the Feathers on the white surfaces with a brush. If the motifs are torn, the areas that are not glued are then coloured, so that the Napkins-edges are unobtrusive.Decorate
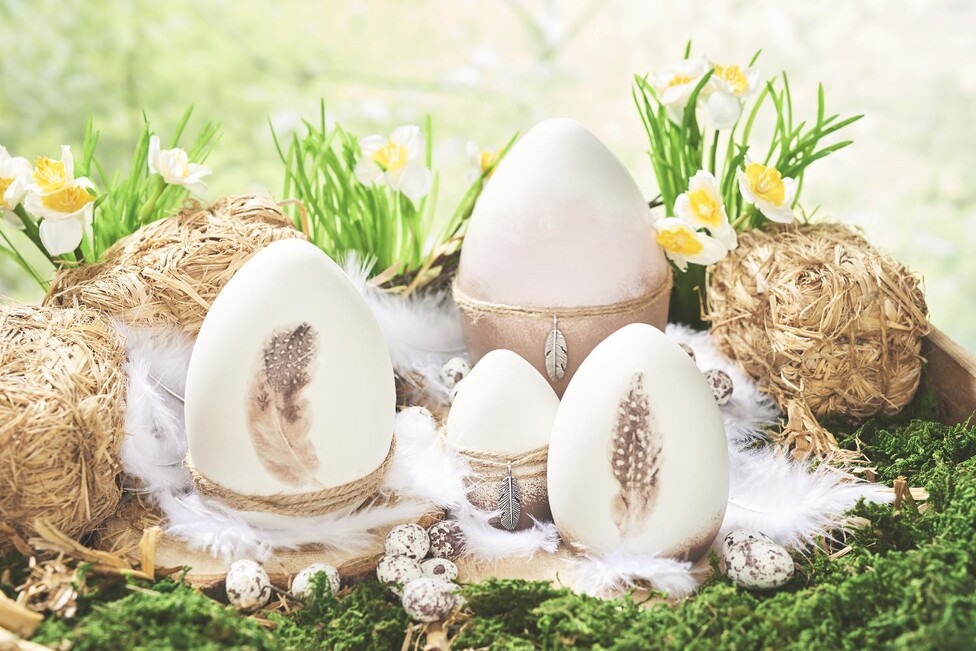
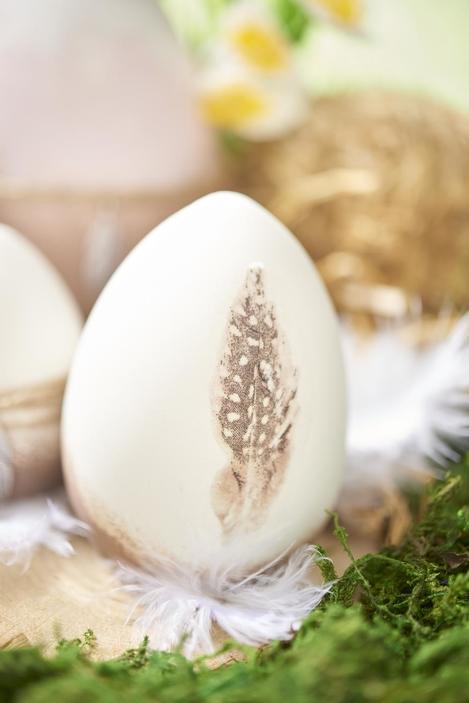
With a little Jute ribbon, Feathers, lace and small labels the egg objects become special Easter highlights. They are placed only still in a suitable Easter nest - ready!
Protect
You want to use the white eggs as an exterior decoration? Then you should definitely cover the objects with a Protective varnish !
Extra tip: Colouring
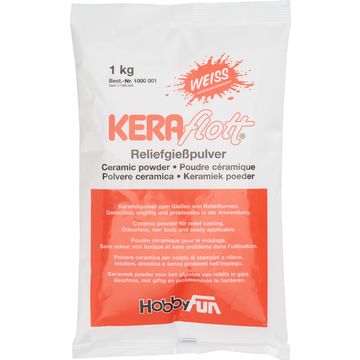
White casting compounds for the ceramic look can be coloured without any problems. Simply add a few drops of Colour Concentrate to the casting compound and stir well. Our basic casting design guide explains exactly how to do it.