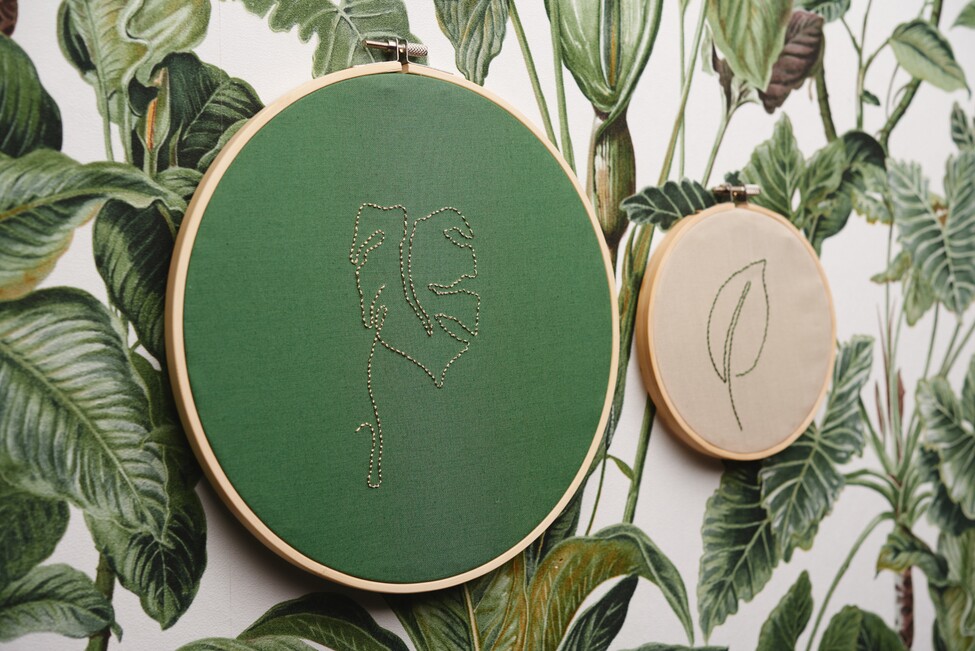
Natural Urban Jungle Embroidery Idea
Anleitung No. 2477Minimal embroidery effort - maximum effect: embroidery work decorated in embroidery rings on the wall are absolutely in vogue. Learn here how you can create the natural Urban Jungle embroidery pictures yourself with just a few stitches! Discover how relaxing the embroidery hobby is.
Great embroidery fun even for the inexperienced
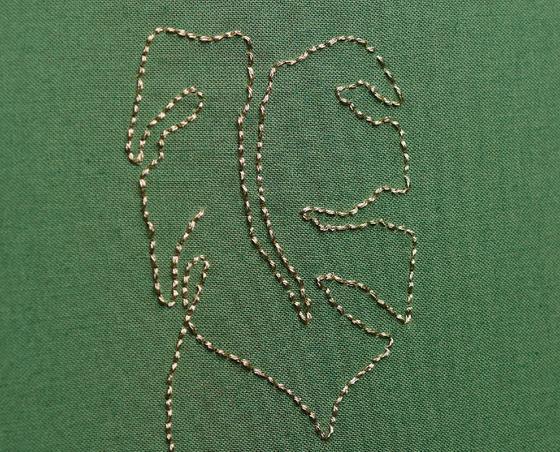
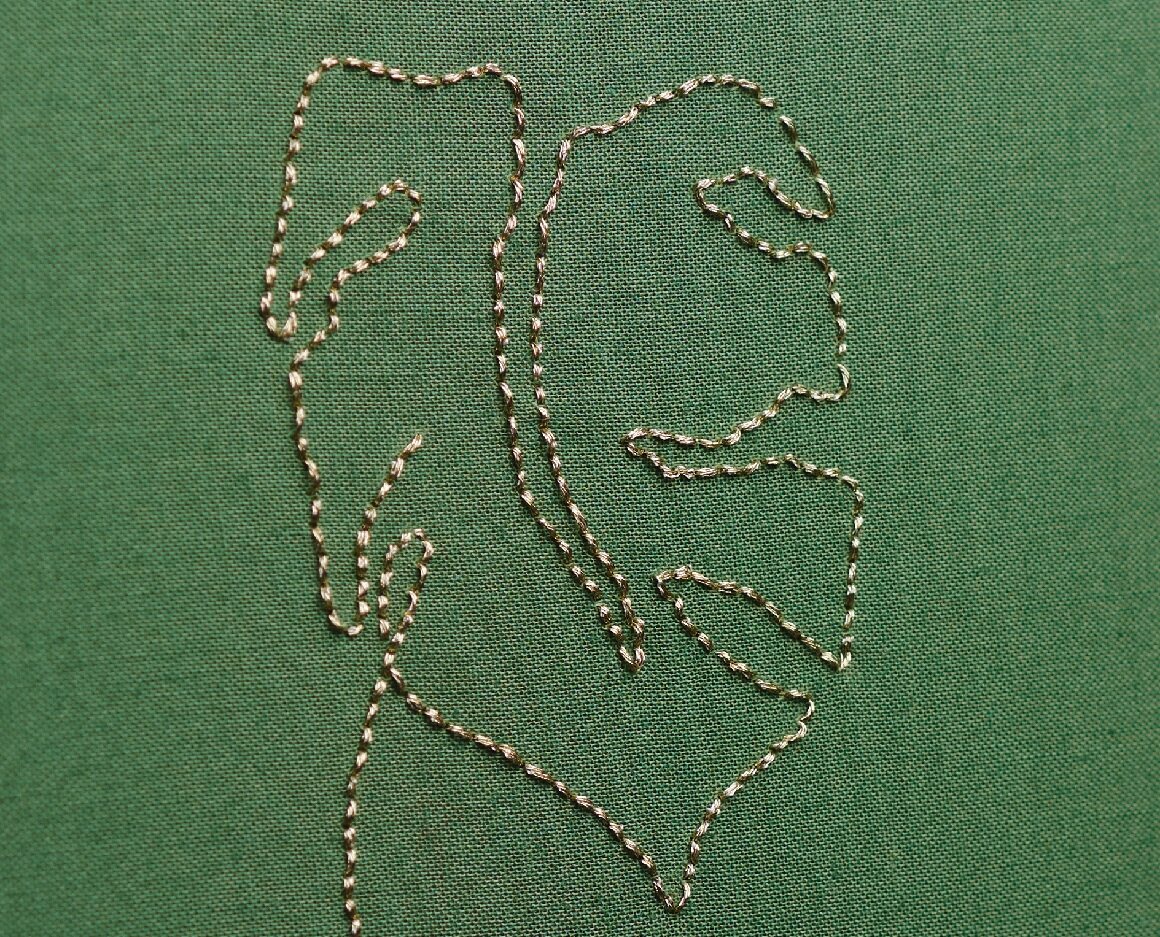
Golden metallic embroidery twist is perfect for embroidering on green fabric, and as a contrast, green embroidery thread is ideal for a natural-colored fabric. The embroidery thread is 6-thread count. This means it can be divided into 6 individual threads. For embroidery, we recommend dividing it into two strands of 3 threads each.
The outlines of the leaves on the embroidery pictures are available for download on the motif template. Print out the template and transfer the leaf motifs to the embroidery fabric. Use carbon paper or a line ex pen for this. Tension the fabric in the embroidery hoop so that the design is centered on the image. The more the fabric is stretched, the easier it will be to embroider.
First tie a knot in your embroidery thread, then begin the first stitch by piercing the fabric with the needle from bottom to top directly on the design line.
Then, run the needle through the fabric directly on the line "from top to bottom".
The next stitch is also placed directly on the outline from bottom to top. Each subsequent embroidery stitch is now placed on the contour line as closely as possible to the end of the last stitch, creating an embroidered line.
Once you have finished embroidering the design, secure the thread on the back of the image by passing the thread through the embroidery stitches made without the thread poking through the fabric.