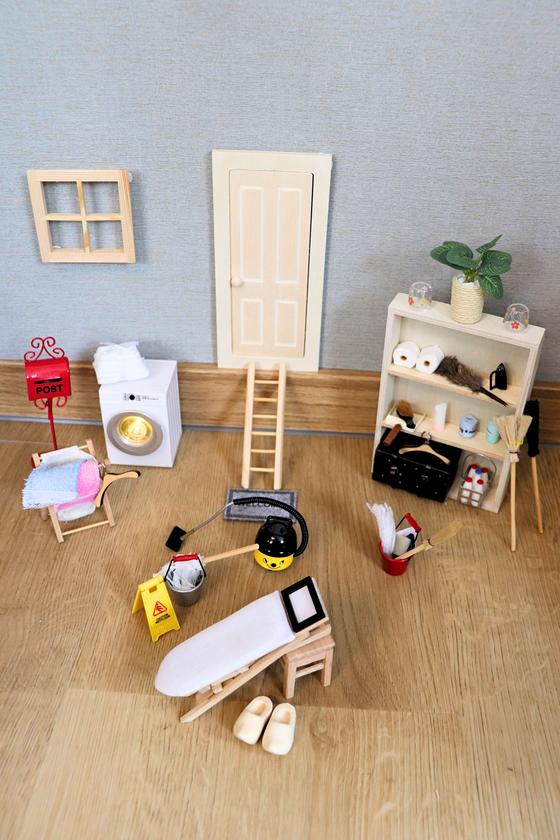
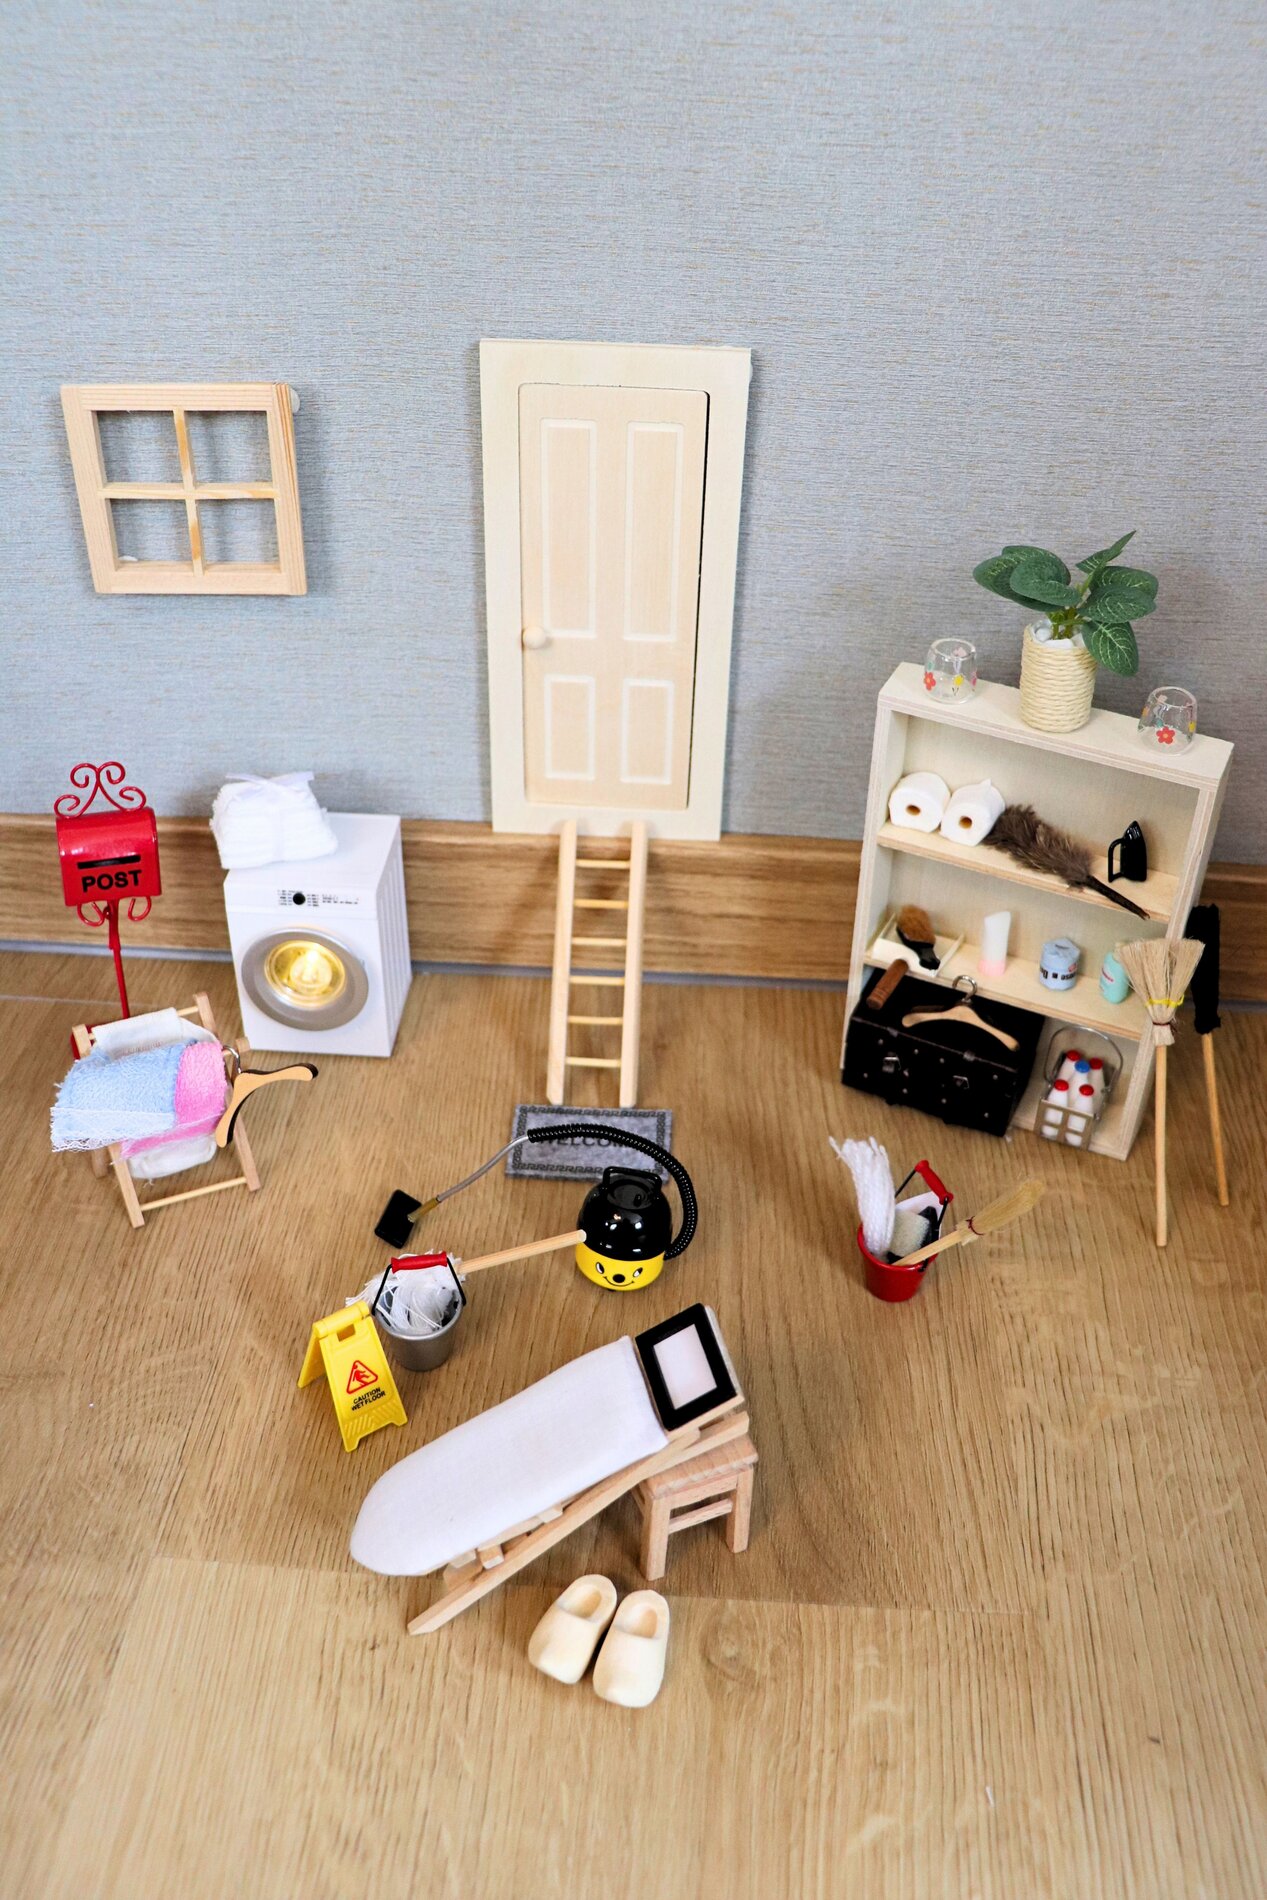
2. Turn the ironing board into a slide
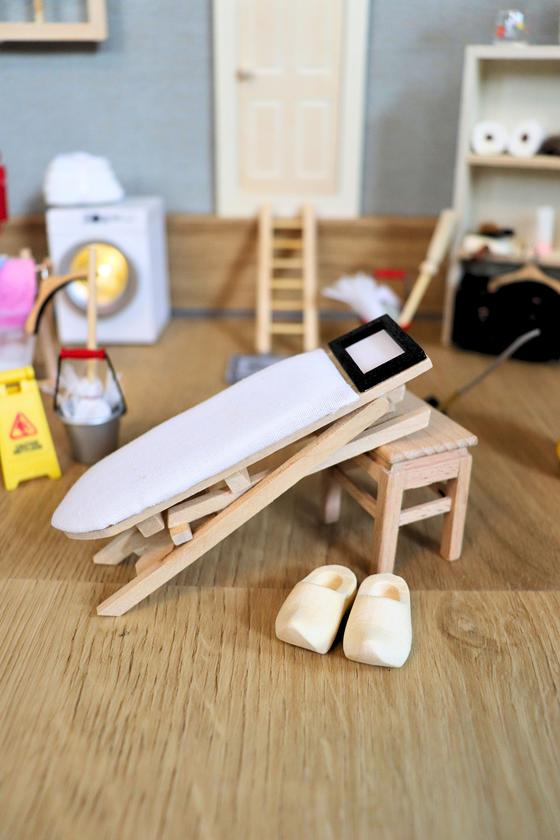
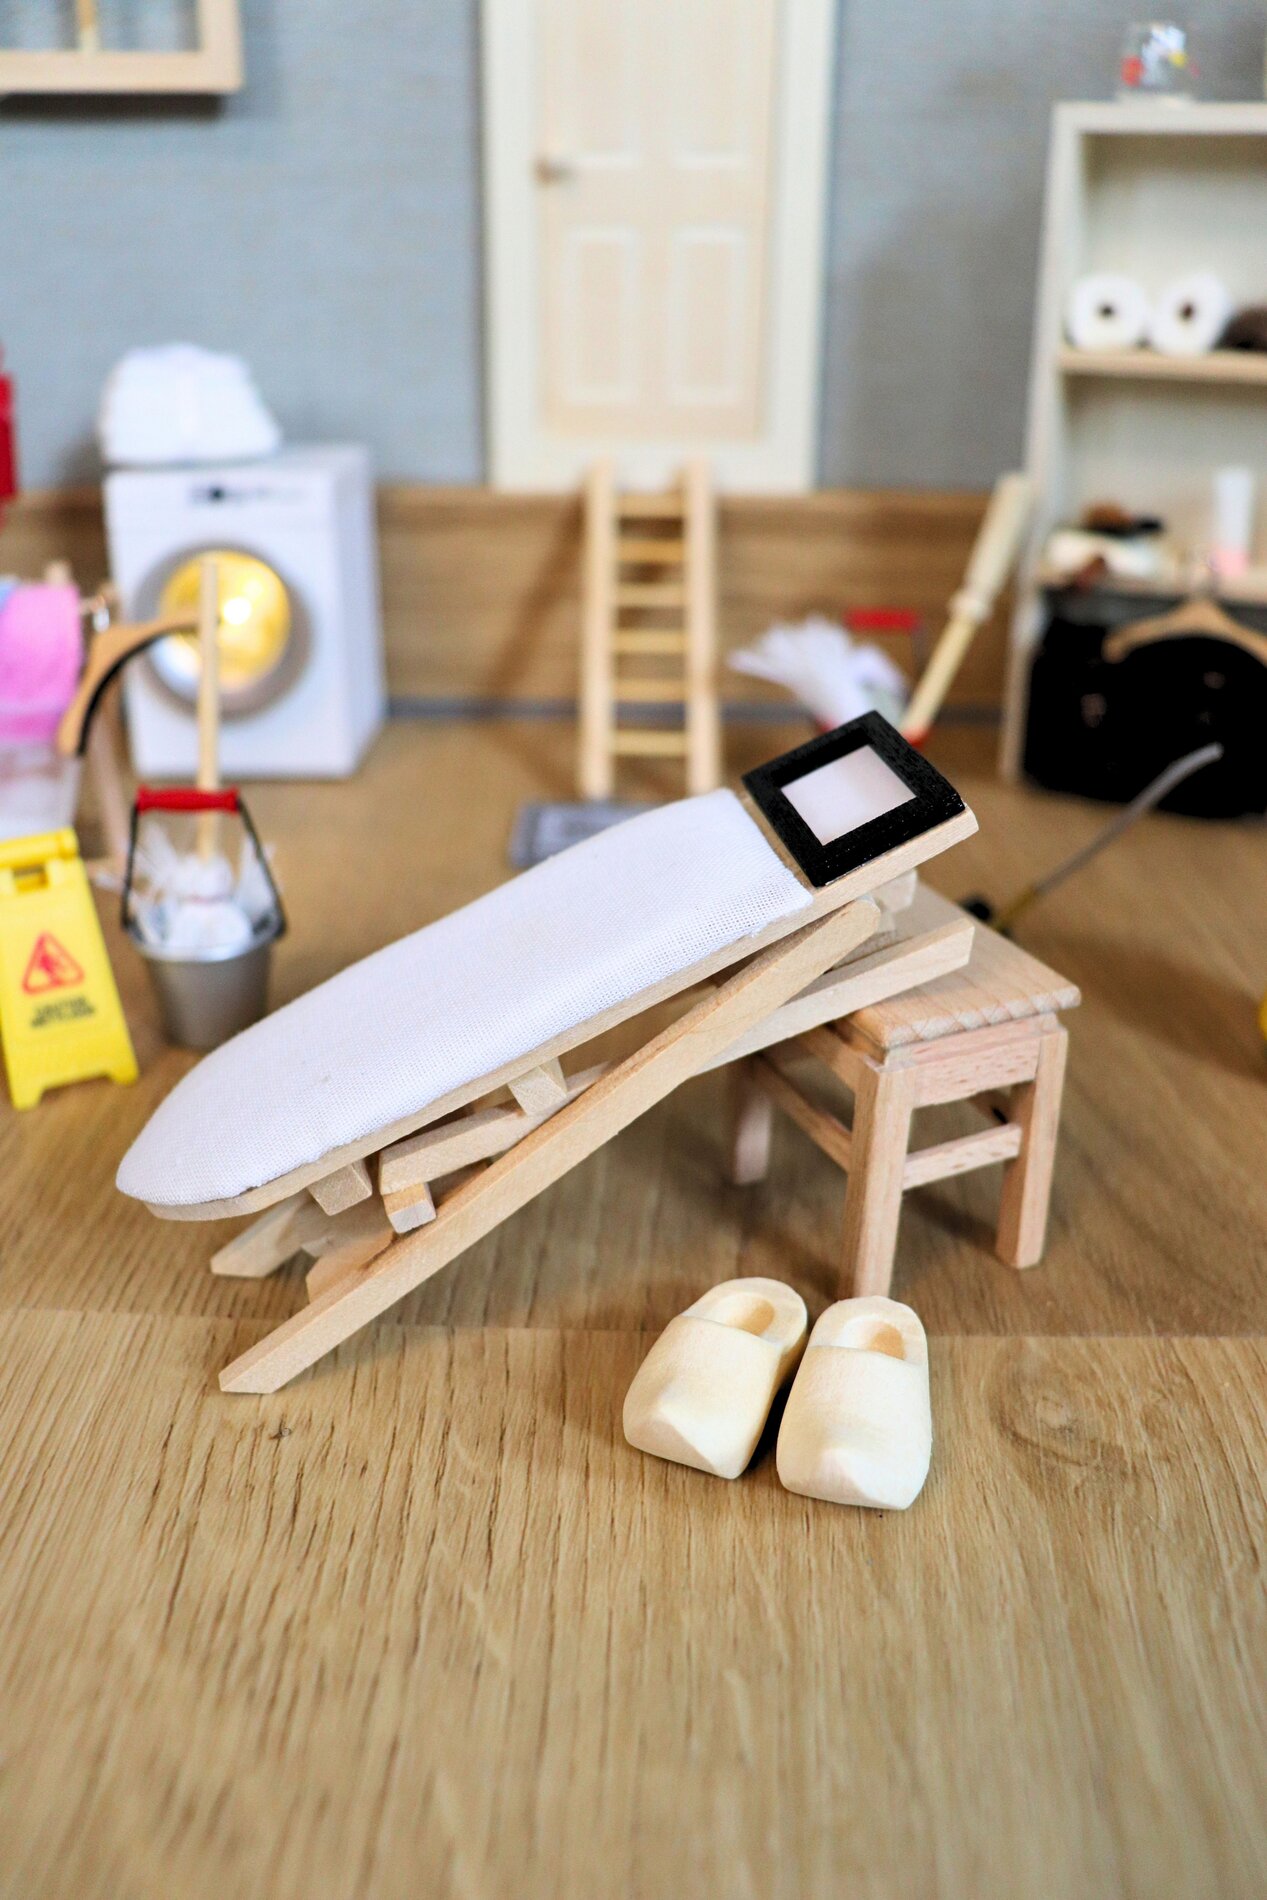
Set up the mini ironing board and arrange it so it looks like it’s being used for something other than its intended purpose. For example, the ironing board can be placed on a small stool. To make the slide look realistic, place some small wooden shoes nearby—this way, you can tell a funny mini-story with very little effort.
3. Set up a laundry area: Order meets chaos
Place a mini washing machine or a laundry station near a door or window. Add small pieces of laundry or folded fabric to make the utility room look lively. The mix of “already done” (neatly folded) and “still to do” (a few items lying around) makes the scene more realistic.
4. A Shelf as an Organization System for the Secret Santa
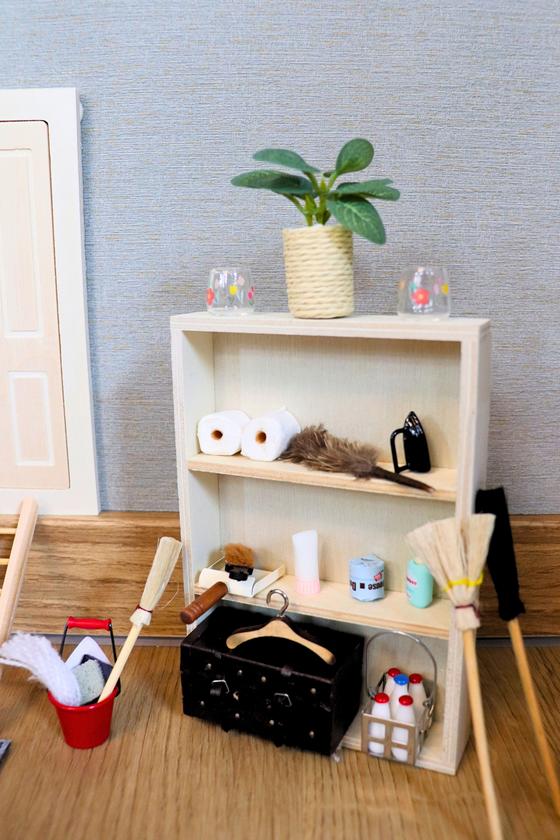
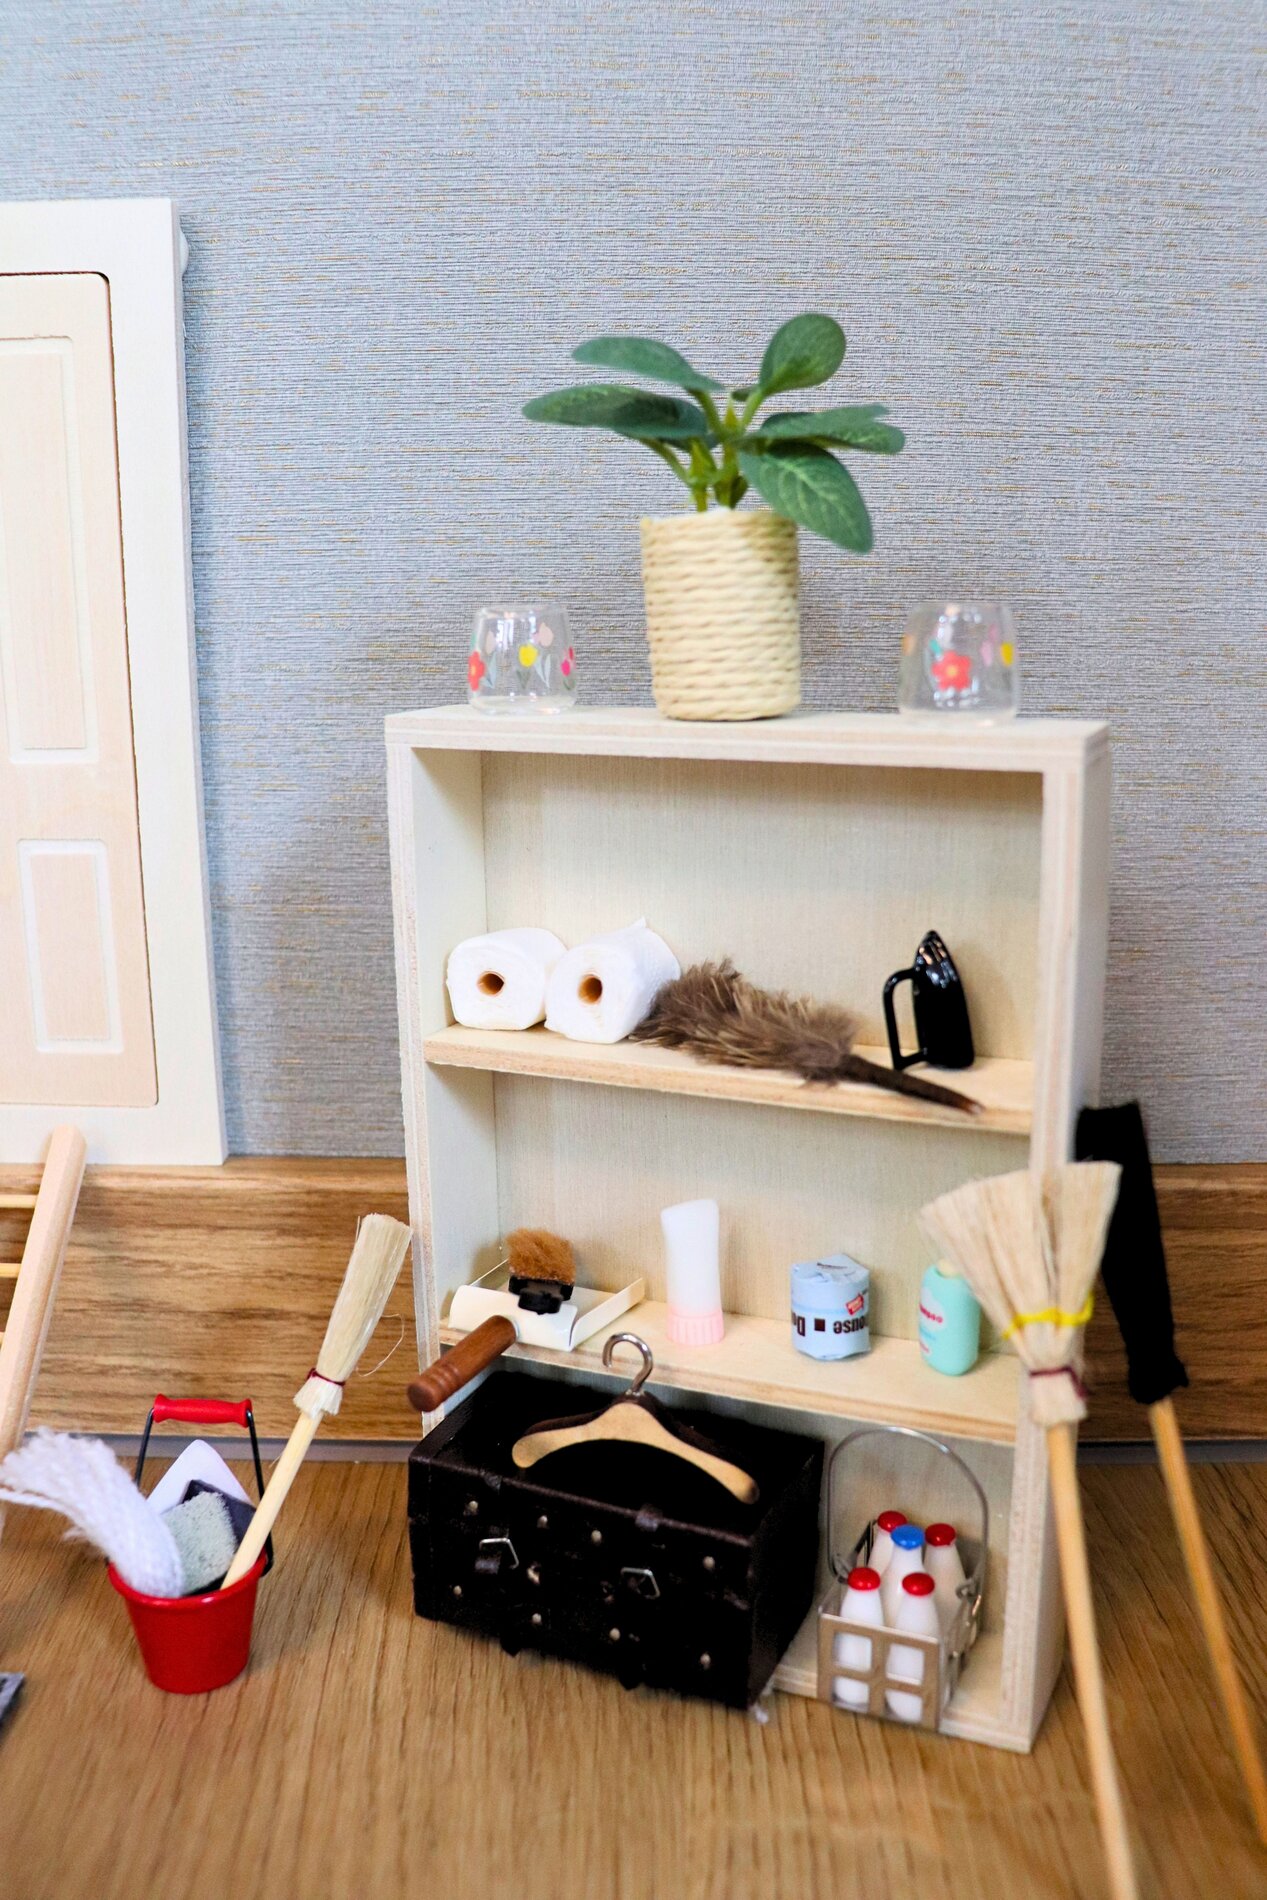
Set up a small shelf and fill it thematically: “light” items like rolls, towels, or small supplies on top; practical tools in the middle; and heavier items like a crate or box on the bottom. This creates a cohesive overall look and makes the utility room look like a functional workspace—just in miniature form.
5. Cleaning, Vacuuming, Mopping
Arrange mini cleaning supplies just as you would in real life: the bucket and mop go in a corner, the broom and dustpan to the side, and a small “Caution”-standing decoration or sign in the walkway. Make sure the handles point upward and the items don’t block each other’s view. This clear arrangement makes even many miniatures look tidy.
6. Small Details That Bring the Scene to Life
Add mini accessories that suggest a story: a broom set aside, an open bucket, a small cloth draped over an edge, or shoes by the door. Details like these transform a simple decoration into a real gnome door scene. Keep the viewer’s perspective in mind: From the front, the most important elements should be immediately recognizable without the scene looking cluttered.
Once everything is in place, attach the miniatures one by one. Press adhesive dots briefly into place and let liquid glue dry thoroughly before continuing to decorate. This ensures nothing will shift later when the scene is dusted or carefully repositioned. This step is especially important for miniature worlds, as the overall effect relies heavily on precise spacing.
7. Check the Decoration
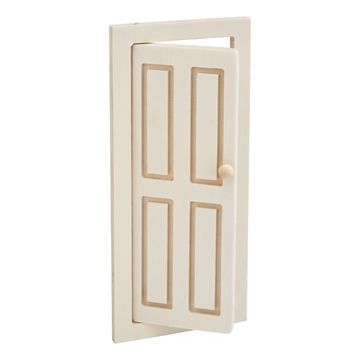
Finally, take a step back and check the proportions: the door as the focal point, with a window next to it and a clearly defined “work area” featuring the ironing board slide. If you still need more depth, position individual pieces slightly forward or backward. This creates a small diorama that remains decorative all year round and always reveals new details to discover.
Build your own elf utility room and complement the scene with additional miniatures for your elf door idea. You’ll find matching accessories, small furniture, and decorations for miniature worlds in the online shop—so you can expand your elf door scene step by step.