- Secure order
- Easy return shipment
- Service-Hotline +31 20 809 5778
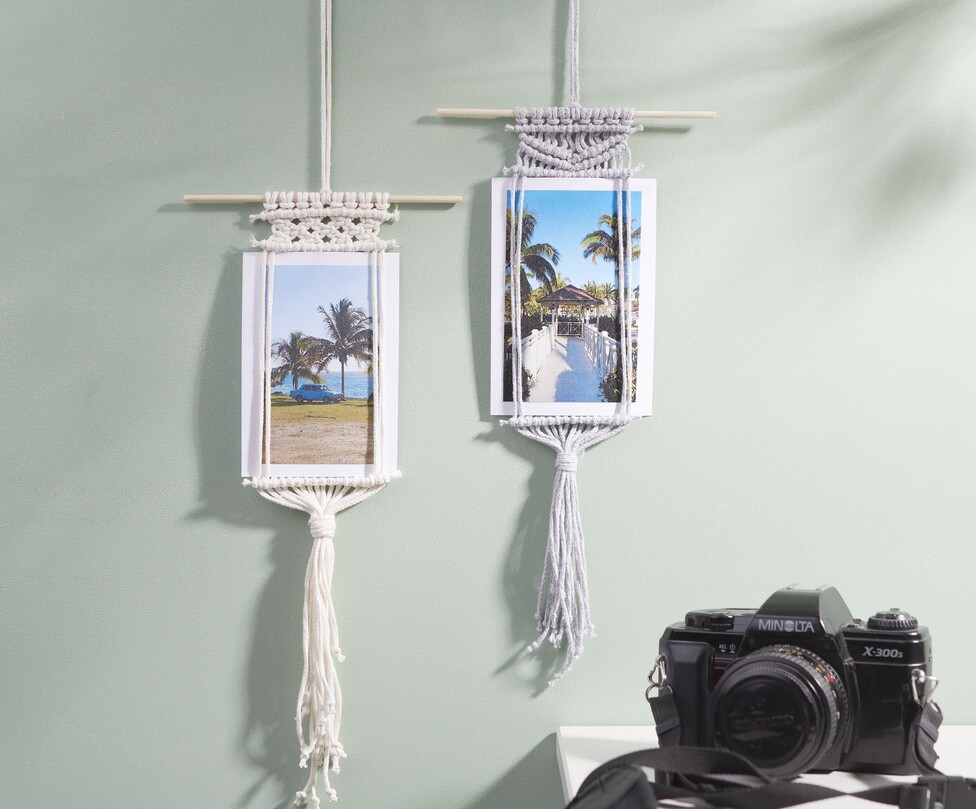
Instructions No. 2424
Difficulty: Advanced
Working time: 2 Hours


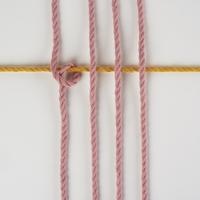

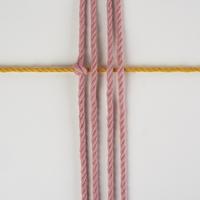
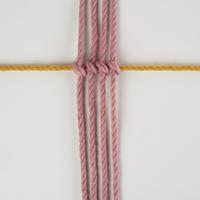

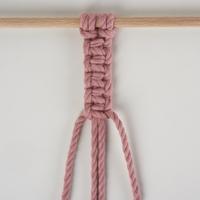


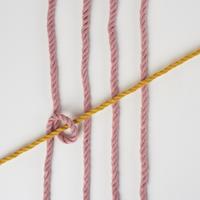
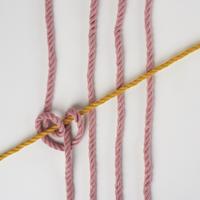
Row 6: Horizontal rib knot
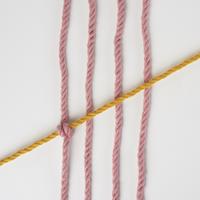
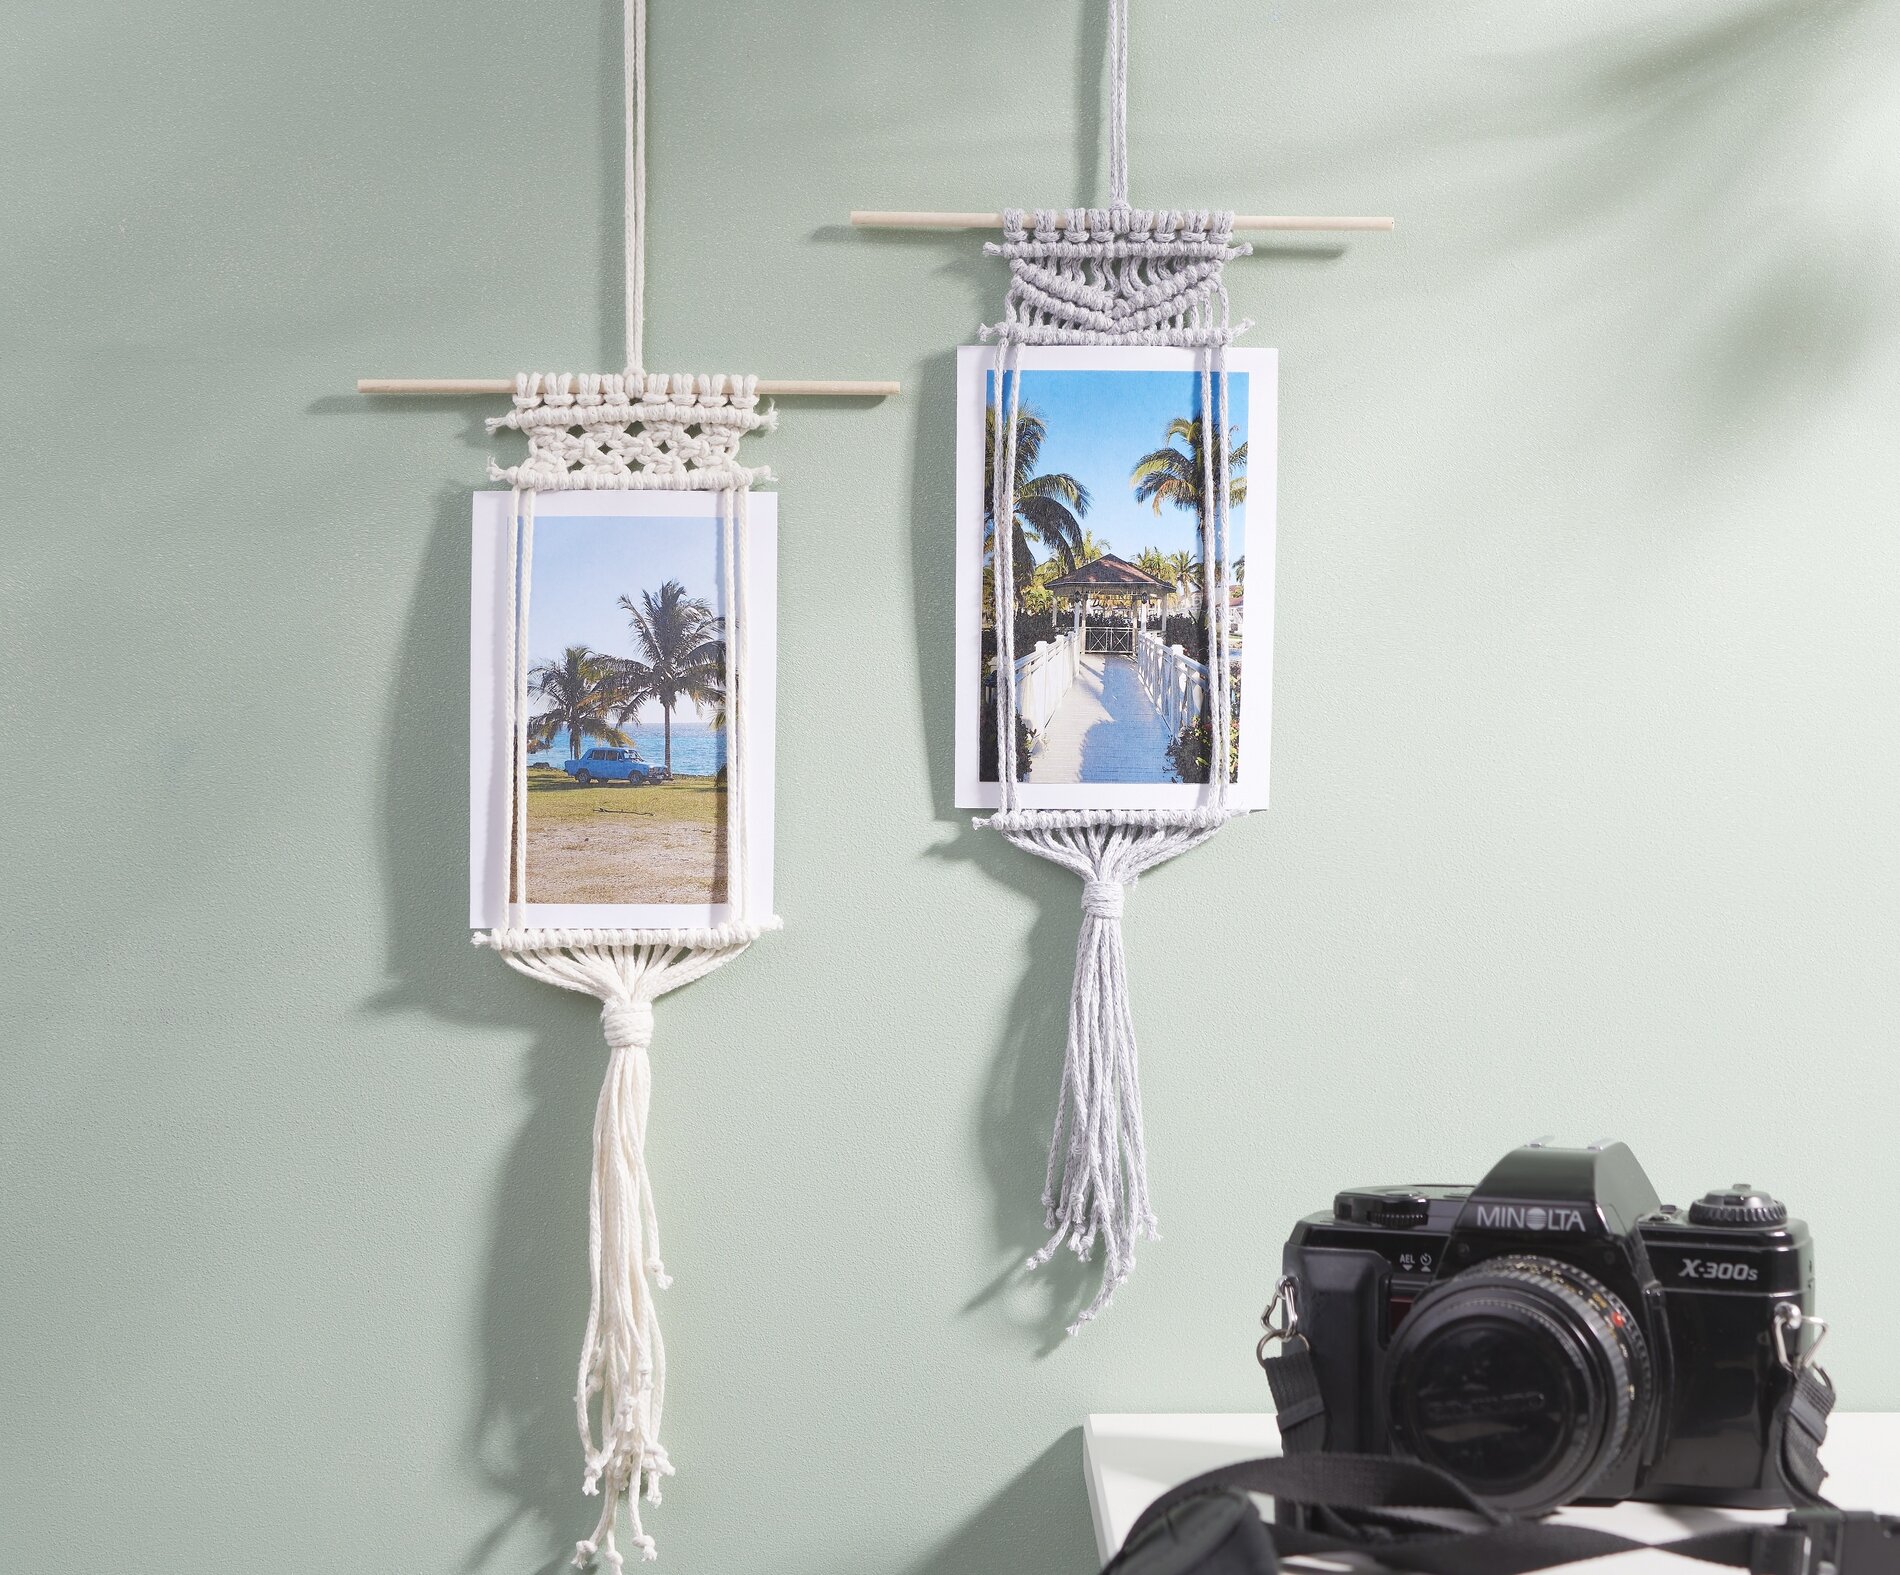
Between the 6th and 7th row the photo will be placed later. Leave enough space between the two rows so that the photo fits in between.
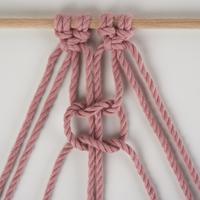
Row 7: Horizontal rib knot
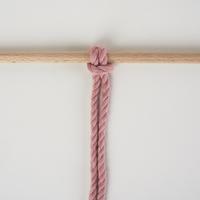
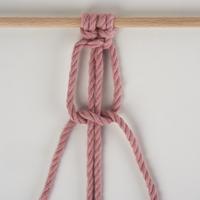
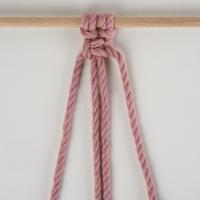
Row 8: Wrap knot 


Shorten the ends of the threads as desired and tie a knot in the bottom of each thread.