- Secure order
- Easy return shipment
- Service-Hotline +31 20 809 5778
Instructions No. 4074
Difficulty: Beginner
Working time: 2 Hours
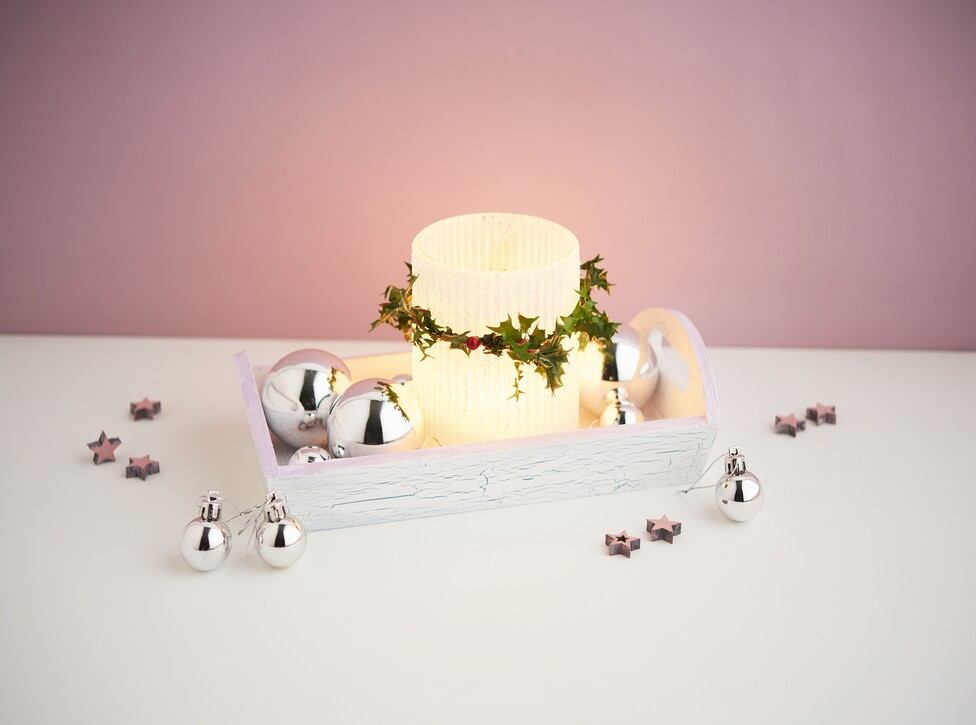
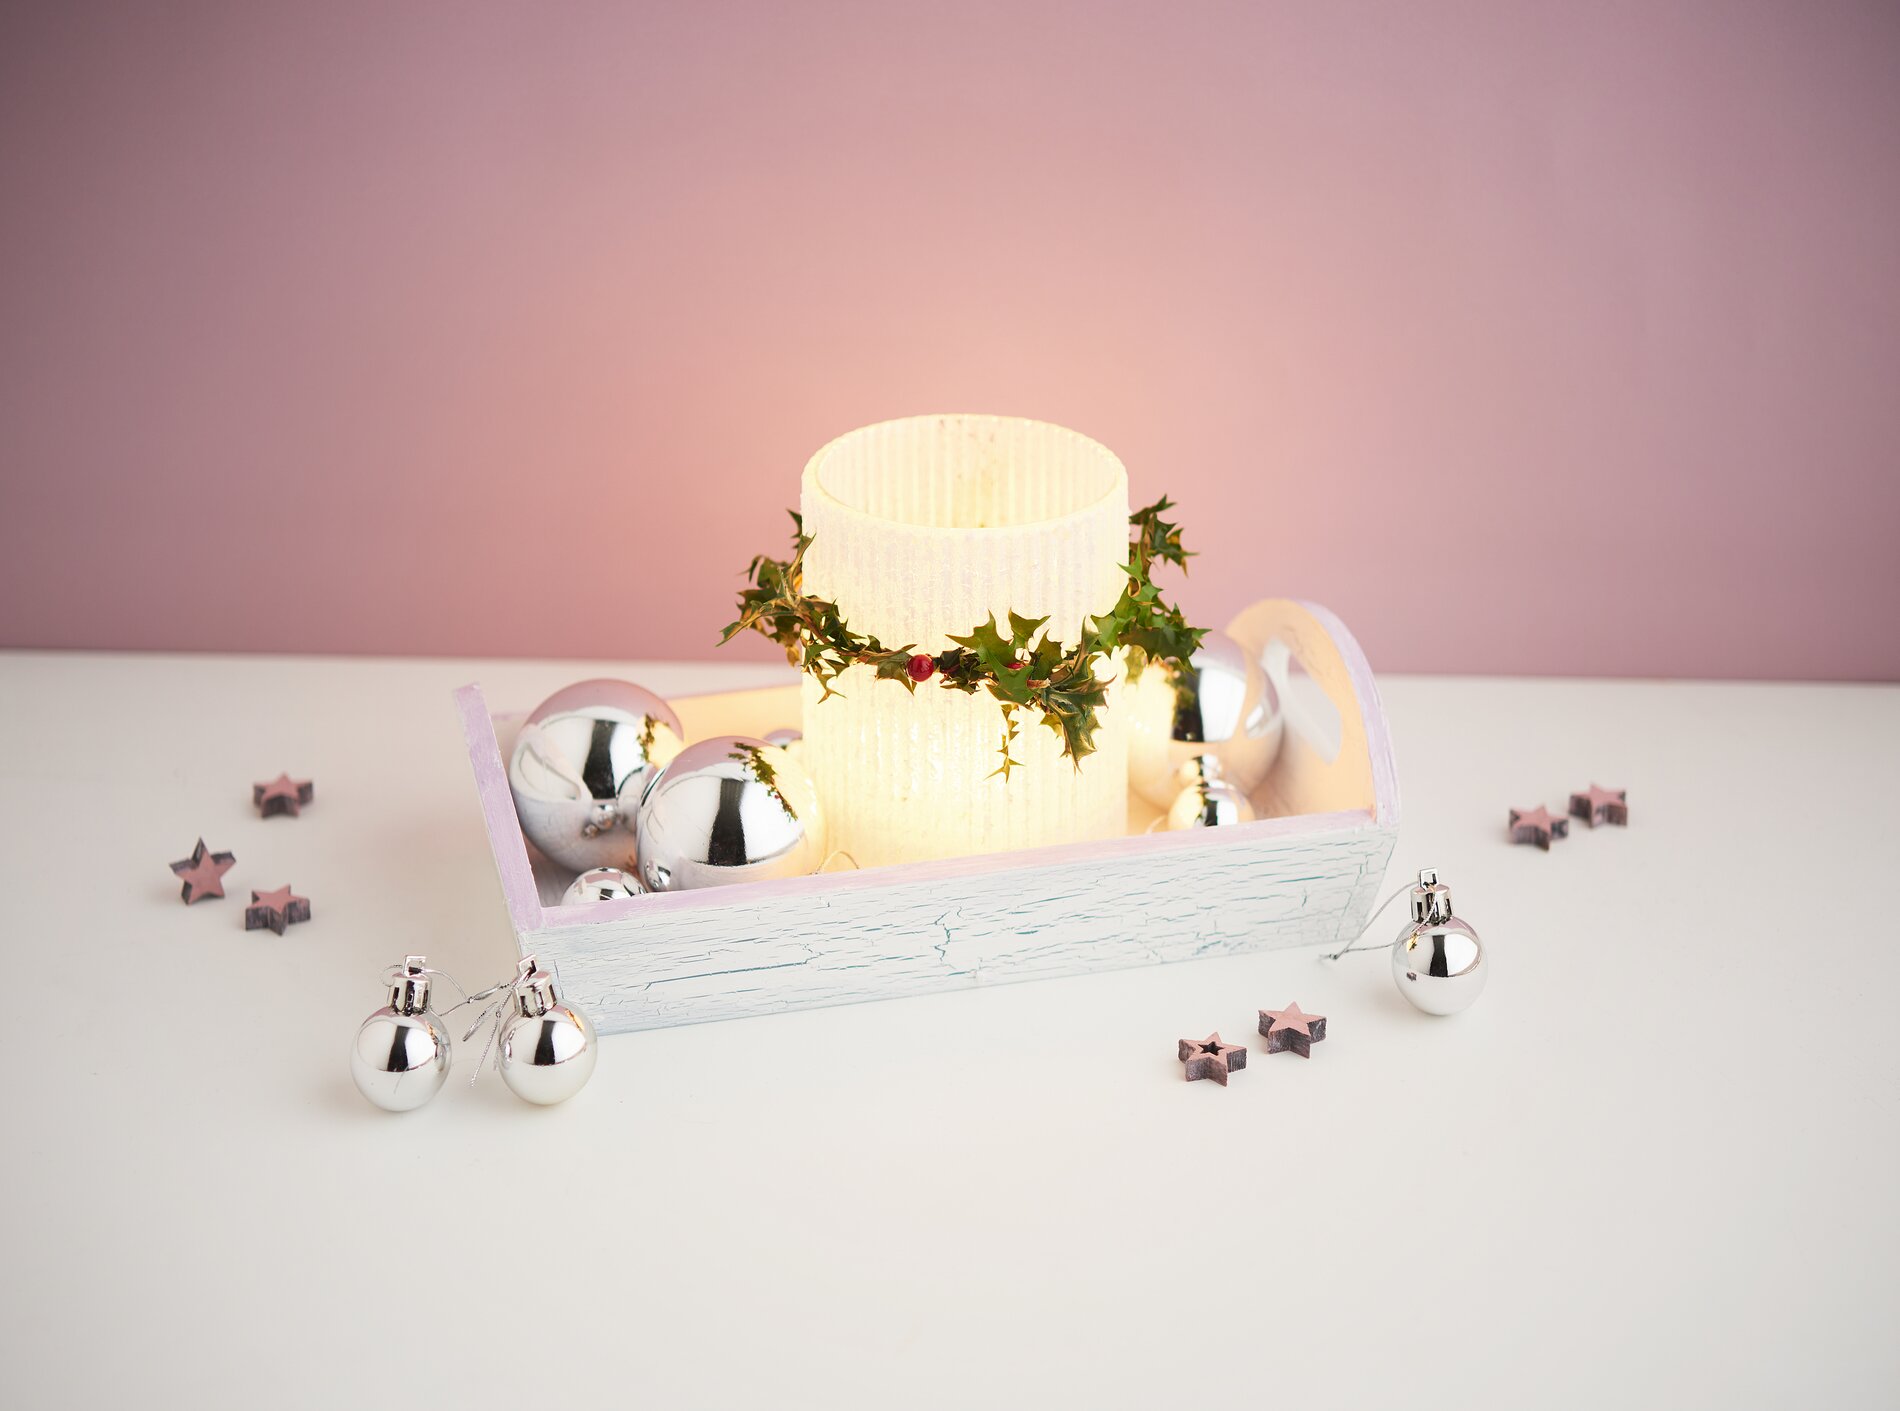
How to Create a Winter-Themed Tray with a Craquelure Effect
Set up a protected work surface and quickly wipe the dust off the wooden tray. This will ensure that the “ handicraft paint ” adheres evenly.
Step 1: Apply the base color
First, paint the tray with a handicraft paint as a base. For a “Winter Romance” color scheme, for example, light, powdery shades like delicate “ pink, ” creame or a very light “ grey ” work particularly well. Apply the paint in a full, opaque coat and let it dry completely. A dry base coat is important so that the crackle varnish can be applied with precision later on.
Step 2: Applying the crackle varnish Correctly
Now it’s time to use the “ crackle varnish ”: It creates the characteristic cracks that give the tray a wintry, shabby-chic look. Always apply the varnish with the brush in the same direction. This is crucial because the crack pattern follows the direction of application. Then let the varnish dry until it becomes transparent.
Step 3: Contrast Color for Visible Cracks
Now apply a second color as a contrast over the dried crackle varnish. This layer of paint will crack as it dries, revealing the base color in the cracks. For an elegant winter finish, white over pastel, a cool light grey over pink , or a soft taupe over creame work very well. Depending on how thickly you apply the coat and how evenly you work, the cracks will be finer or more pronounced. Let the tray dry undisturbed without brushing over it multiple times, so the crackle effect doesn’t smudge.
Decorating a Frosted Lantern
While the tray is drying, turn your attention to the ribbed lantern glass. The ribbed surface enhances the wintry look because it softly diffuses the light later on.
Step 4: Apply the frosted-effect paint
Apply the frost-effect paint precisely with the “ liner vials ” or dab it on with a sponge brush. Use the “ liner vials ” to apply paint to edges, specific areas, or small patterns. The sponge brush creates an evenly matte, “frosted” surface. Let the paint dry completely so it doesn’t smudge when you continue decorating.
Step 5: Holly garland as a wintery detail
Cut a piece from an holly garland and wrap it around the glass. The greenery with its small accents looks like a delicate winter wreath and decoratively frames the light.
Step 6: Arrange the pieces on the tray
Place the lantern glass in the center of the finished tray. Then loosely arrange a few Christmas tree ornaments around it so the decoration looks generous and the tray appears full. Finally, place a maxi tea light inside the glass. Thanks to the frosted effect, the glass glows with a particularly soft light and fits perfectly with a wintery table setting, windowsill, or dresser.
Now it’s your turn
If you’d like to expand the set, you’ll find matching craft paints, effect media, decorative elements, and lanterns in the online shop to continue your table decor in the same style.