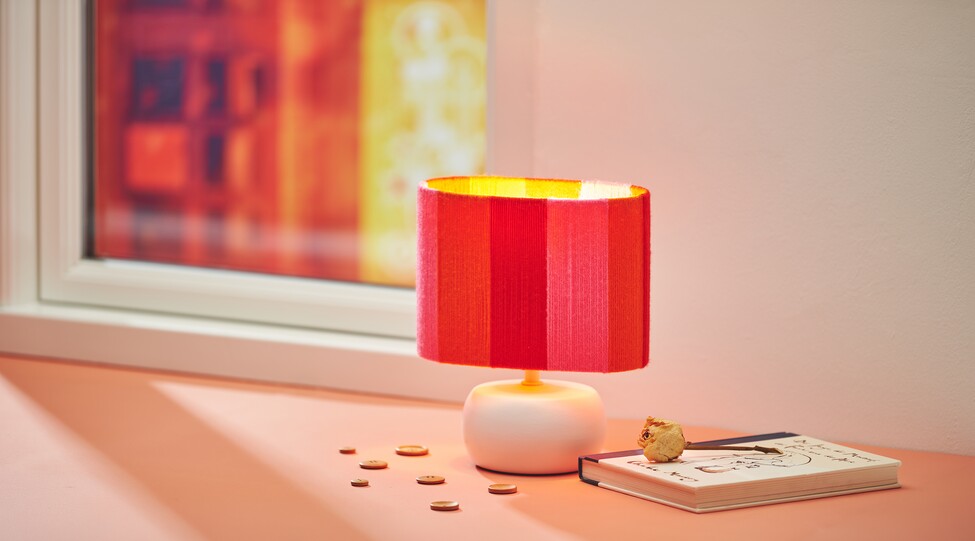
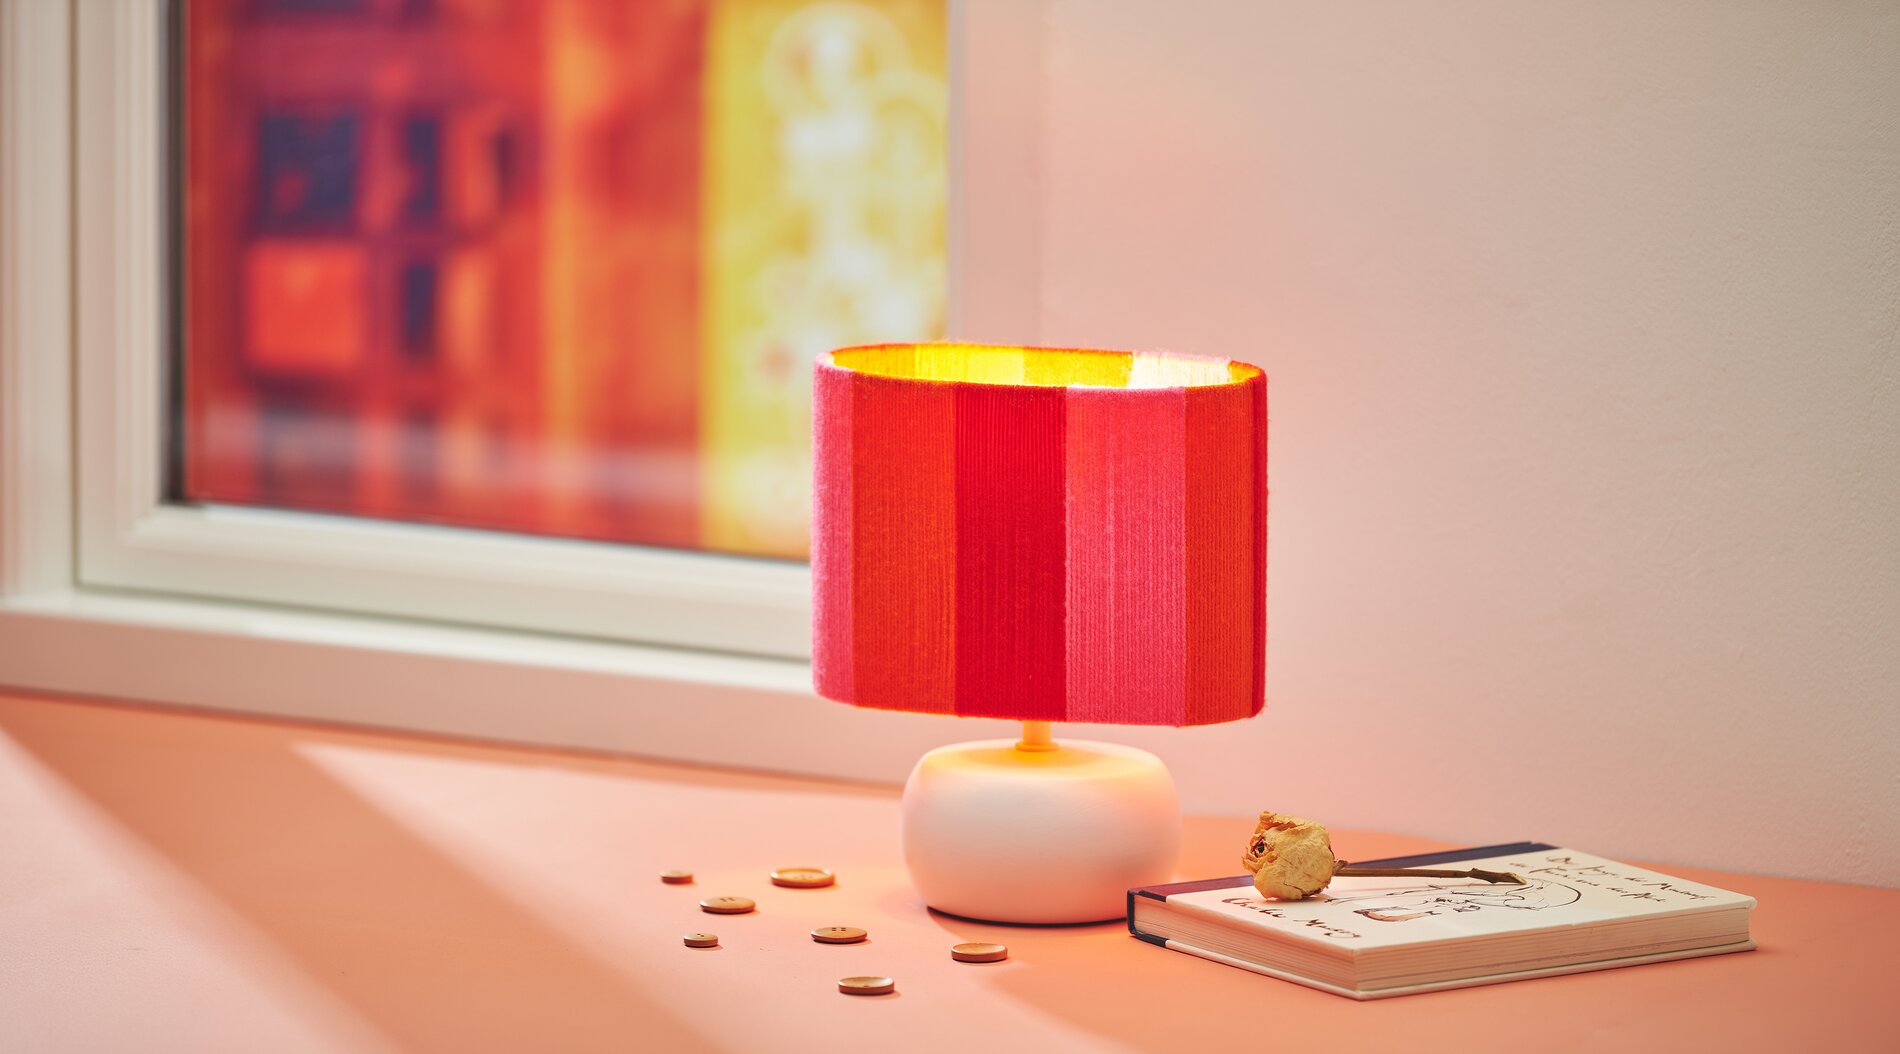
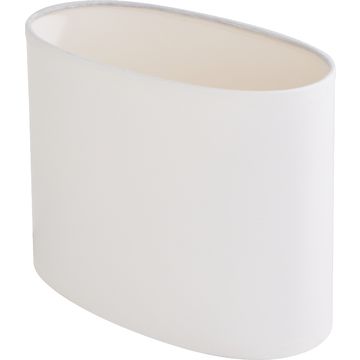
Wrap the oval lampshade with yarn (lamps design)
Gather the oval lampshade, yarn, and handicraft glue , and protect your work surface. This will keep the lampshade clean and allow you to guide the yarn evenly later on—perfect for a modern DIY-lampshade- design that softens the light.
1. Prepare the yarn
First, wind some yarn off the skein. Holding a loose bundle of yarn in your hand allows you to work more comfortably, prevents knots, and helps you control the tension better. This is important to ensure the finished surface looks smooth and high-quality.
2. Secure the beginning
Apply a small dot of glue to an inconspicuous spot on the top or bottom edge and press the end of the yarn firmly against it. The handicraft glue ensures that the first round doesn’t shift—this foundation determines whether your wrapped lampshade will look even later on.
3. Wrap the lampshade evenly
Now wrap the yarn around the lampshade. as you like. You can wrap it tightly and parallel to each other if you want a closed, fabric-like look, or intentionally leave small gaps if you want the light to shine through a bit more vividly later. Make sure to apply the wool with even tension: if it’s too loose, it will slip; if it’s too tight, the wrapping may warp.
4. Designing Color Blocks and Stripes
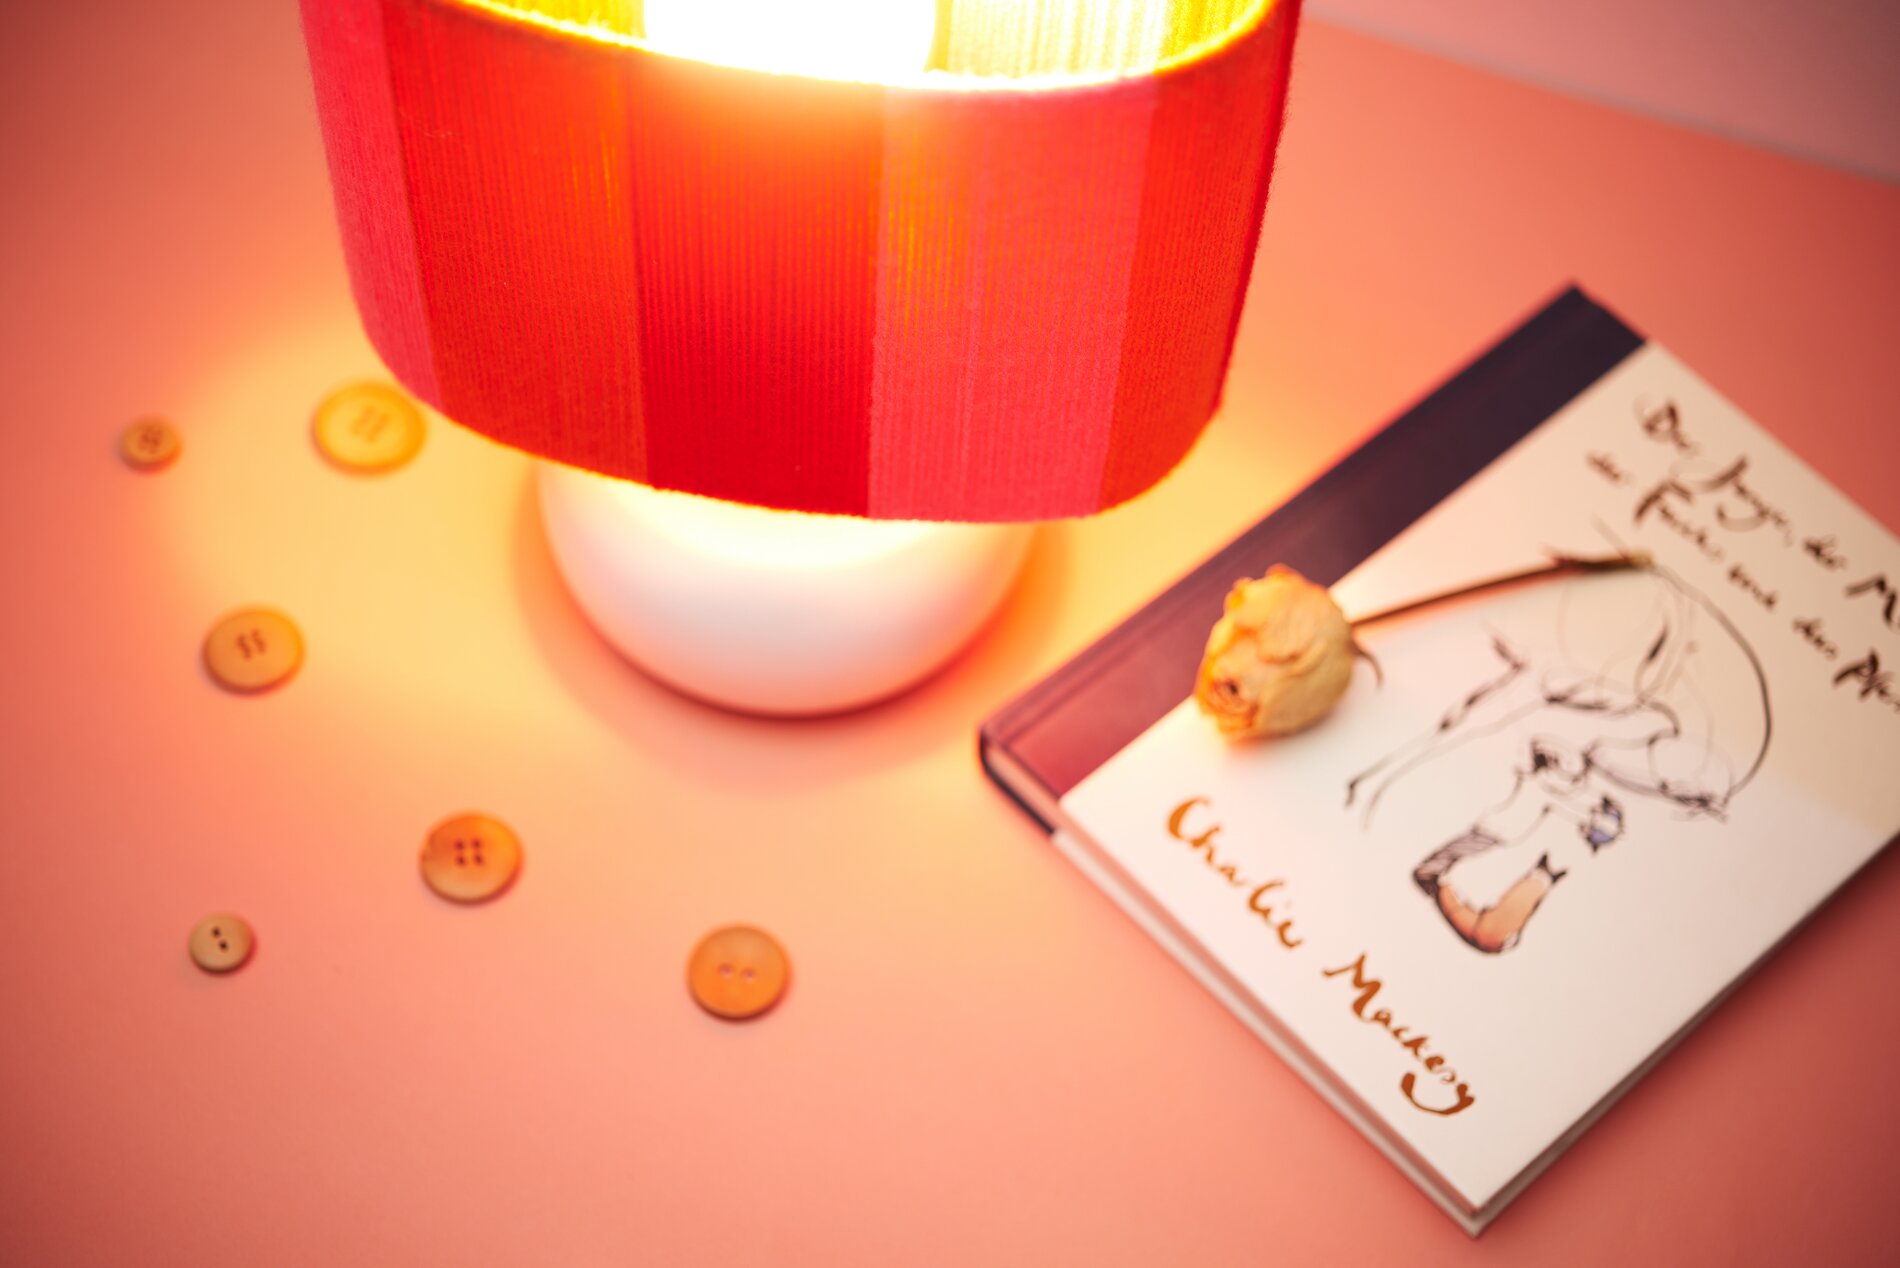
If you want to achieve a graphic result like in our example photo, mentally divide the lampshade into sections and wrap in clear “bands.” When changing colors, start the transition at a straight edge and briefly tape the end of the yarn in place before continuing to wrap with the next color. This creates clean stripes and a modern look that pairs especially well with a contemporary lamp design.
5. Secure the end and finish neatly
Once you’ve finished wrapping the desired area, secure the end of the yarn again with handicraft glue. Press it firmly and smooth out the last wrap so no ends stick out. Let the glue dry completely before continuing to work on the lampshade —this ensures everything stays permanently in place.