- Preparation: Start by laying out all the letters you want to string. Use flexible rubber cord as a base, as it is stretchy.
- Stringing the beads: Thread the beads onto the cord. according to the alphabet. You can be creative here and play with different colors and patterns. Make sure to place a katsuki-pearl between each letter. They not only serve decorative purposes, but also help to clearly distinguish the letters from one another.
- Finishing and adjusting: Once all the desired letters and Katsuki beads have been threaded on, tie the elastic cord into a loop at the top. This loop can be used to hang the chain. up or to make it easier to carry. Make sure you leave some space so that the beads can still be moved.
Designing the rake chain
- Color choice of beads: Choose 20 beads and divide them into equal groups of 5, ideally in the same color to make it easier to count. Color-coordinated groups also help to make arithmetic clearer.
- Stringing the beads: First thread five beads of the same color onto a piece of elastic cord. Repeat this process a total of four times until all 20 beads are on the cord .
- Secure the cord: At the end, knot the cord so that a loop remains at the top. This makes it easy to handle the rake chain. Make sure that you leave some elastic cord free between the beads and the loop to ensure flexible use.
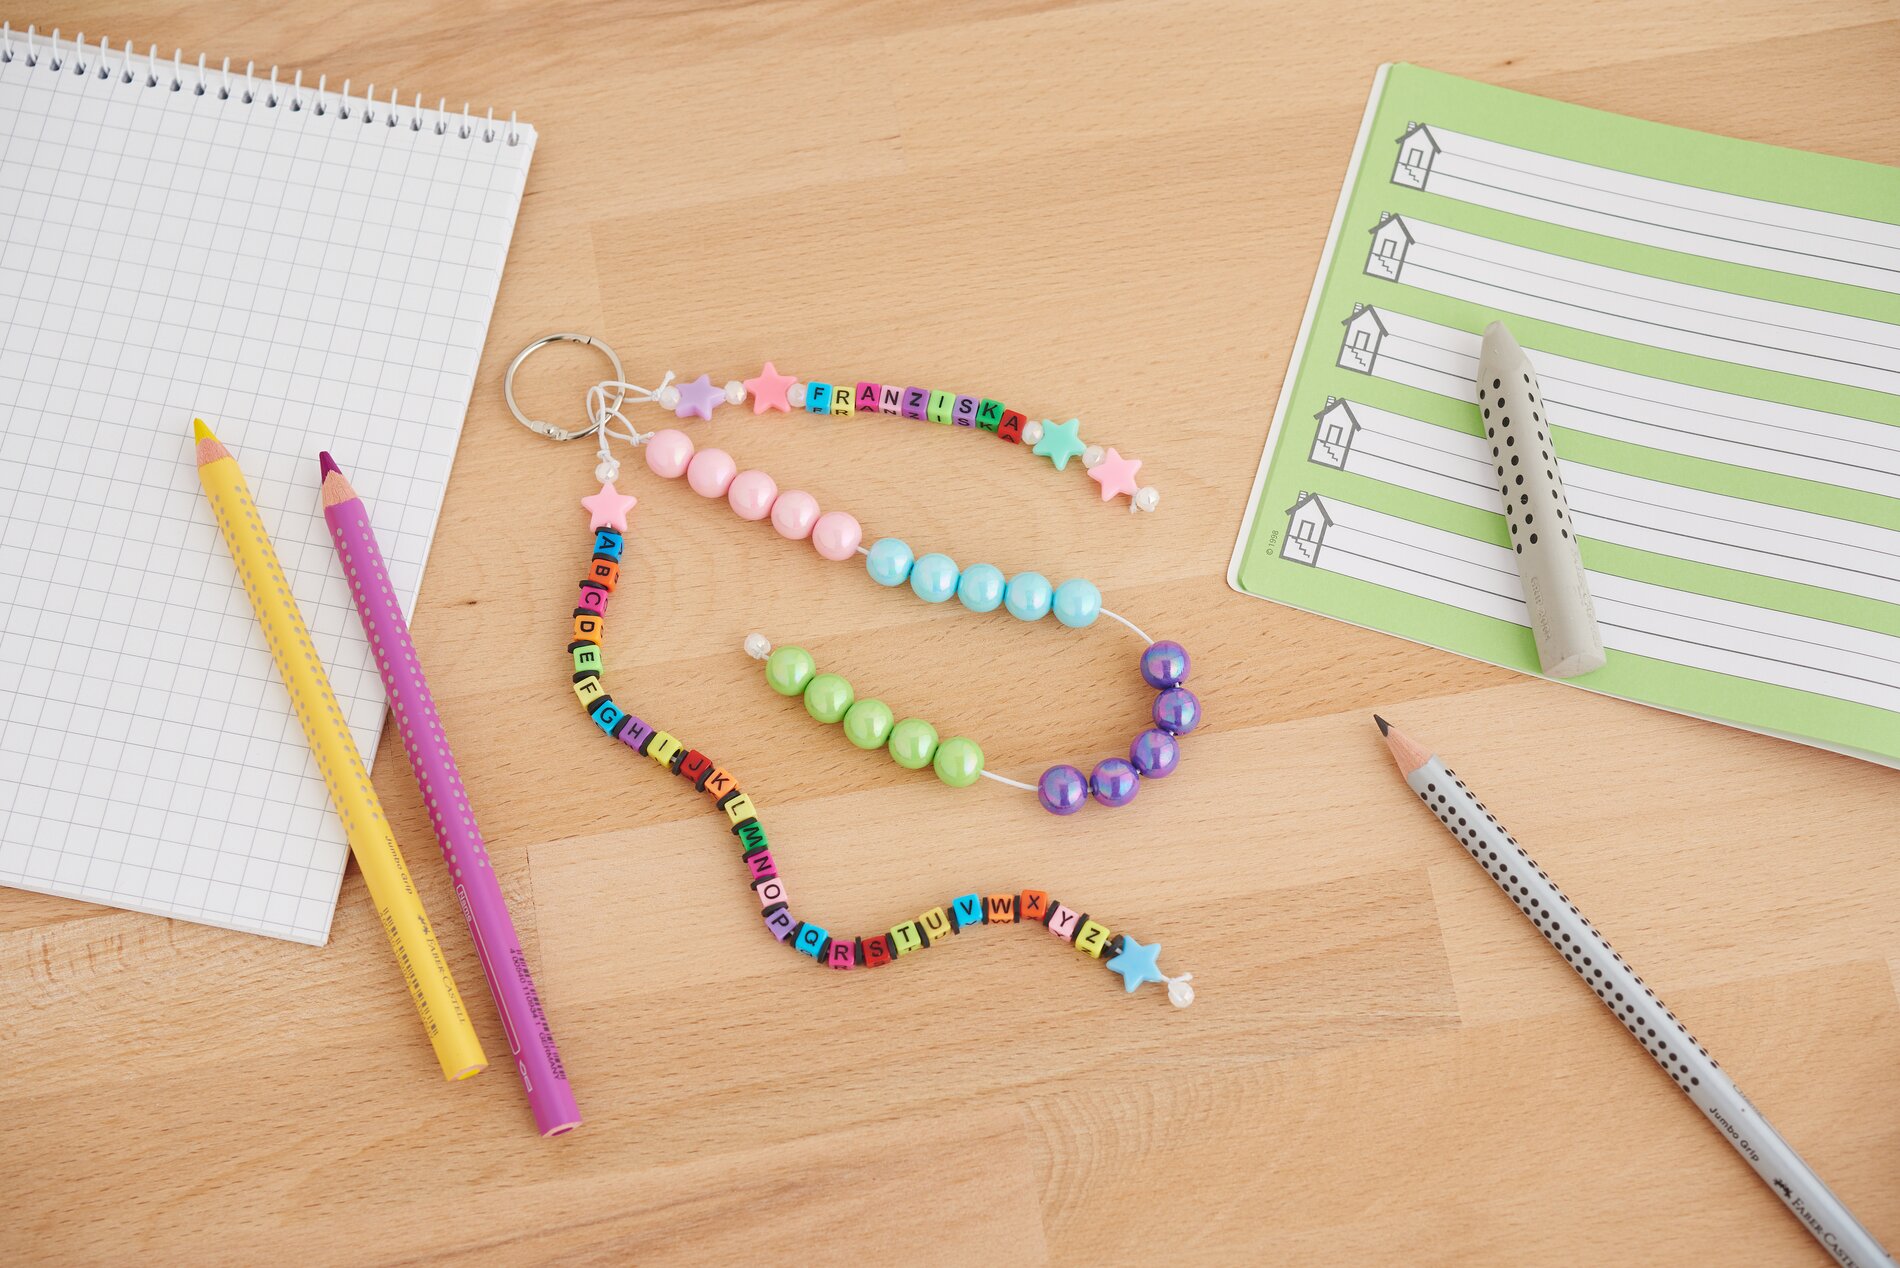
Making a name chain
Use the steps described above to create a personalized name chain. Choose the initial letters of your name or a loved one and combine them with katsuki beads and decorative beads to create a personalized chain .
Let your creativity blossom!
With these instructions, you can start your next craft project and create beautiful, personalized necklaces. Visit our online store to find all the materials you need, such as colorful beads, katsuki beads and elastic cord, and get started right away. Get started today and discover the joy of DIY!