- Secure order
- Easy return shipment
- Service-Hotline +31 20 809 5778
Instructions No. 4101
Difficulty: Beginner
Working time: 2 Hours
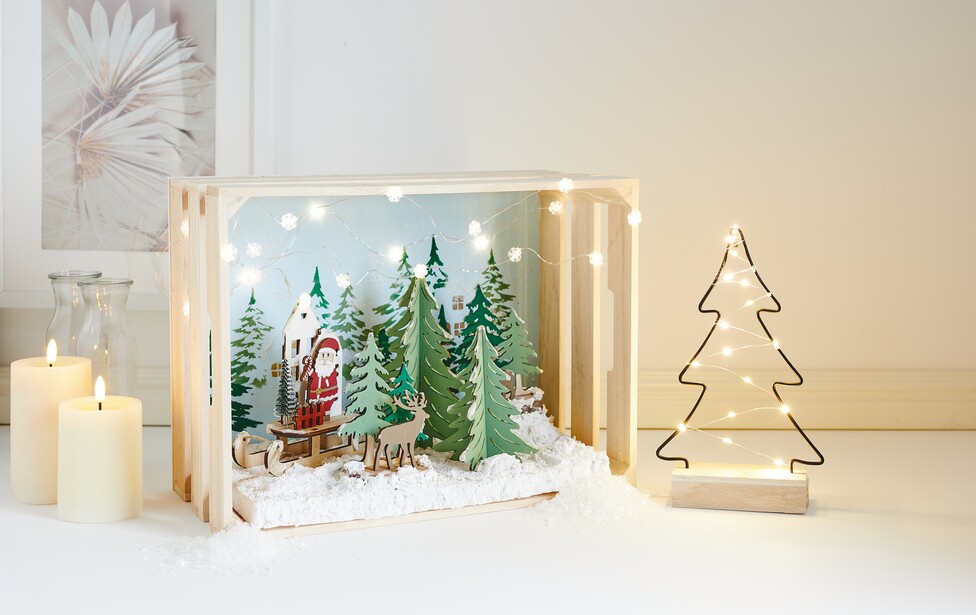
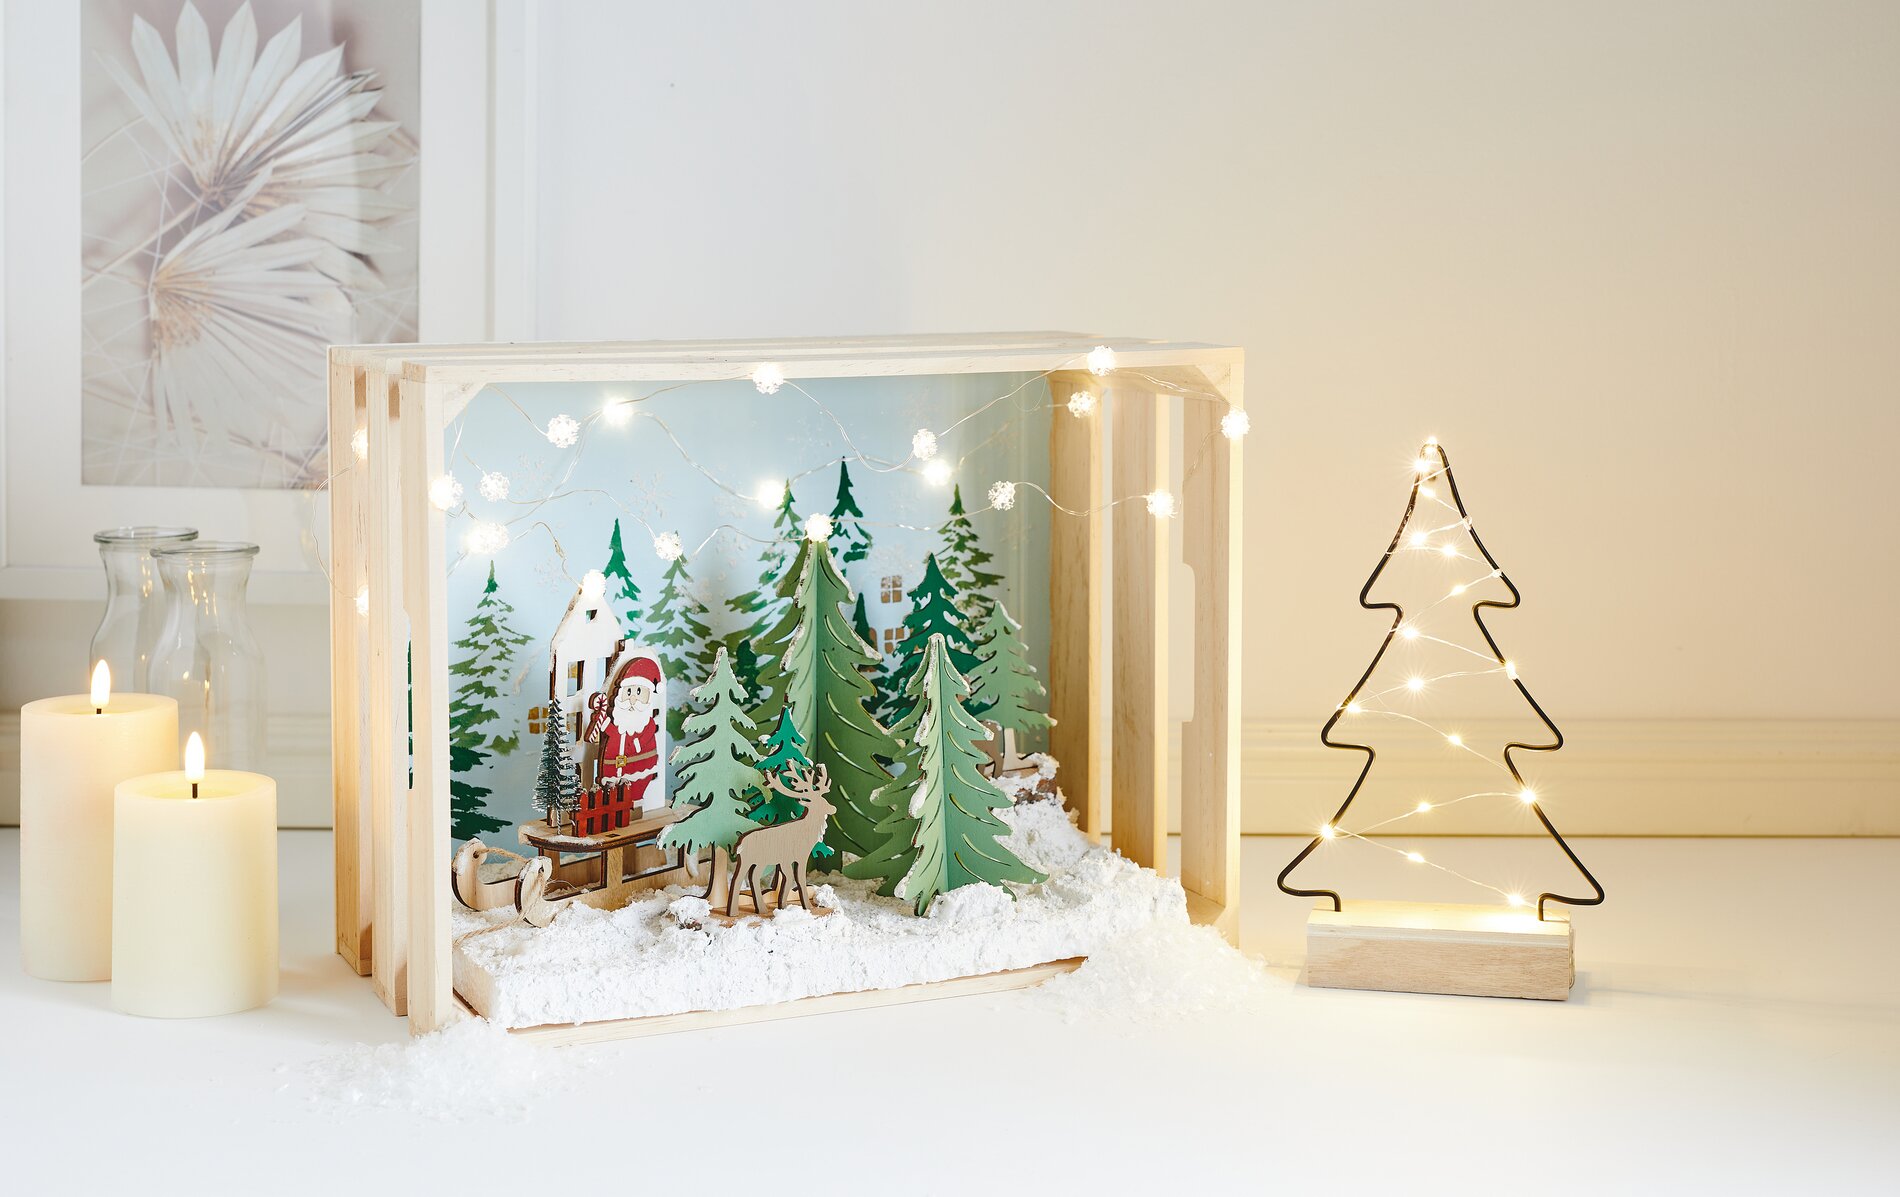
Stenciling and Decorating a Wooden Box as a Winter Scene Place the wooden box so that the open side faces forward. This way, you can see right away how the scene will look when you’re done. To ensure clean paint edges, protect your work surface and keep a glass of water handy to rinse your brush and stencil as needed.
1. Paint the interlocking pieces and let them dry Paint the wooden interlocking pieces with craft paints of your choice. It’s better to apply the paint in two thin coats rather than one thick one. Let everything dry completely, as this is the only way to ensure the pieces will fit together perfectly later.
2. Assemble the pieces and secure them Once everything is dry, slot the individual elements together. If everything fits, add a small dot of glue to each connection handicraft glue.
3. Create an ice-blue background on the box bottom Paint the bottom of the wooden box with ice-blue handicraft paint. This coat of paint servesas the serene background for your Christmas winter scene and makes the white tones and glittery snow appear even brighter later on. Let the surface dry thoroughly before continuing with stenciling .
4. stenciling: A Fir Forest with a Snow Effect When using stenciling , work with a small amount of paint and dab it on instead of brushing it. This prevents the paint from running under the stencil and keeps the contours sharp. Lightly spray one side of the stencil with spray adhesive, position it in the box, and dab the design with craft paints. For a wintry sparkle, add decorative snow with glitter in select spots. Carefully remove the stencil and rinse it immediately with clean water. Then repeat the design once more so the background looks denser and resembles a small forest.
5. Cut the “ polystyrene sheet ” to fitas a snow surface Cut the “ polystyrene sheet ” so that it fits snugly inside the wooden box. This layer visually elevates the scene and creates a clean snow surface into which you can securely incorporate the figures later. Test the fit briefly before continuing.
6. Apply decorative snow and insert the figures Generously coat the “ polystyrene sheet ” with decorative snow. While the mixture is still moist, place the painted figures into it and align them. The moist snow acts like a “ modelling clay: ” Once dry, the trees and figures are firmly secured, and the scene remains stable even when moved around. For added depth, you can make the snow surface slightly irregular, as if small drifts had formed.
7. Add highlights with glitter snow Dab the edges of the trees and roofs with decorative snow glitter. These accents mimic fresh, crystalline new snow and give your christmas decoration a high-quality finish without covering the shapes.
8. Attach the Micro-LED “-chain of light ” to the box Attach the Micro-LED “-chain of light ” to the wooden box using a small amount of hot glue. Apply the glue only in small dots so that the cable remains hidden later and you can position the lights precisely where you want them. Make sure the lights gently illuminate the scene from above and from the sides—this will make the winter landscape look especially atmospheric in the evening.
Assembling the Christmas Tree Decoration with “ chain of light ” Insert batteries into the battery compartment and secure it in the wooden stand with a small amount of hot glue to prevent it from shifting later. Insert the Christmas tree into the pre-drilled holes and wrap the “ chain of light ” evenly around its outline. This creates a clear, glowing Christmas tree that perfectly complements your stenciled winter landscape.
Finally, let the glue, paint, and decorative snow harden completely before you decorate the box or give it as a gift. If you’re looking for more Christmas ideas featuring stenciling, decorative snow and LED lights, you’ll find everything you need in the online shop to bring your next winter scene to life right away.