- Secure order
- Easy return shipment
- Service-Hotline +31 20 809 5778
Instructions No. 4022
Difficulty: Beginner
Working time: 2 Hours
Make an Advent Wreath with House-Shaped Castings
Set up a clean work surface and have the silicone molds for houses and stars within easy reach.
Mixing the casting compound: the right consistency
Mix KeraHobby or another casting compound with water until it reaches a creamy consistency. The mixture should be smooth and flow slowly off the mixing stick. This step ensures that all the fine details of the mold will be clearly reproduced later and that you’ll get a smooth, even surface.
Pour stars using “ advent numbers ” and let them dry
Pour the mixed casting compound into the star mold using advent numbers. For this arrangement, stars numbered 1–4 are sufficient. Gently tap the mold on the table so that air bubbles rise to the surface and the edges become smooth. Then let the stars dry for about 1 hour . This makes it easier to remove them from the mold later without breaking off any corners.
Pouring the Houses: Four Pieces for the Wreath
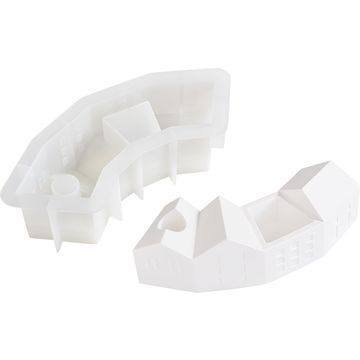
Now pour the houses into the silicone mould . Repeat the process until you have a total of 4 castings. Here, too, tapping the mold gently helps remove air bubbles. Let the houses dry thoroughly afterward. Once fully cured, the castings will be sturdy and can be easily set up later.
Prepare the tray and paint the edge white
Paint the edge of the tray with white “ handicraft paint ” and let the paint dry. The light-colored edge looks fresh and goes especially well with a Scandinavian-style Advent wreath, where green, white, and warm lights take center stage.
napkin technique: Garland as a border decoration
Cut a garland out of the “ napkin .” For the “ napkin technique ,” use only the top, printed layer. Glue this layer to the edge using “ napkin varnish ,” then carefully brush “ napkin varnish ” over it once more. This bonds the design to the surface without the edges peeling off. Repeat this until you’ve gone all the way around the tray, and let everything dry thoroughly.
Building the Base: flower arrangement foam and Iceland moss
Line the tray with “ flower arrangement foam .” “ flower arrangement foam ” is a firm foam block into which you can securely insert or place decorative elements. Then cover it with Iceland moss. The “ moss ” conceals the “ flower arrangement foam ” and immediately gives your Advent wreath a wintry base.
Assemble the wreath and incorporate chain of light
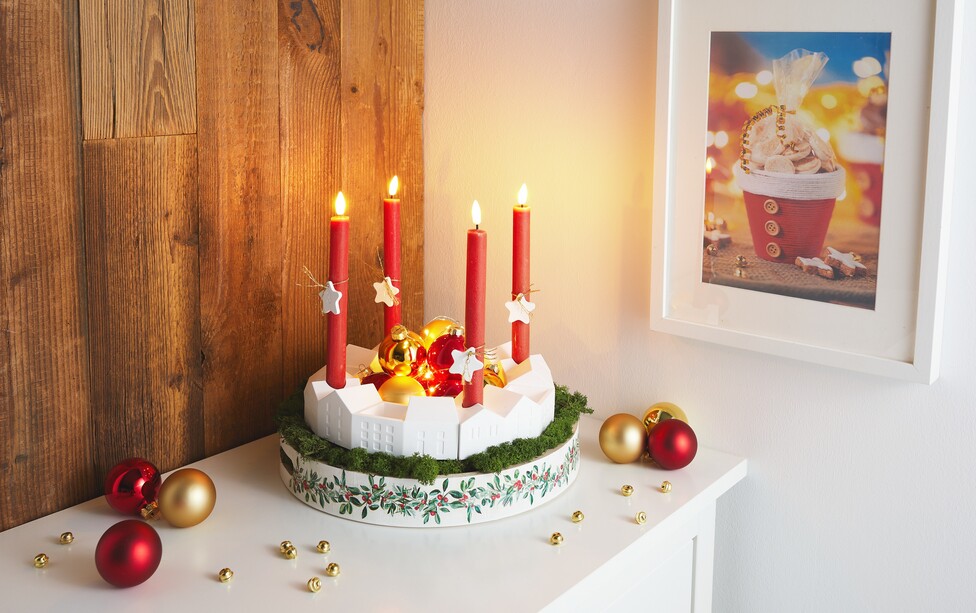
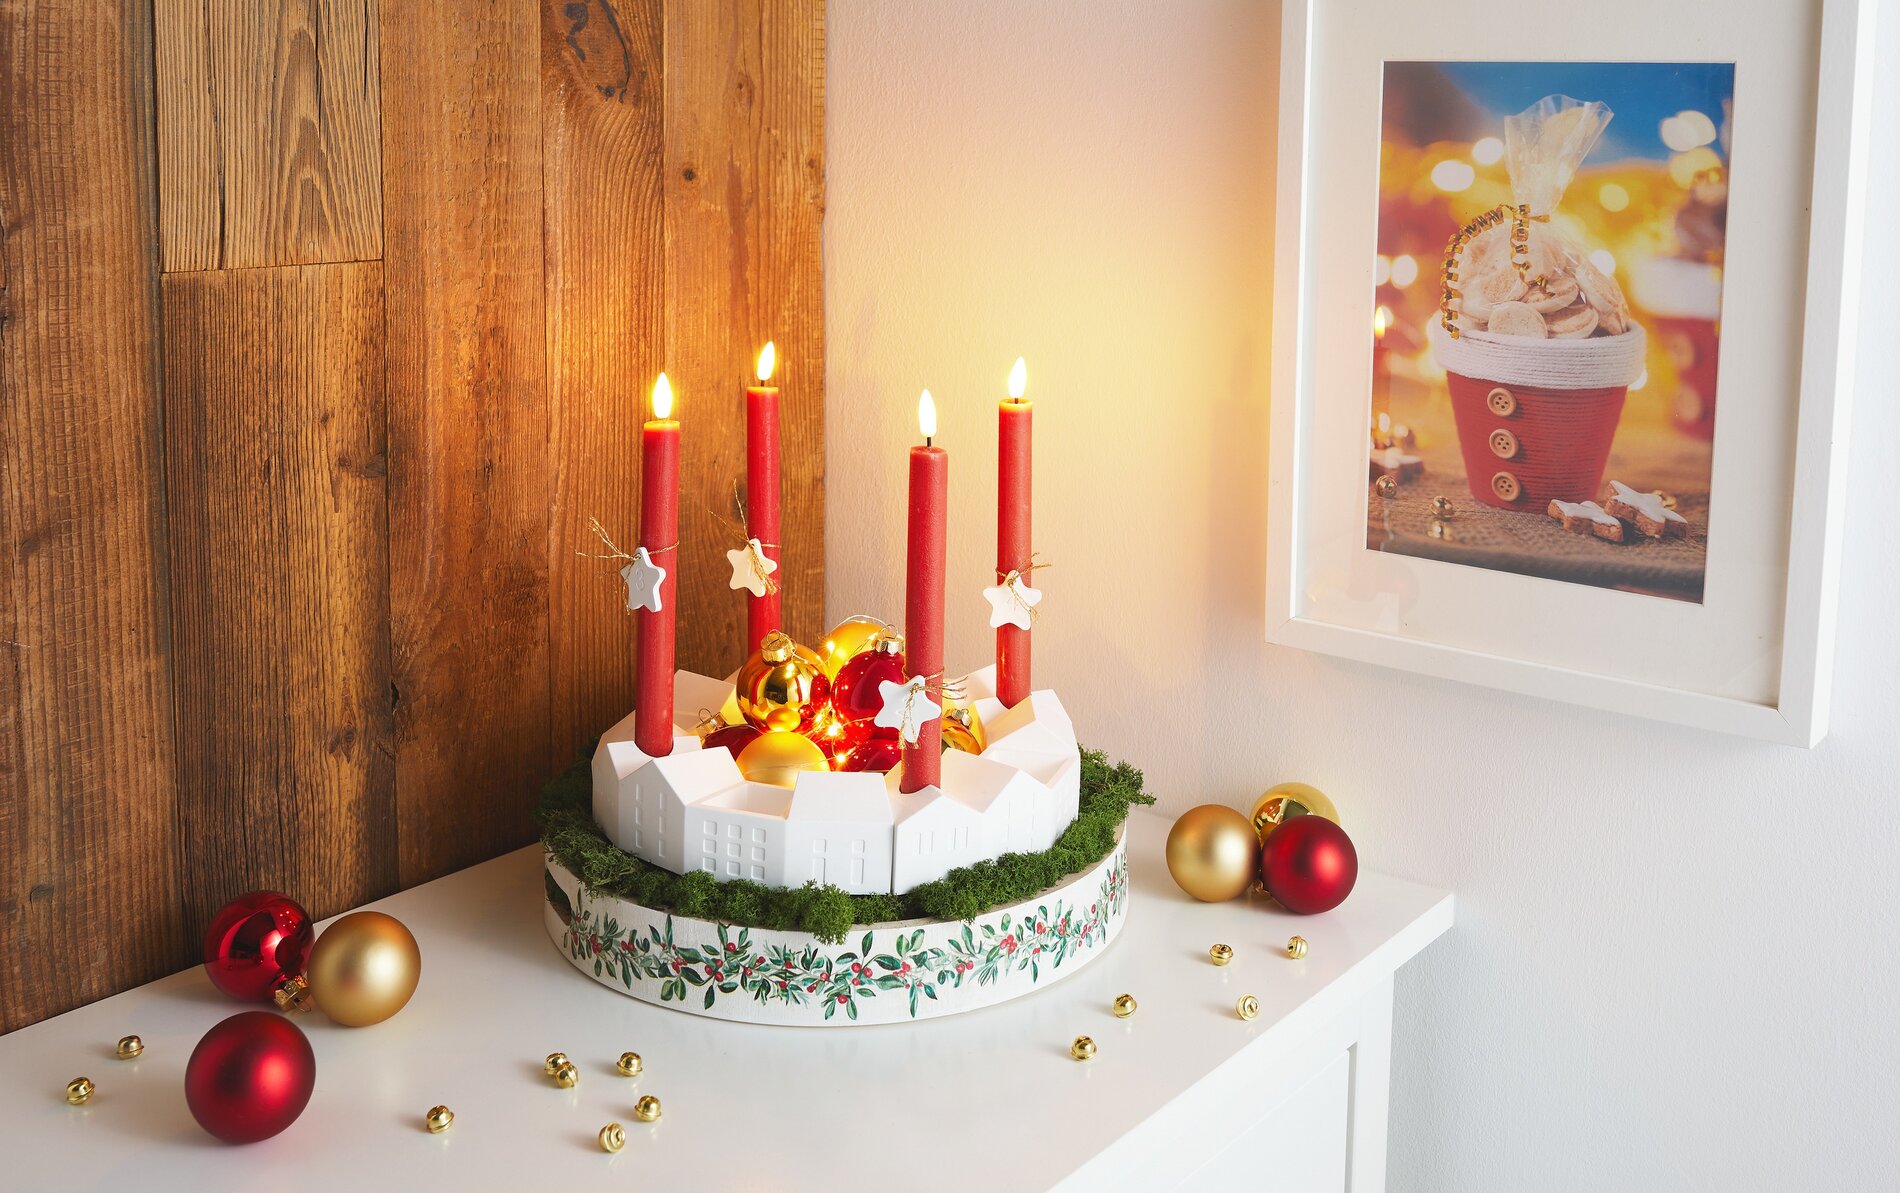
Arrange the dried houses into a wreath and place it on the moss. Position the chain of light under one of the house elements so that the battery compartment remains on the outside and the wire runs inside the wreath. This way, you can easily operate the lights later while the wire remains hidden. Fill the center with “ christmas balls ” and wrap the string of lights crisscross around the balls. This distributes the light evenly and adds depth to the center.
Decorate Advent candles and use a timer
Tie the star pendants with the “ numbers ” for the Advent Sundays around the LED real-wax candles. Activate the timer and place the candles in the house-shaped Advent wreath. Also turn on the timer function of the chain of light . This way, your Advent wreath will light up automatically at the right time every day, while remaining safe and hassle-free.
If you’re now inspired to create more Advent decorations using molds, “ napkin technique ,” and KeraHobby, you’ll find the perfect craft supplies for your next project in our online shop.