- Secure order
- Easy return shipment
- Service-Hotline +31 20 809 5778
Instructions No. 4048
Difficulty: Advanced
Working time: 3 Hours
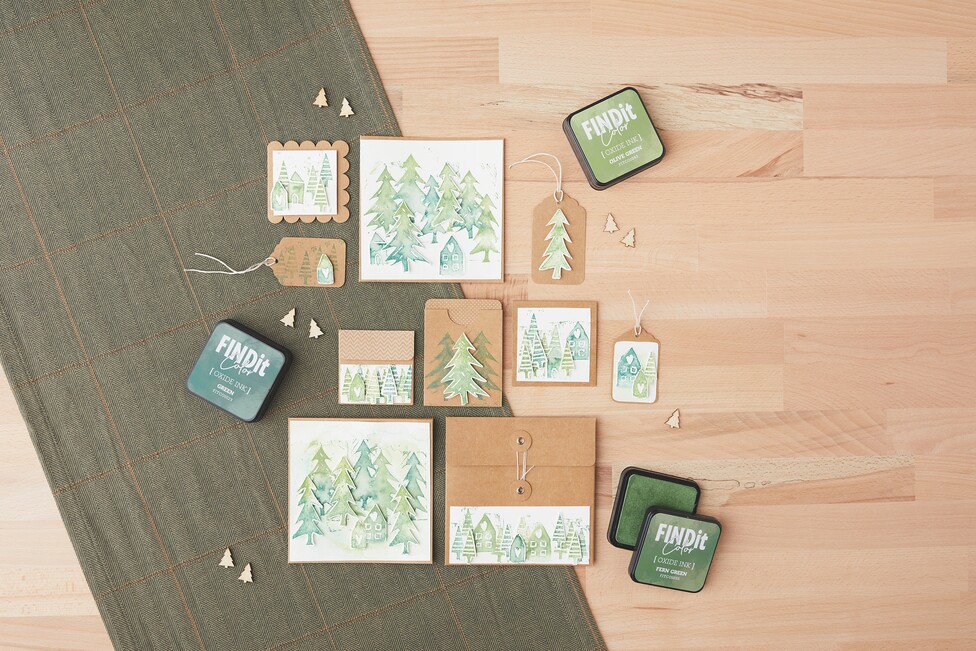
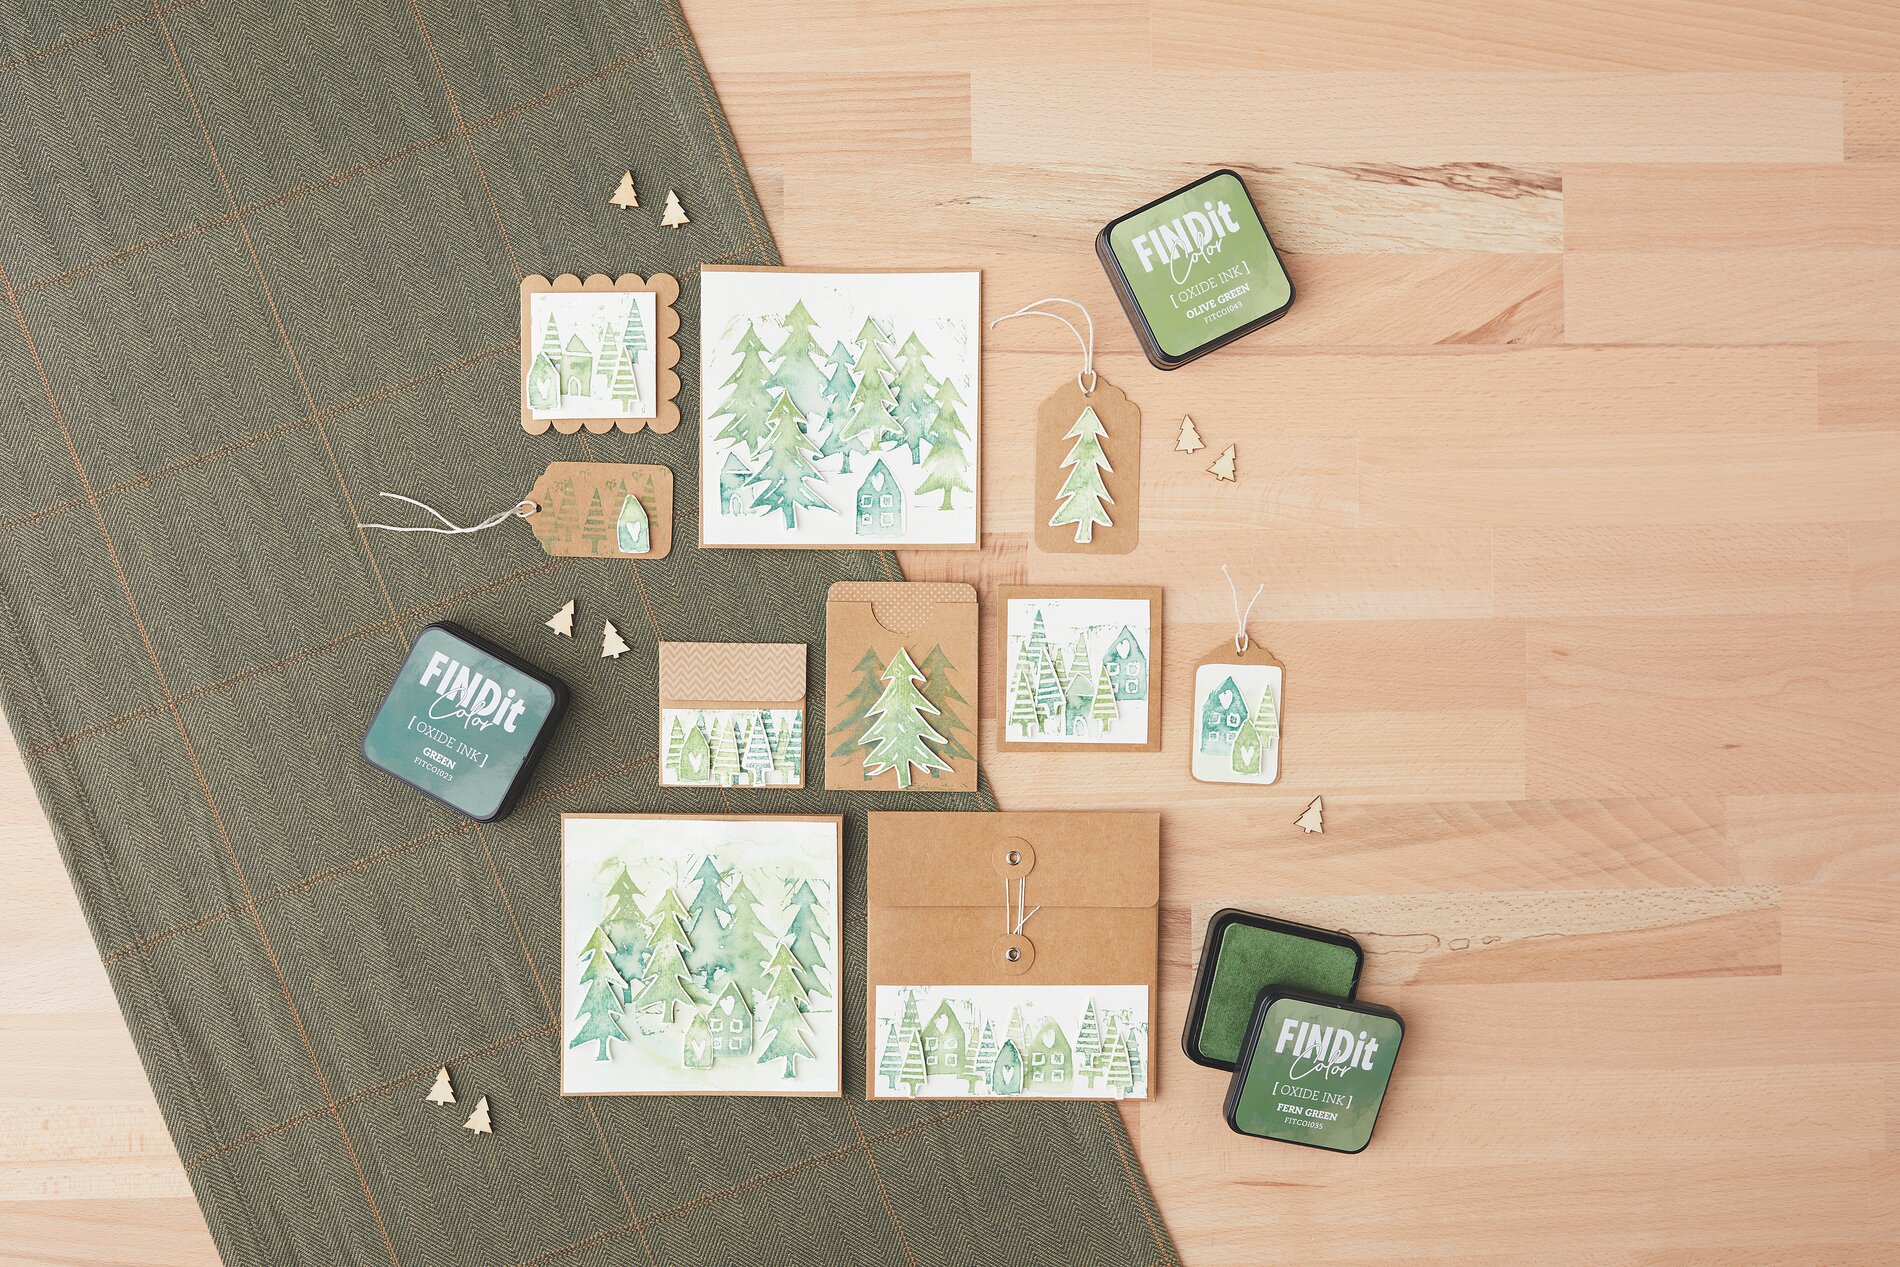
Winter Cards & Gift Tags with Hand-Carved Stamps
First, print out the free template. Place a piece of vellum paper over it and carefully trace the lines with a pencil. This will give you clear outlines for your design—such as fir trees, houses, or small forest scenes—perfect for handmade christmas cards and tags.
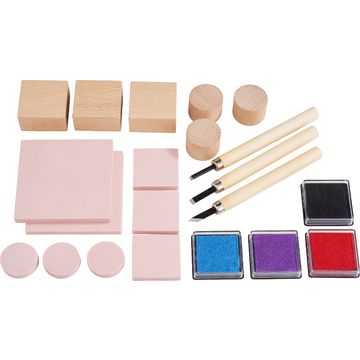
Next, place the “ vellum paper ” with the drawn side facing down on the stamp rubber. Be sure to work efficiently to save space: If needed, you can cut the stamp rubber into pieces so you can make several small stamps from a single piece. Now rub the pencil vellum paper, with a little pressure so that the pencil line transfers to the rubber. Alternatively, you can draw your design directly onto the stamp rubber with a pencil if you’d like to work more freely.
Carving the Stamp: Tracing Lines and Exposing Areas
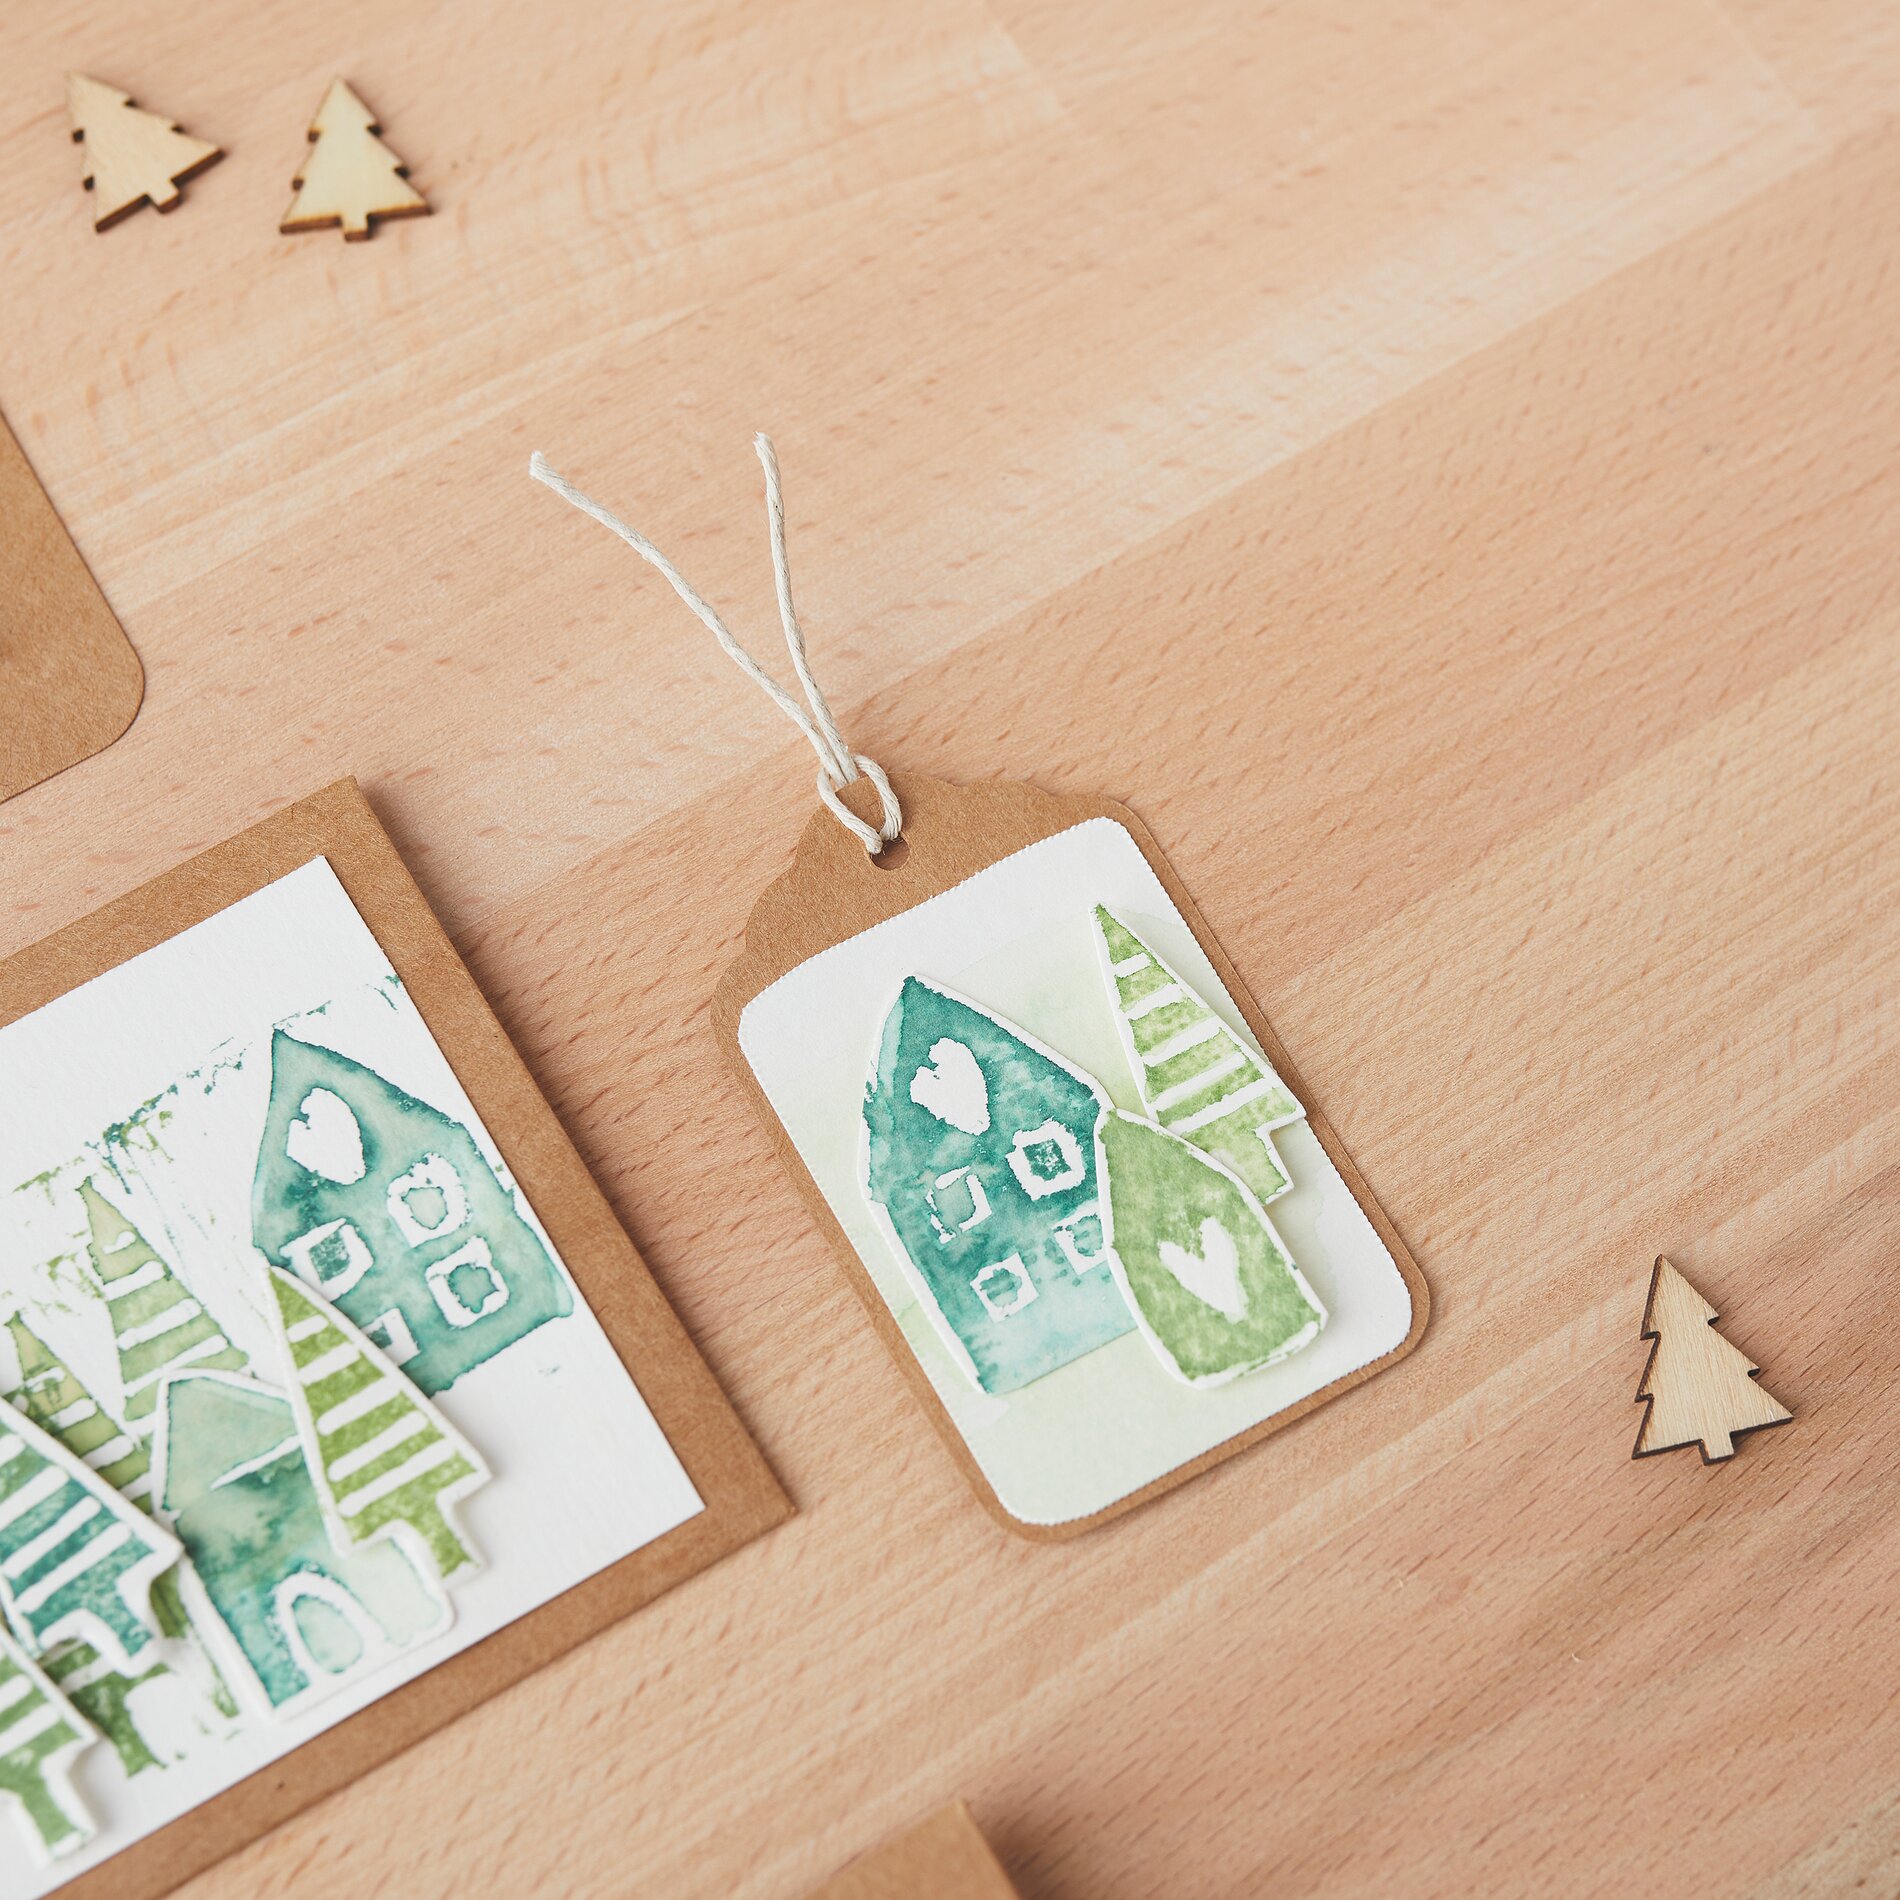
Take the carving knife and carefully guide the blade along your drawn lines. It’s better to work in several steady strokes rather than applying too much pressure—this ensures clean edges. Then remove the rubber around the design. Important for the final result: Everything that remains will be stamped later; the areas you carve away will appear light in the impression.
watercolour paper Cutting to size: Base for cards, envelopes, and tags
Cut “ watercolour paper ” to your desired sizes—for card fronts, inserts, small labels, or gift tags. “ watercolour paper ” is ideal here because it withstands moisture well and allows you to create exciting color gradients without the “ Paper ” curling up immediately.
Stamping with Stamp Pad Ink: Bold Impressions for Winter Motifs
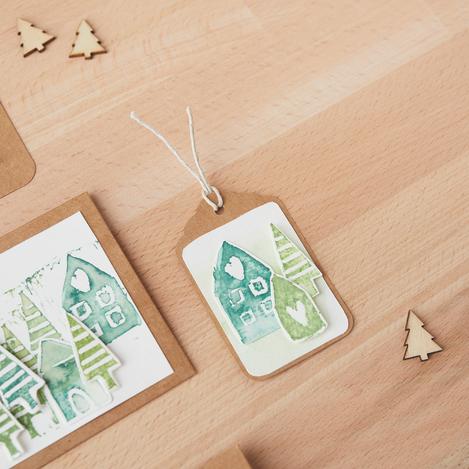
Apply stamping ink evenly to your carved stamp and press it firmly onto the Paper. Pause briefly while pressing so that the ink reaches all the raised areas. Then lift the stamp straight up—this keeps the edges and details crisp, especially for fir tree silhouettes and small house shapes.
Variation: Ink first, then stamp
For a softer, more atmospheric look, you can first color the “ Paper ” with the “ ink pads ,” let it dry, and only then stamp your design on top. This creates depth because the background and the stamped image stand out from each other—perfect for wintry forest landscapes.
Color Gradients with Two ink pads
Use two different stamp inks on a single impression, such as two shades of green. Stamp as usual, then immediately brush a little water over the impression with a paintbrush. This causes the colors to blend into one another, creating a watercolor effect. Let the Paper dry completely before continuing so that nothing smudges when you glue it down.
Assemble and Finish
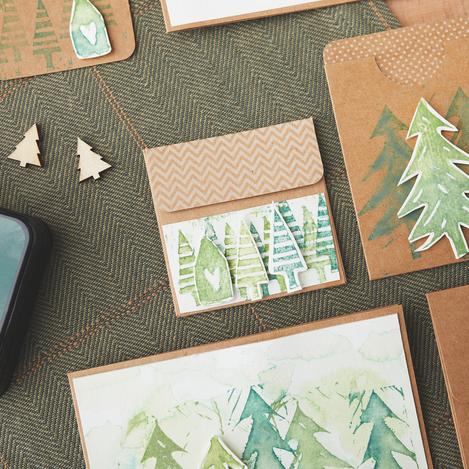
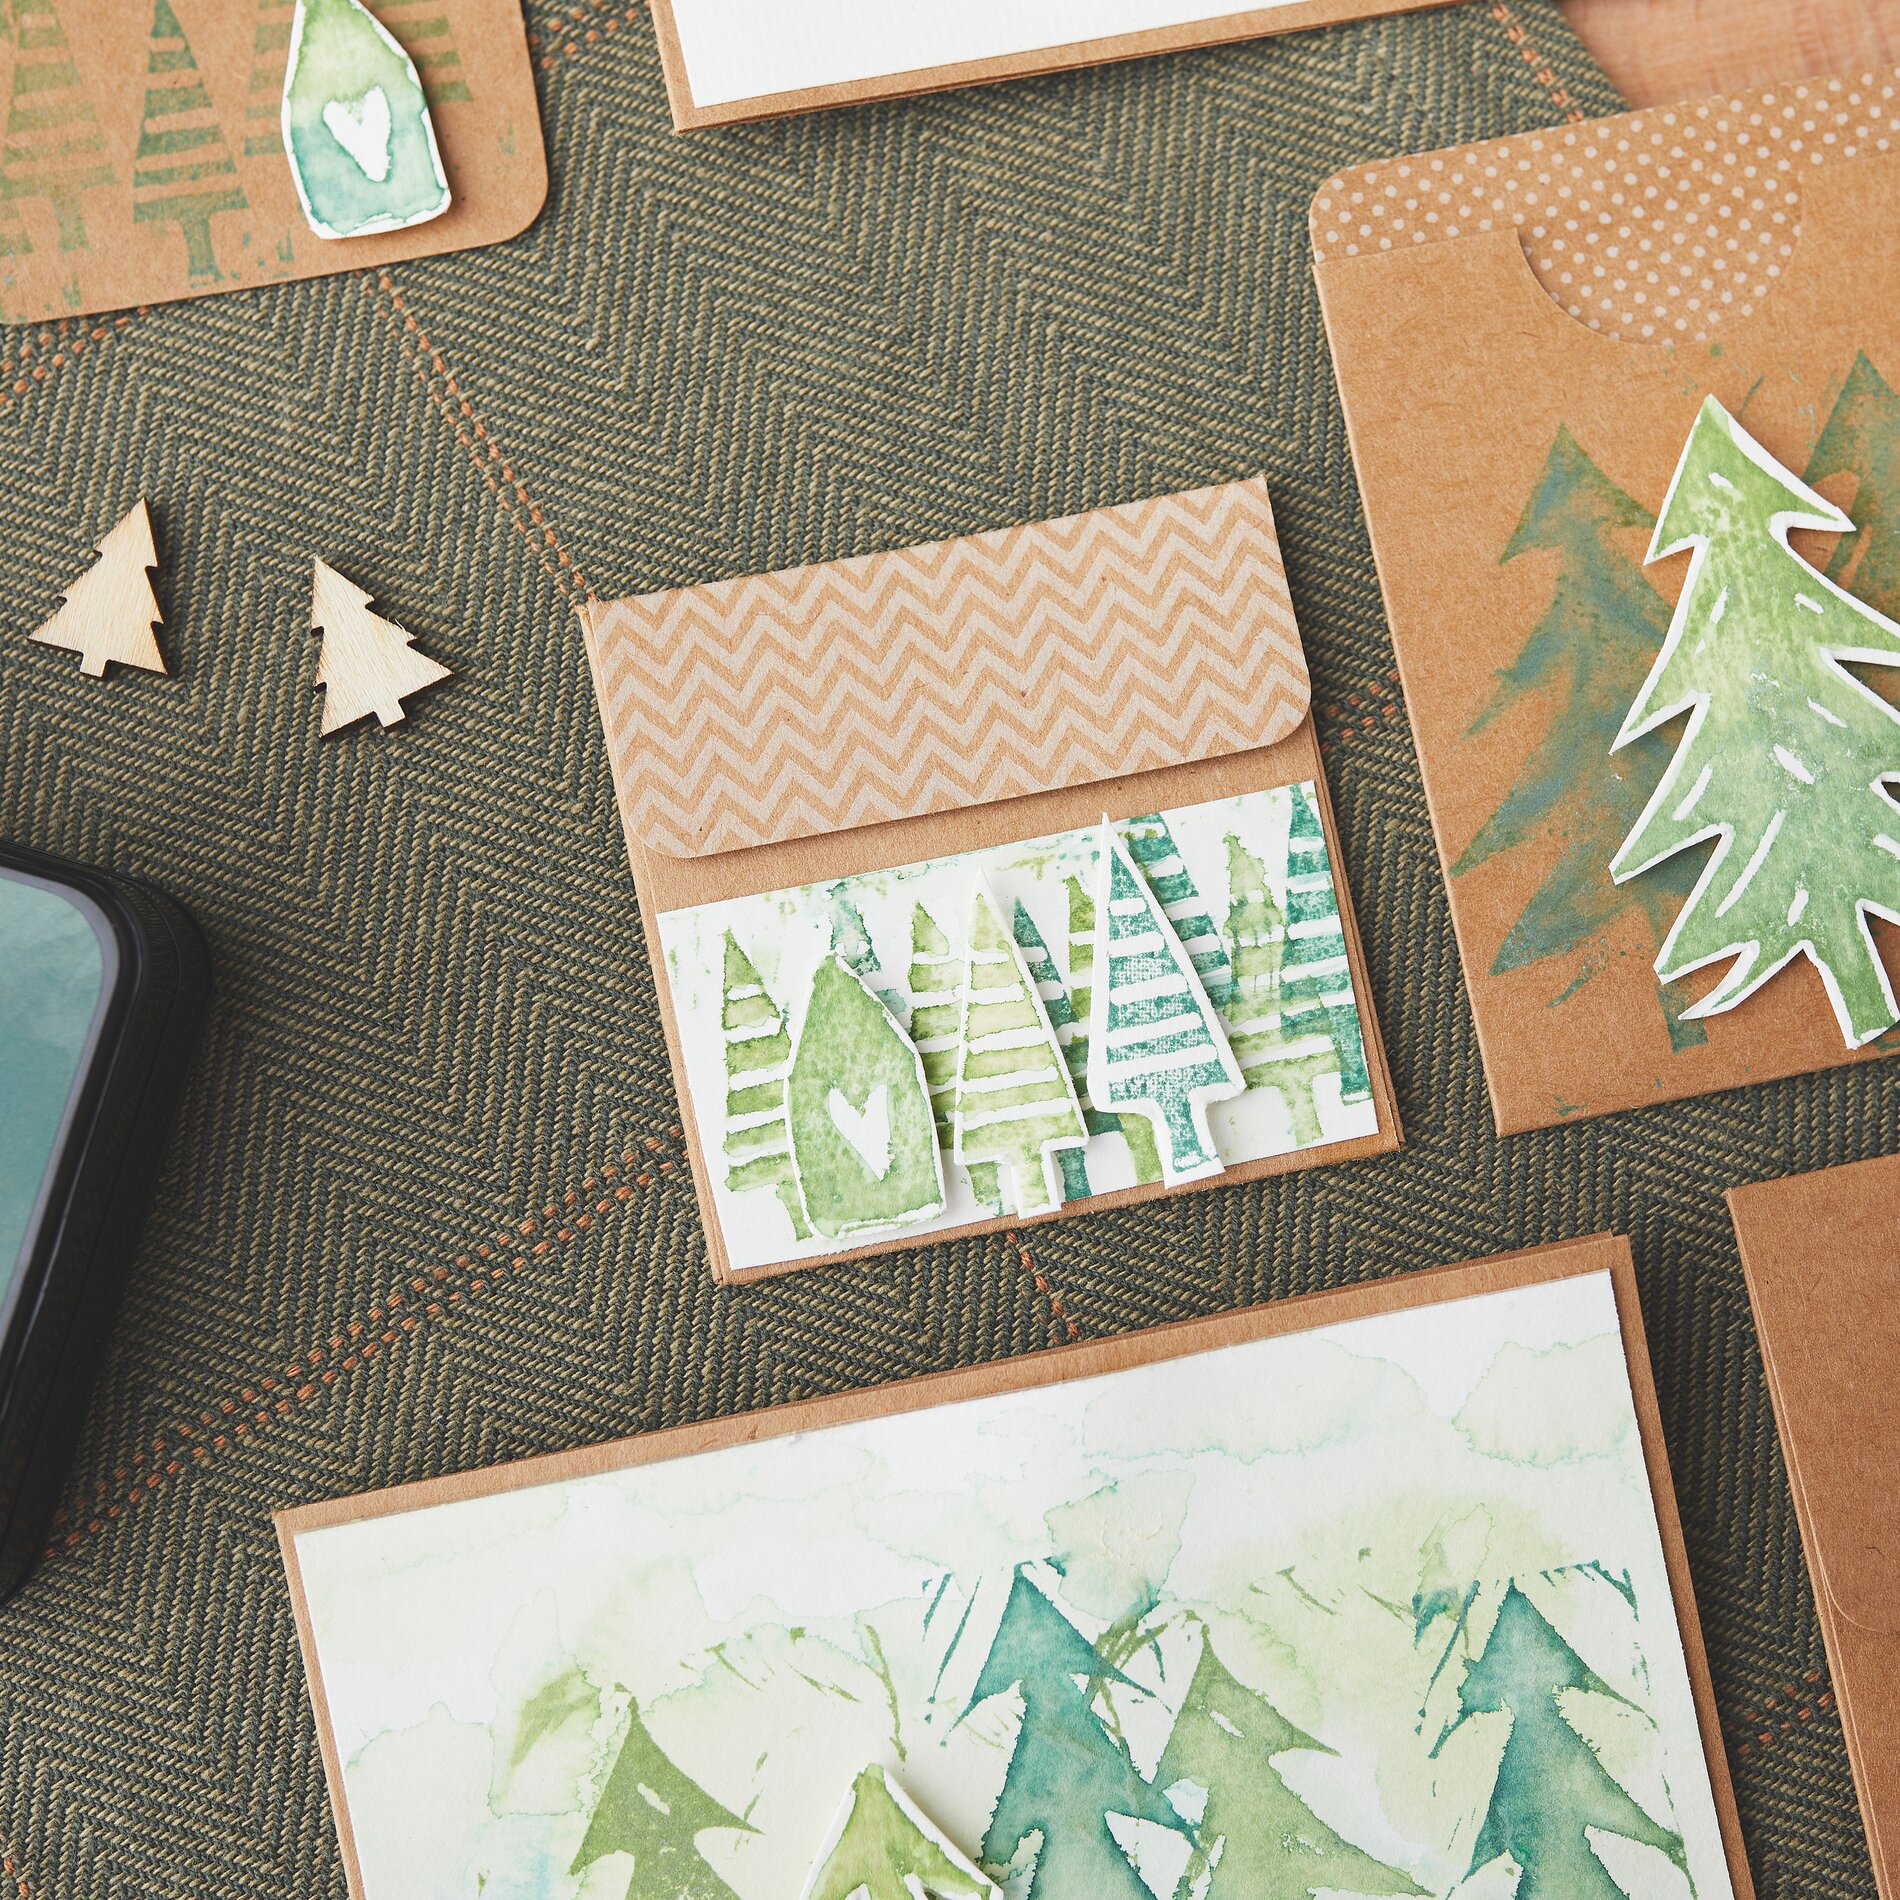
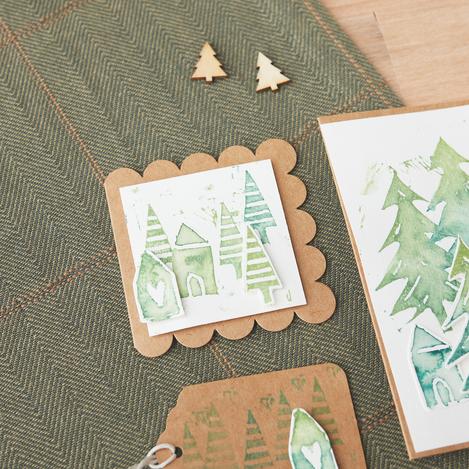
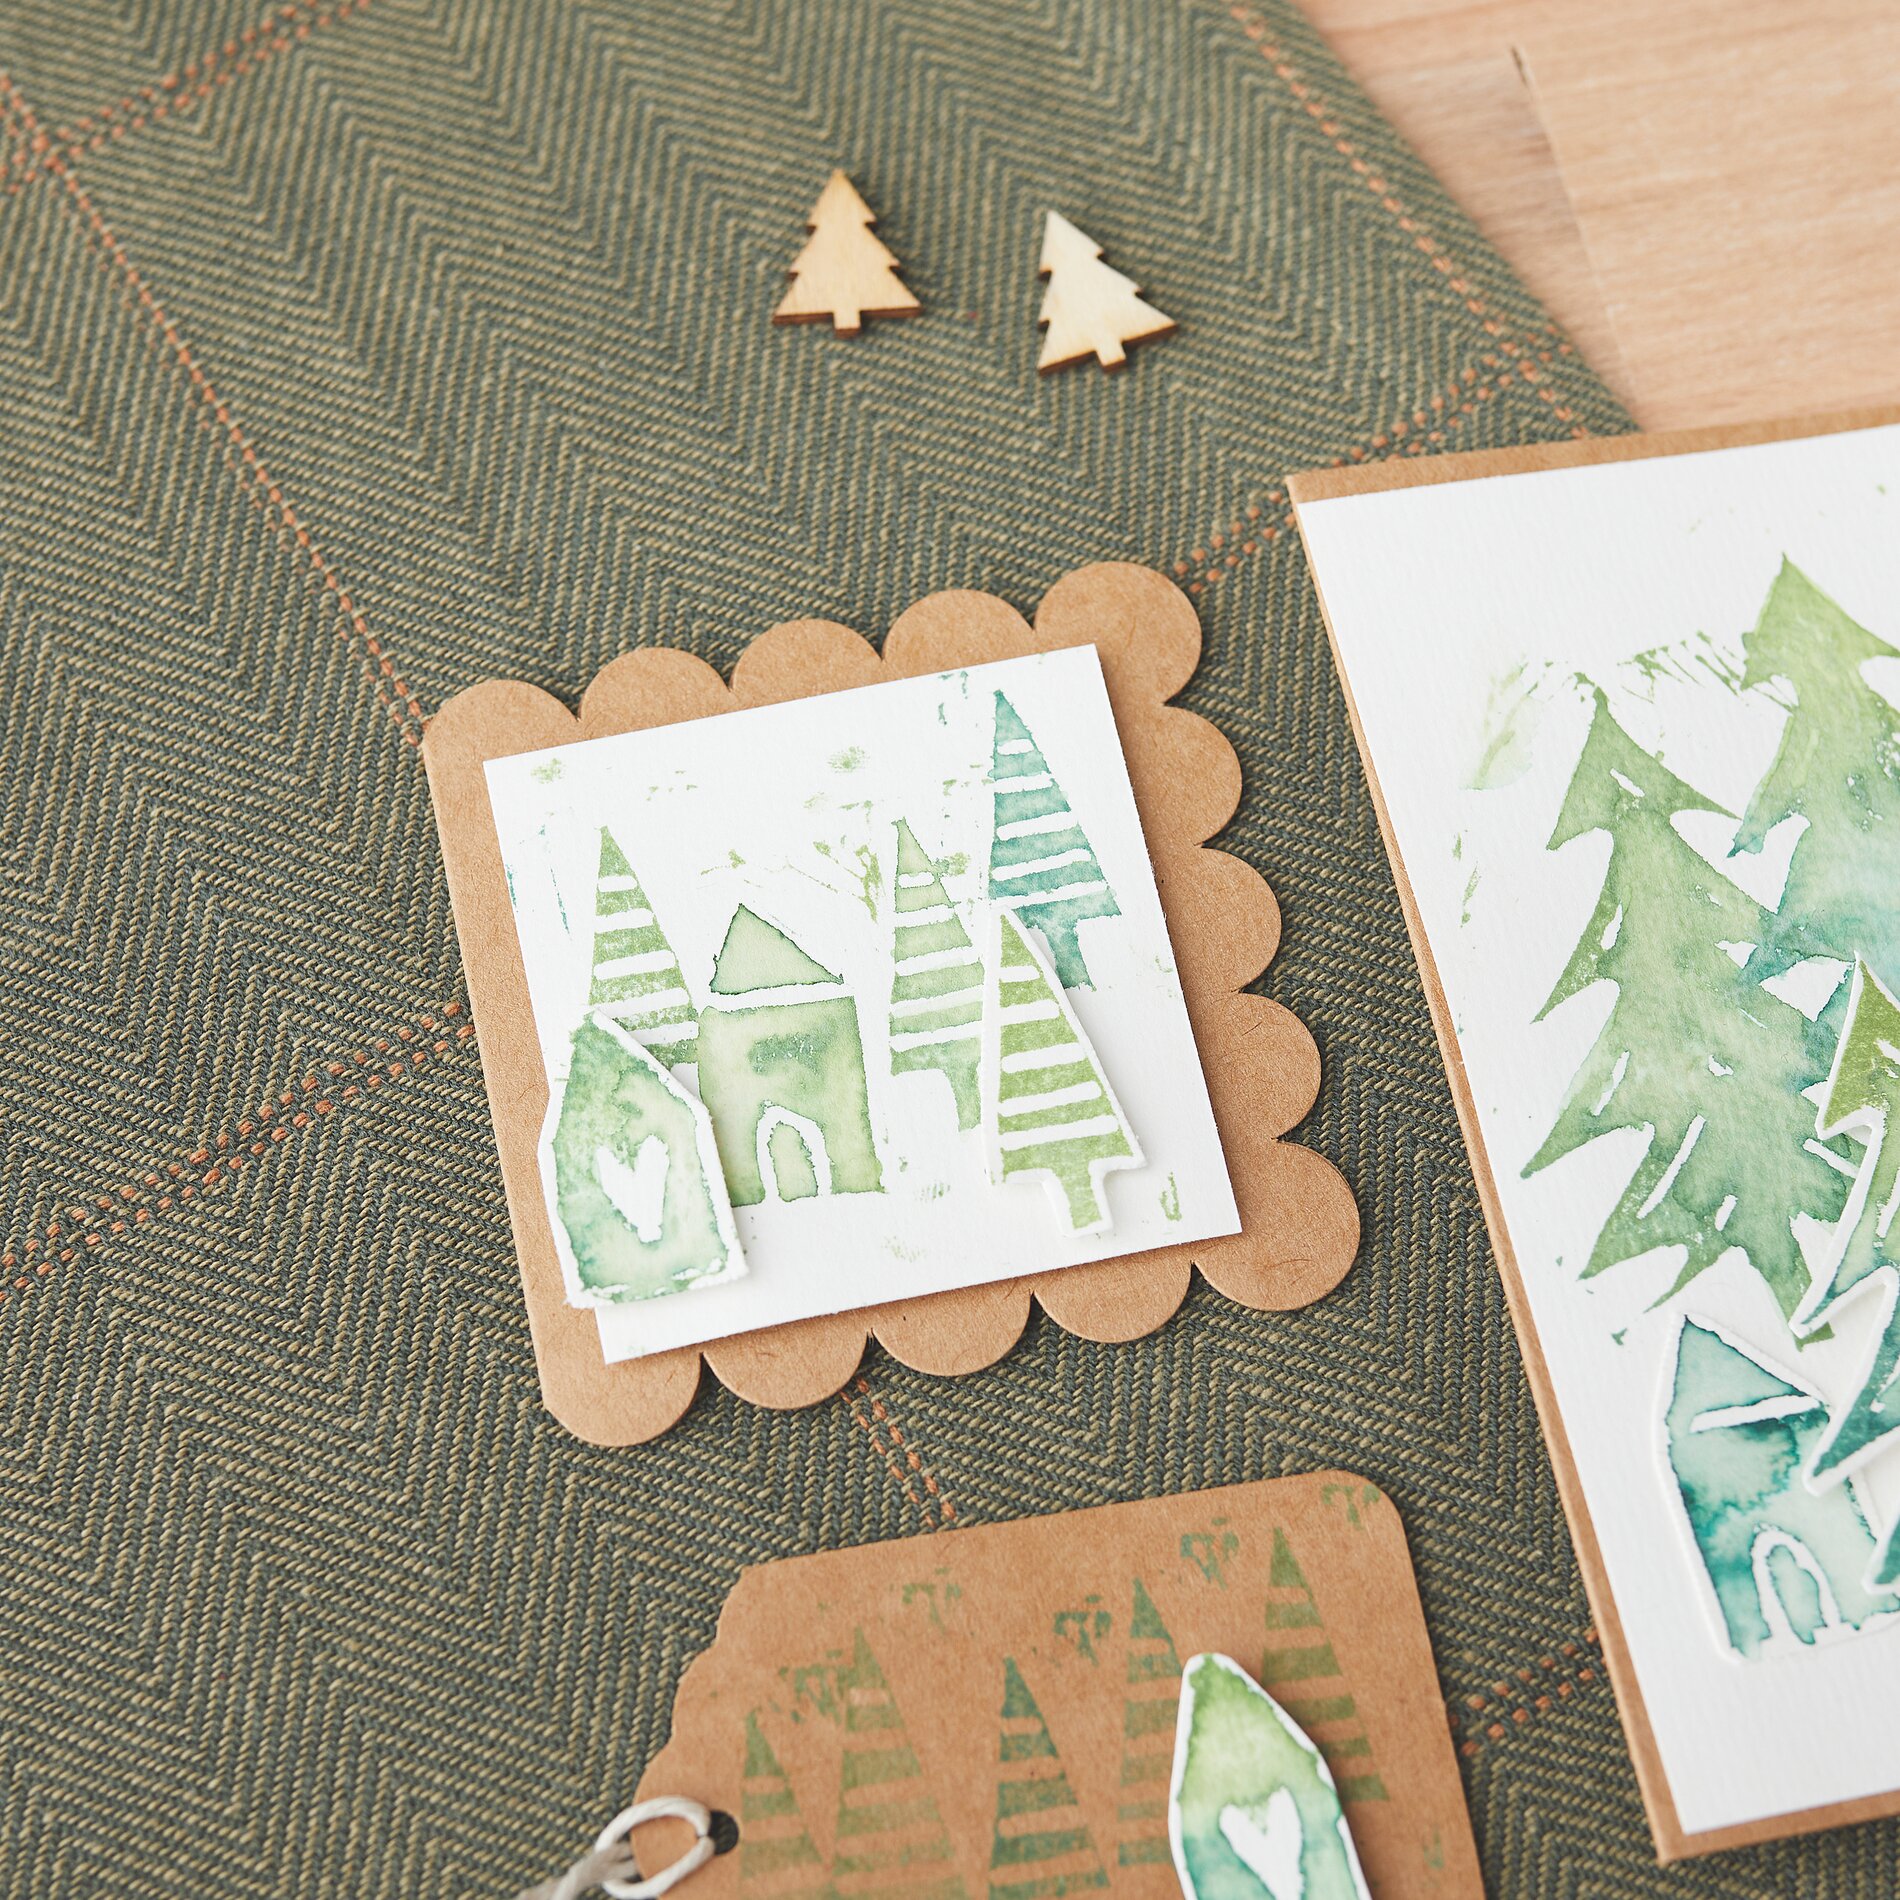
Once everything is dry, attach your stamped watercolor papers to blank cards, envelopes, or tags using 3D-glue pads or handicraft glue . 3D-glue pads creates a small gap between the stamp and the base—this gives the design more presence. You can also cut out individual stamped images and glue them on as layers—for example, individual fir trees or little houses as accents.
Finishing touches for a cohesive winter look
Finally, check the edges: A lightly colored border can visually frame your design and looks especially elegant on kraft paper. Punch a hole in the tags and thread a cord or a ribbon through it. Now your custom-designed cards and gift tags are ready to go for winter mailings and gift wrapping.
Now it’s your turn
If you’re looking for more designs, stamp inks, and matching Paper for card-making and stamp carving, stop by the online shop and put together your set for your next winter project.