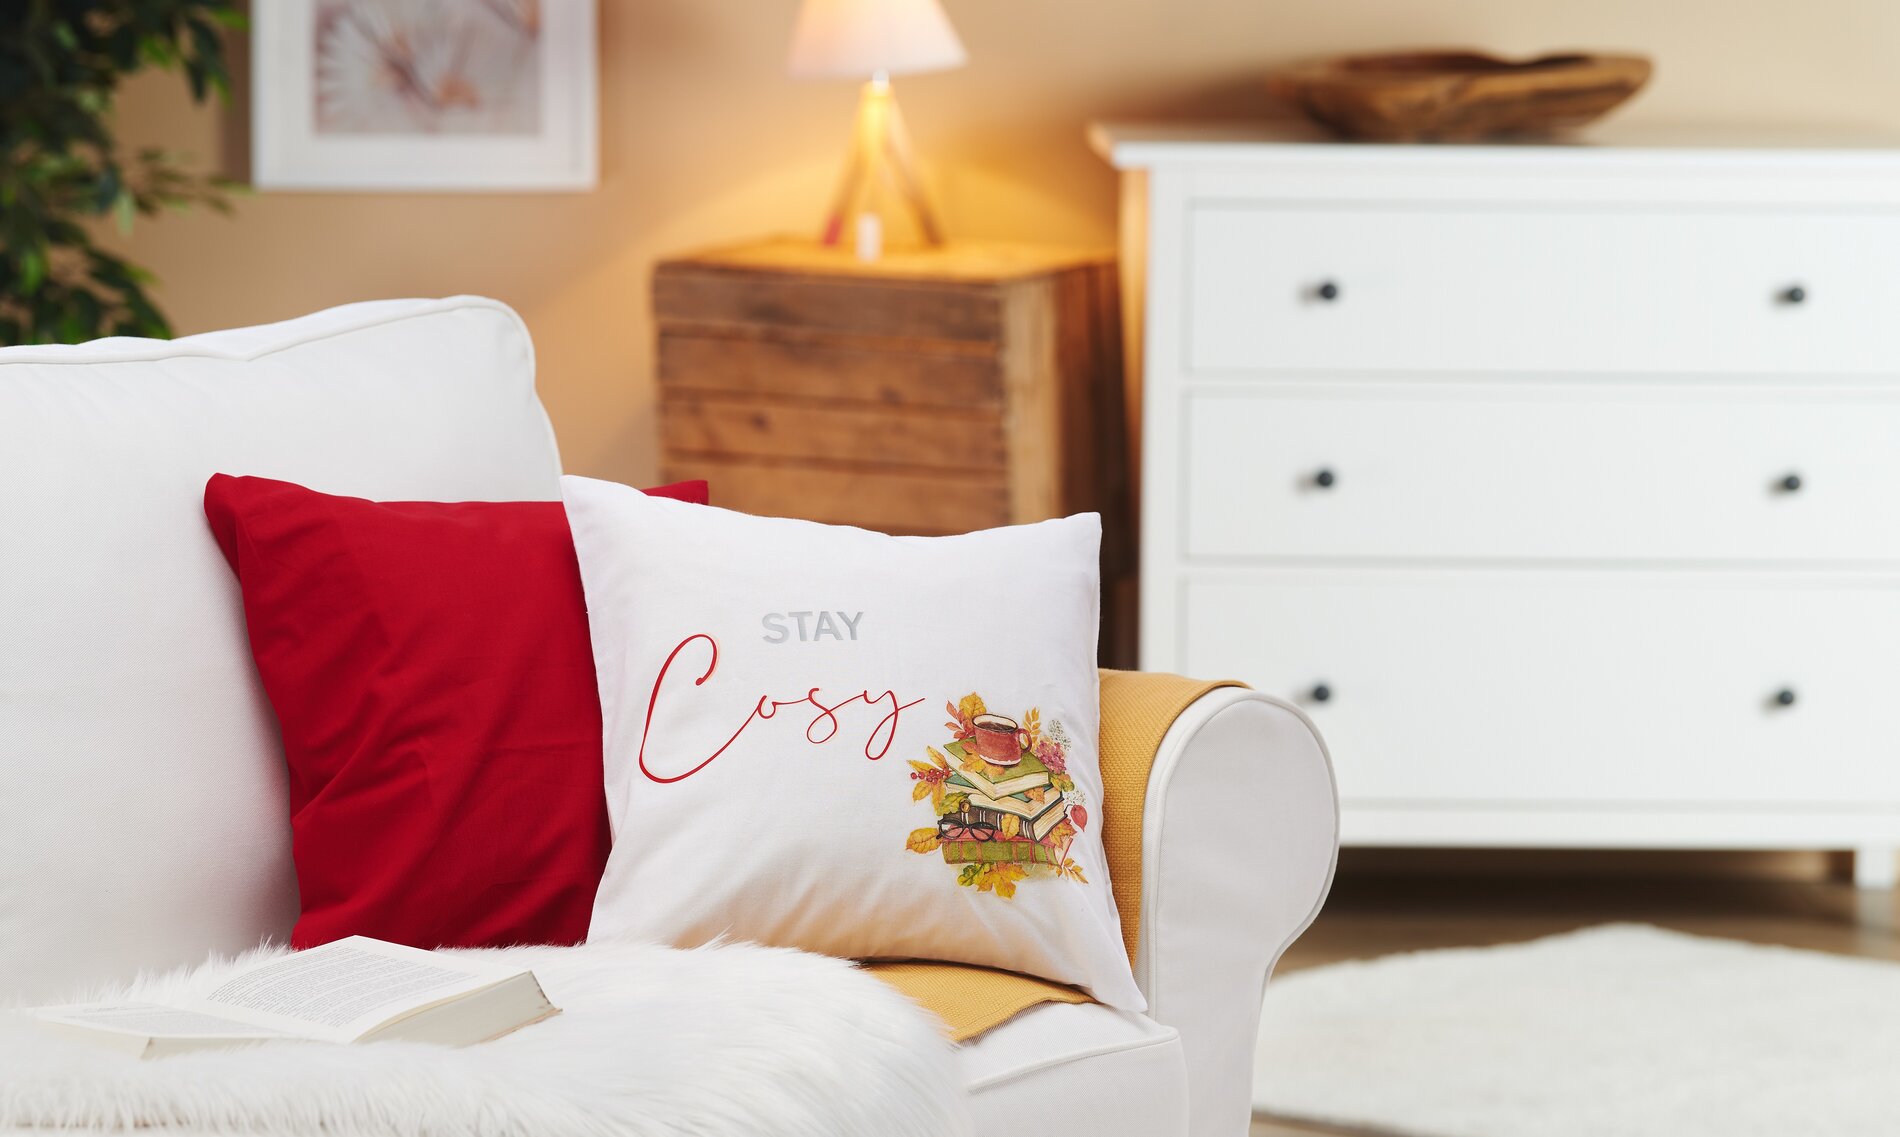
Autumn is almost here, so let's get cosy on the sofa at home. This self-made cushion cover fits perfectly! It's easy to make with the Cricut Maker 3 and the matching products. Learn how to do it in this tutorial.
How to design the cushion cover
The following instructions refer to the use of a PC with a Windows operating system. On mobile devices and other operating systems, the arrangement of the buttons may differ. The names remain the same.
1. open the Cricut Design Space app. 2. Click on the three horizontal lines at the top left and go to "Workspace". You will now see the work mat on your screen. 3. Select a font of your choice and the size of the font. You can set the font size at the top of the bar or drag the text field larger - hold down the "Ctrl" key to enlarge the field evenly. 4. Select your text fields and click on "Mirror" - "Mirror horizontally" at the top of the bar. 5. Then go to "Create" at the top right and select the mat and mat length immediately afterwards. 6. Now finally arrange your fonts on the mat view. 7. Cut your iron-on foils to size and place them on the mat with the shiny side facing down. 8. Connect your plotter and insert the mat. 9. Click on "Continue". 10. Now follow the plotter's instructions, insert the mat and start the plotting process. 11. After plotting, remove the excess colored film so that the lettering can be seen on the transparent film only . 12. Place this on your cushion cover and iron it on over a medium heat. Leave to cool briefly and carefully remove the foil. If necessary, you can re-iron the lettering. Be sure to place a piece of fabric over it.
napkin technique:
Remove the top, printed layer of the napkin. Cut out the motif close to the edge and place it on the cushion cover. Carefully apply the napkin varnish for textiles with a soft brush. Start in the middle from of the motif and work your way to the edges. As soon as the paint is completely dry, you can iron-fix the motif. Important: place a cloth/piece of fabric over it when ironing.